If you have a spirit for the outdoors and a taste for adventure, hiking to Havasupai Falls in the Grand Canyon most definitely deserves a top spot on your U.S. travel bucket list. Though securing a permit and hiking the ten miles to the falls can seem a bit daunting, with a little guidance and perseverance, you too can experience this incredible desert oasis for yourself. Check out my full guide below for helpful tips and insights on how to make this dream trip a reality!
Overview
Distance: 20 miles round trip
Elevation Gain: 2500 + feet of elevation loss on the way in and gain on the way out. NOTE: 1000 feet of this is covered in just 1.5 miles at the very beginning of the trail over steep switchbacks, making the hike in/out the most challenging section.
Time: 8-12 hours of active hiking depending on pace and gear weight, time of year (heat), and skill level. An average hiker would realistically need around 30-35 minutes per mile.
Cost: See permit pricing section below.
Obtaining A Permit
Havasupai translates literally to “people of the blue-green waters” and is the name of the American Indian Tribe who has dwelled on these remote lands for hundreds of years. The tribe resides here on a protected government reservation area, so hiking into the falls cannot be done without a proper permit.
Permits can be obtained online, by phone, or by booking a stay with a licensed tour group and are picked up in person onsite the day of your stay. Reservations are really tough to get your hands on but it is not impossible! If you want detailed information on the permit process, check out my comprehensive guide to obtaining a Havasupai Falls permit.
*Please note that a reservation is only valid if at least one of the two people listed on the reservation is present at the Tourist Check-in Office in the Village of Supai (8 miles in on the way to the campground) with a valid photo ID – otherwise the reservation is not considered as authorized and will NOT be honored.
Permit Pricing
These prices are listed directly from the website and are for the 2018 year (February 1st to November 30th). Permit prices are subject to increase in price each fiscal year:
- One Person, 2 Days / 1 Night: $140.56
- One Person, 3 Days / 2 Nights: $171.12
- One Person, 4 Days / 3 Nights: $201.67
- Weekend nights (Friday, Saturday, Sunday), Holiday weekday nights (February 19, May 28, July 4, September 3, October 8), and Spring Break weekday nights (March 5-8 and 19-22) are an additional $18.34 per night.
If you are interested in staying in the Havasupai Lodge in town (2 miles from the falls), you can book your stay by calling the reservation numbers on their website.
The reservations for the lodge include your permits and can be similar in pricing to camping permits depending on the number of people in your party.
Havasupai Reservation Policies For 2018
- All reservations are 100% non-refundable and non-transferable.
- Reservation Amendment Fee: $100.00 (altering any reservations)
- $1000 fines for cliff jumping, littering, drugs/alcohol, flying drones
- If you are caught without a permit you are subject to a fine and/or a double payment for a permit to stay depending on availability.
NOTE: This hike cannot and should not be completed in one day (it is illegal to do so). I do not even really advise to do this as a two-day trip as you will not have much time to visit the falls themselves unless you stay in a town close to the hour-long entrance road. To maximize your time on a 2-day permit, wake up extra early to start the five-hour hike in and leave late the second day when the sun dips below the sides of the canyon.
When to Visit
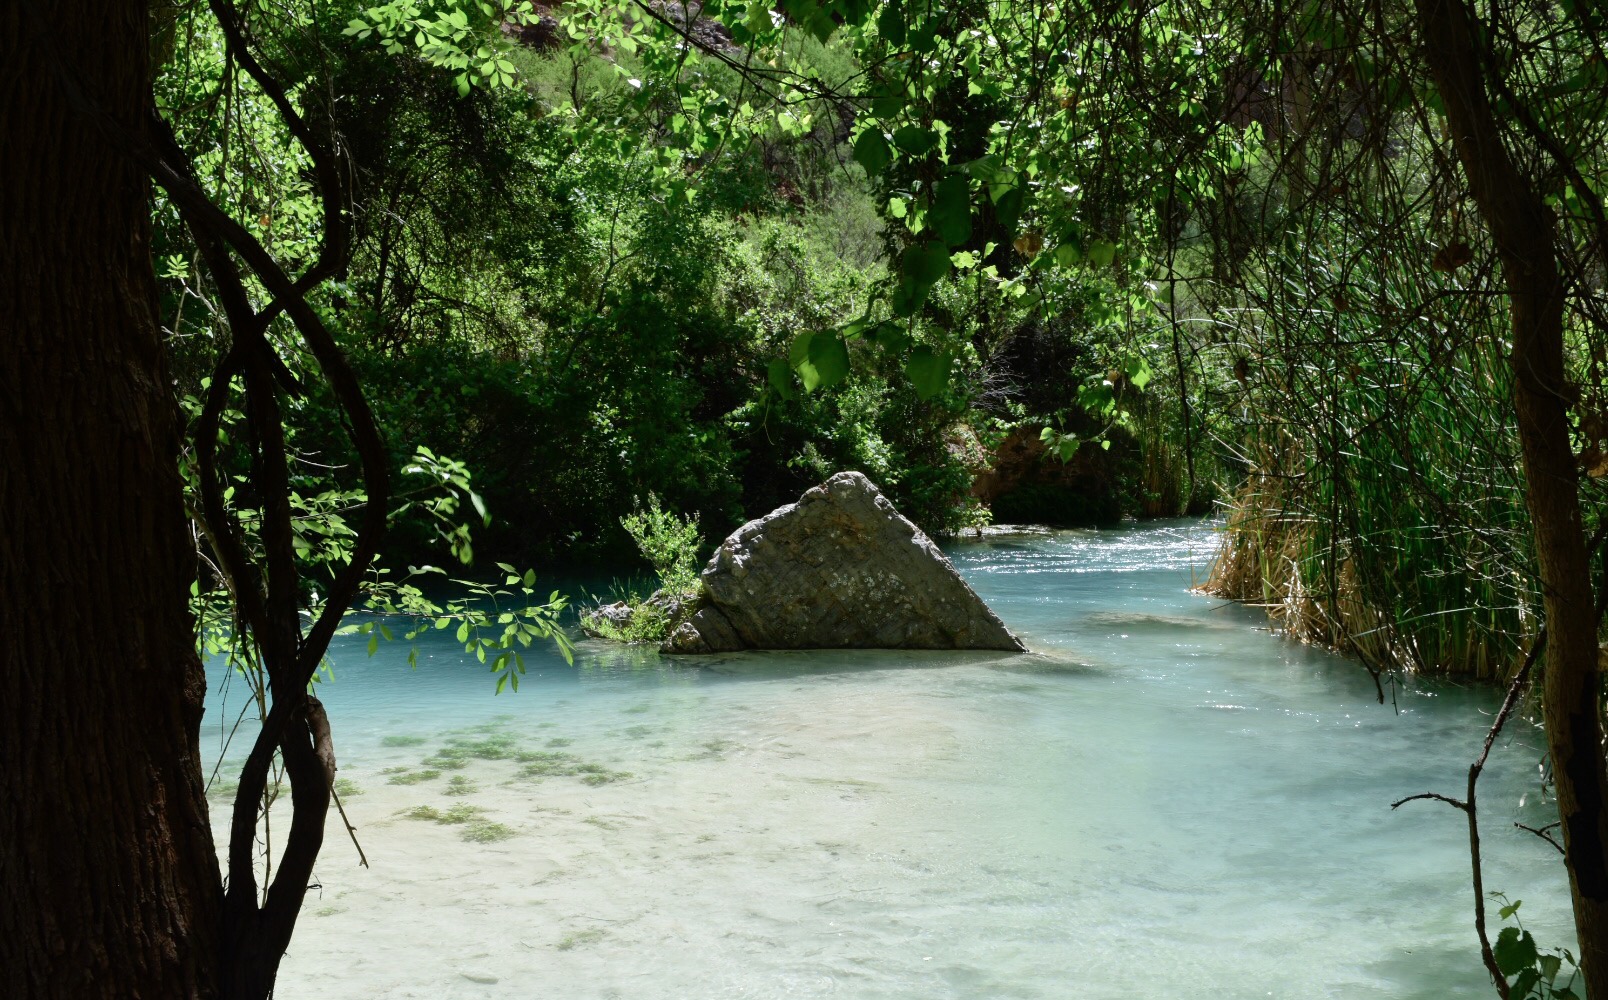
Permits for the warmer months are hardest to come by because the water is warm enough to swim in. If you go in early spring or late fall, the water will likely be too cold to enjoy but the hike to the falls will be much easier to endure. Off-season is slightly easier to get permits for and can be less crowded depending on the day. Keep in mind that weekends are typically always booked solid regardless of the season.
If you are hiking in the summer months, I strongly advise only hiking before the sun fully rises or after the sun goes down. The trail is rarely shaded and is generally a very hot desert climate. The temperature has been known to hover at around 100 degrees Fahrenheit during the peak summer months and the trail will close down if it hits 115 degrees or higher. During these times, it is advised to hike with plenty of water and frequently rest in shaded areas to stay hydrated and avoid being overheated.
In my opinion, the best time to visit is in late April or early May when the foliage is lush and green and the temperature is still mild. Around this time, the water is cold yet refreshing and the weather is much more tolerable. Even then it was upper 80s and we were dripping sweat by 9am!
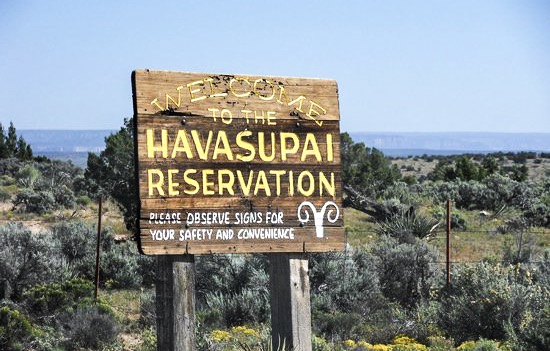
Photo courtesy of TripAdvisor
Getting There
The drive to the main road leading to the Havasupai Trailhead is relatively easy and straightforward. The closest major airports to fly into are Las Vegas McCarran International Airport (4 hour drive) and Phoenix Sky Harbor (4.5 hour drive). Make sure to factor in extra driving time for gas and any additional rest stops.
If you are using Apple maps, type in Hualapai Hilltop to find the trailhead destination. If you are using Google maps, Havasupai Trailhead will work (both are the same destination). I recommend Google maps as it works even offline and there are patches on the drive where you will lose cell service.
Click here for a map from Phoenix
Click here for a map from Las Vegas
If you plan to maximize your time, I recommend staying in Peach Springs or any other small town off of historic Route 66 closest to the main access road to the falls trailhead. The trailhead is an hour away from the entrance to the main access road (Indian Road 18). Make sure to stop for any gas or last minute needs before turning onto this road as there will be no other opportunities from there.
Parking
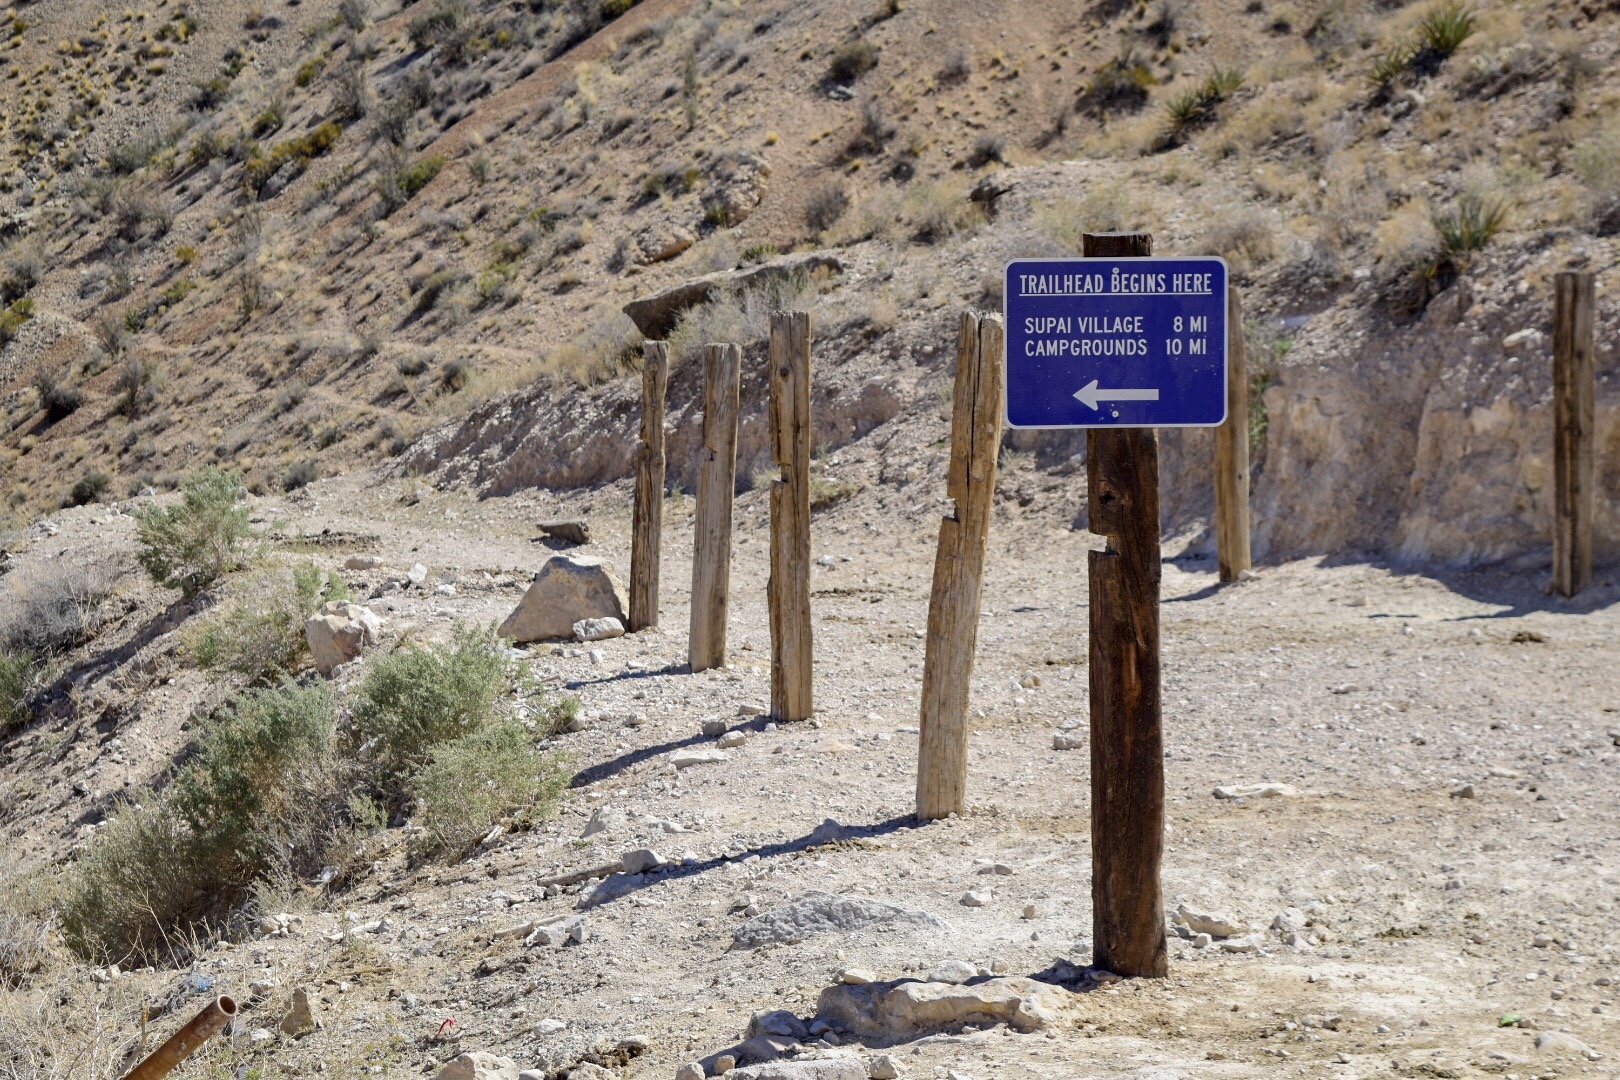
At the end of the access road there will be a free parking lot and an overflow lot for the Havasupai Falls Trailhead. I recommend dropping off your bags with someone in your group if both lots are full. This means you may have to backtrack and park up to two miles away on the side of the road. Cars are constantly going in and out during the day so you may get lucky if you are patient (we ended up only two spots away from the start).
Once you have everything situated, check in at the small office before heading down the trailhead. They will not give you a permit here but they do have record of your name and are known to have someone checking for it on a list on the trail. We had someone check our names off of a list within the first two miles of the hike in.
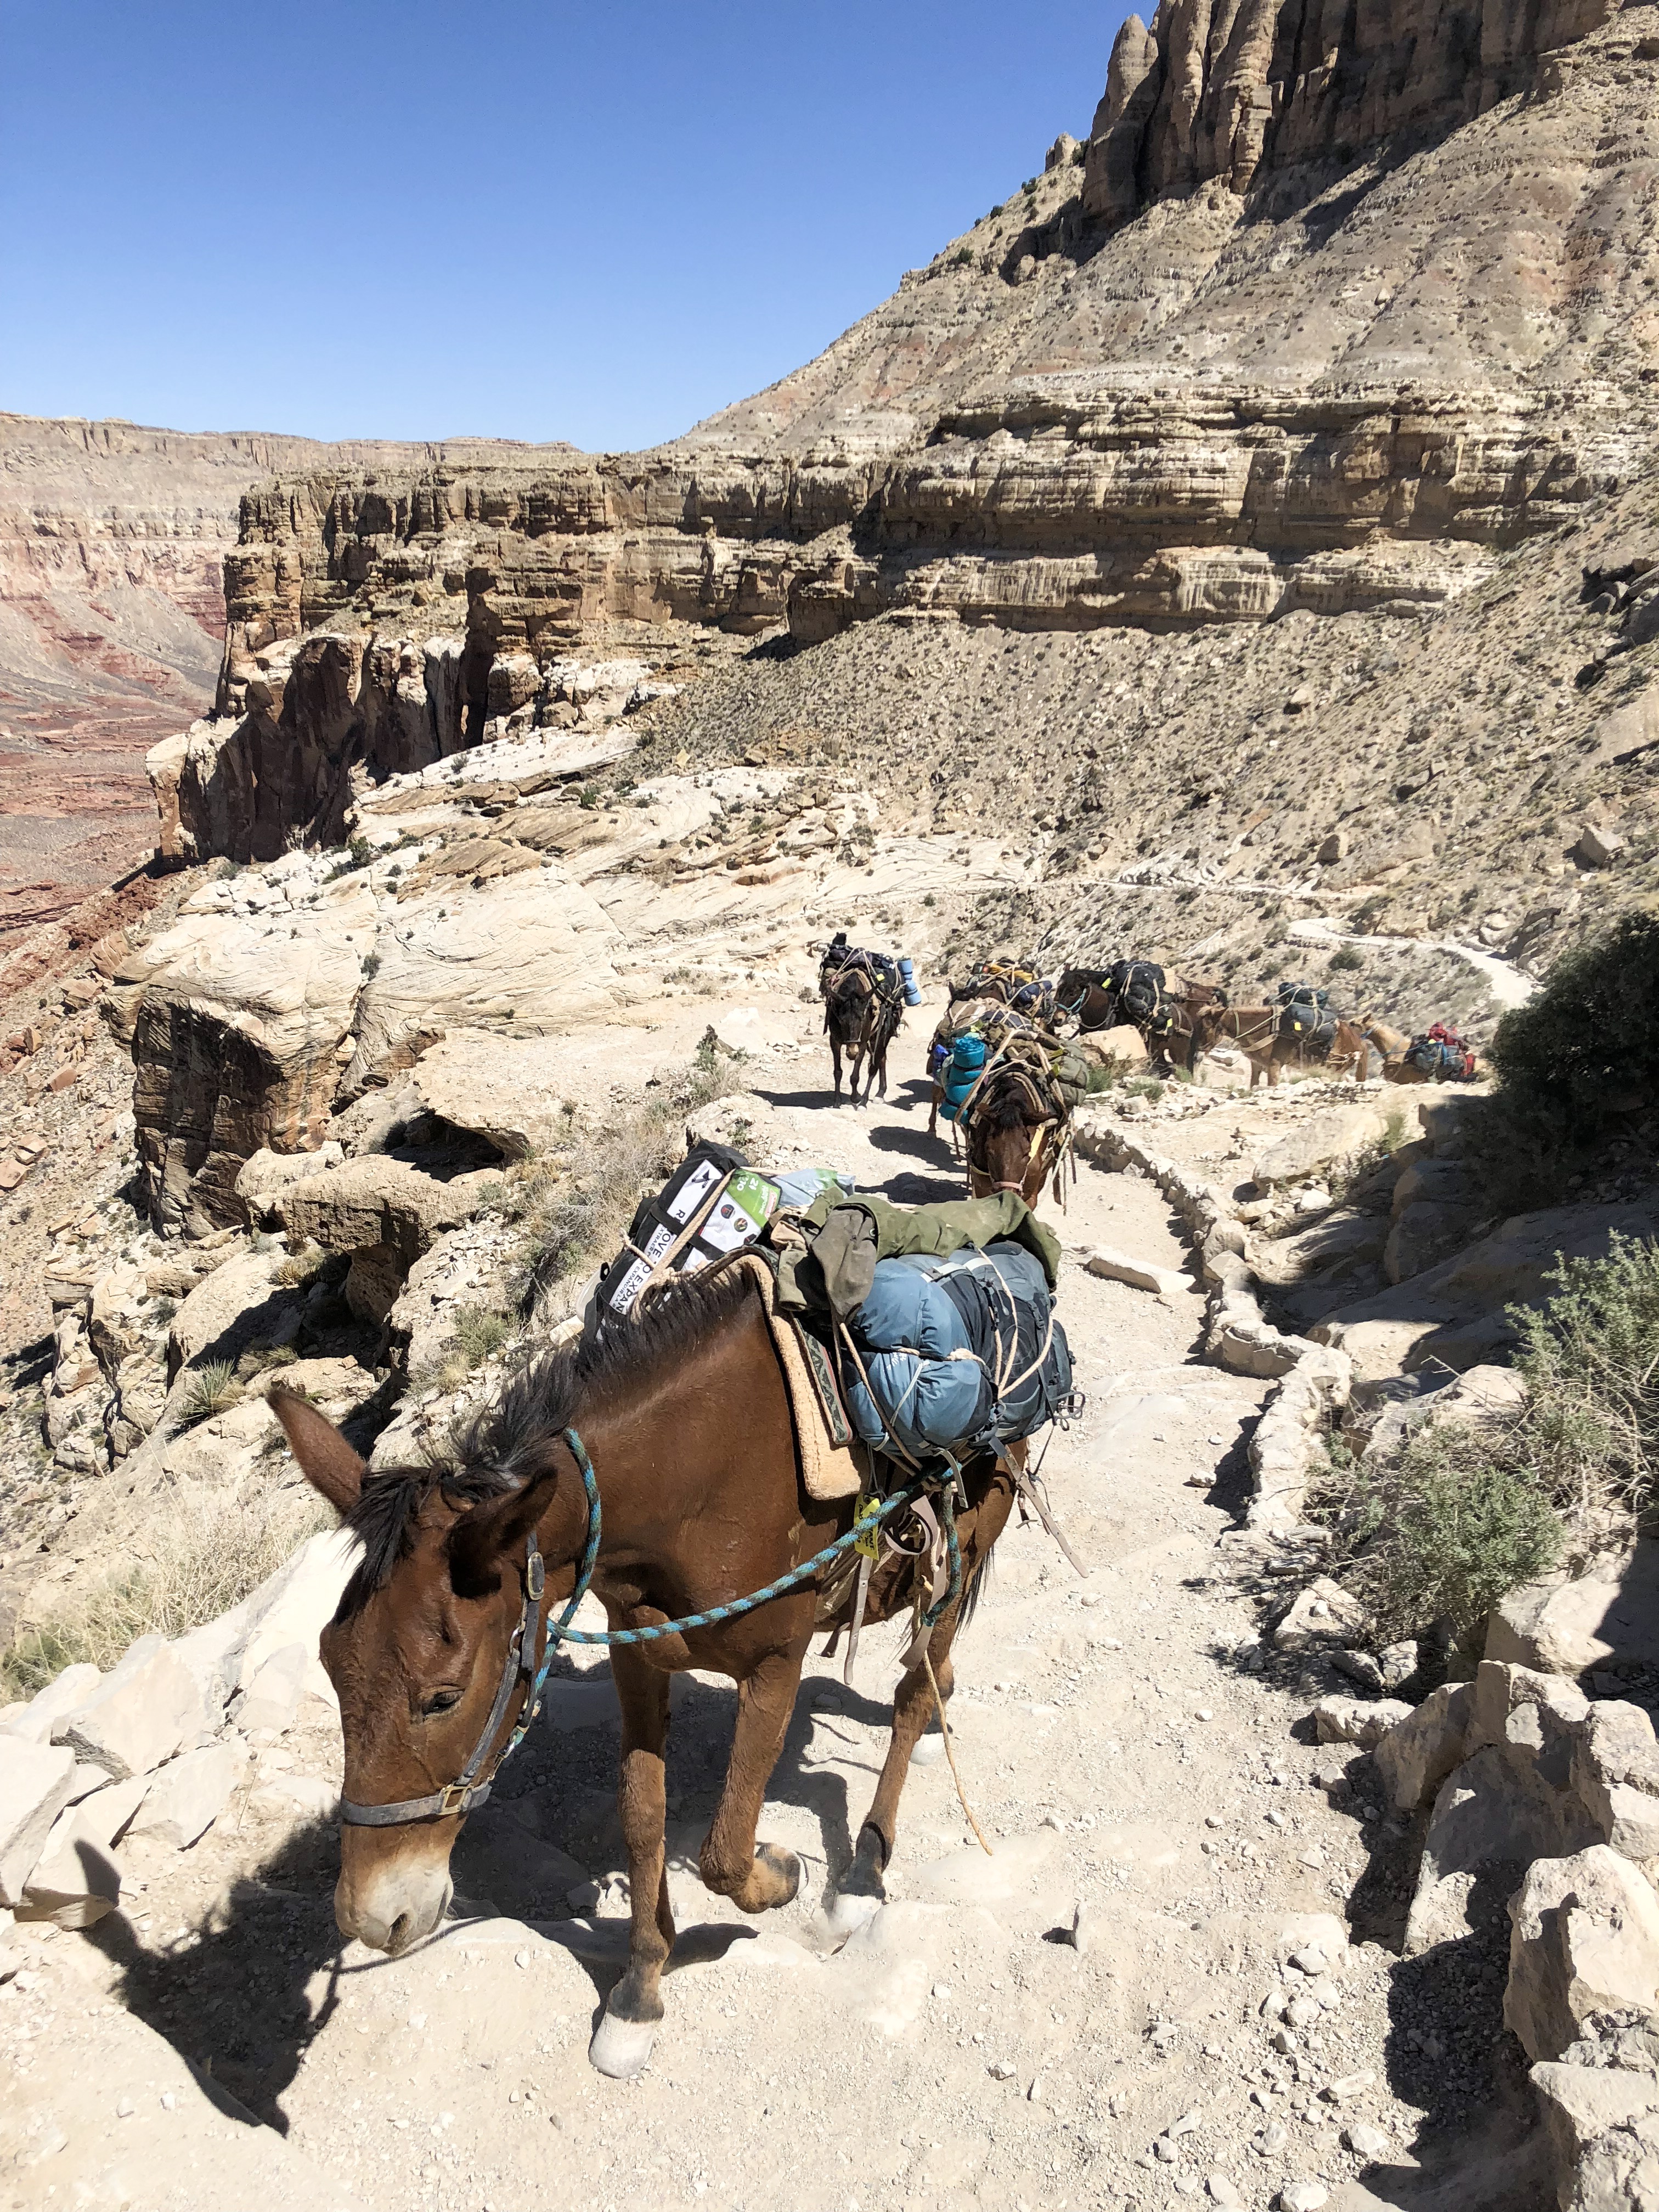
Imagine having to do this every day for 20 miles a day in the hot desert heat! Poor guys!
Check In
This office is where you will drop off your bags if you have reserved a packhorse to carry your gear. I STRONGLY ADVISE AGAINST USING THIS OPTION. The horses are known to be mistreated and spend long days carrying in loads of heavy gear in the hot desert sun. When we passed the horses on some of the farms we could see their rib cages and other physical signs of being malnourished and mishandled.
It is so much more rewarding to bring in your own gear and if you really feel that you are unable, there are other options to consider. You can take a helicopter (85$ one way and FCFS) to town and hike only two miles from there, or stay at the lodge in town allowing you to carry much less in your pack. Pricing for all of these options can be found on their website.
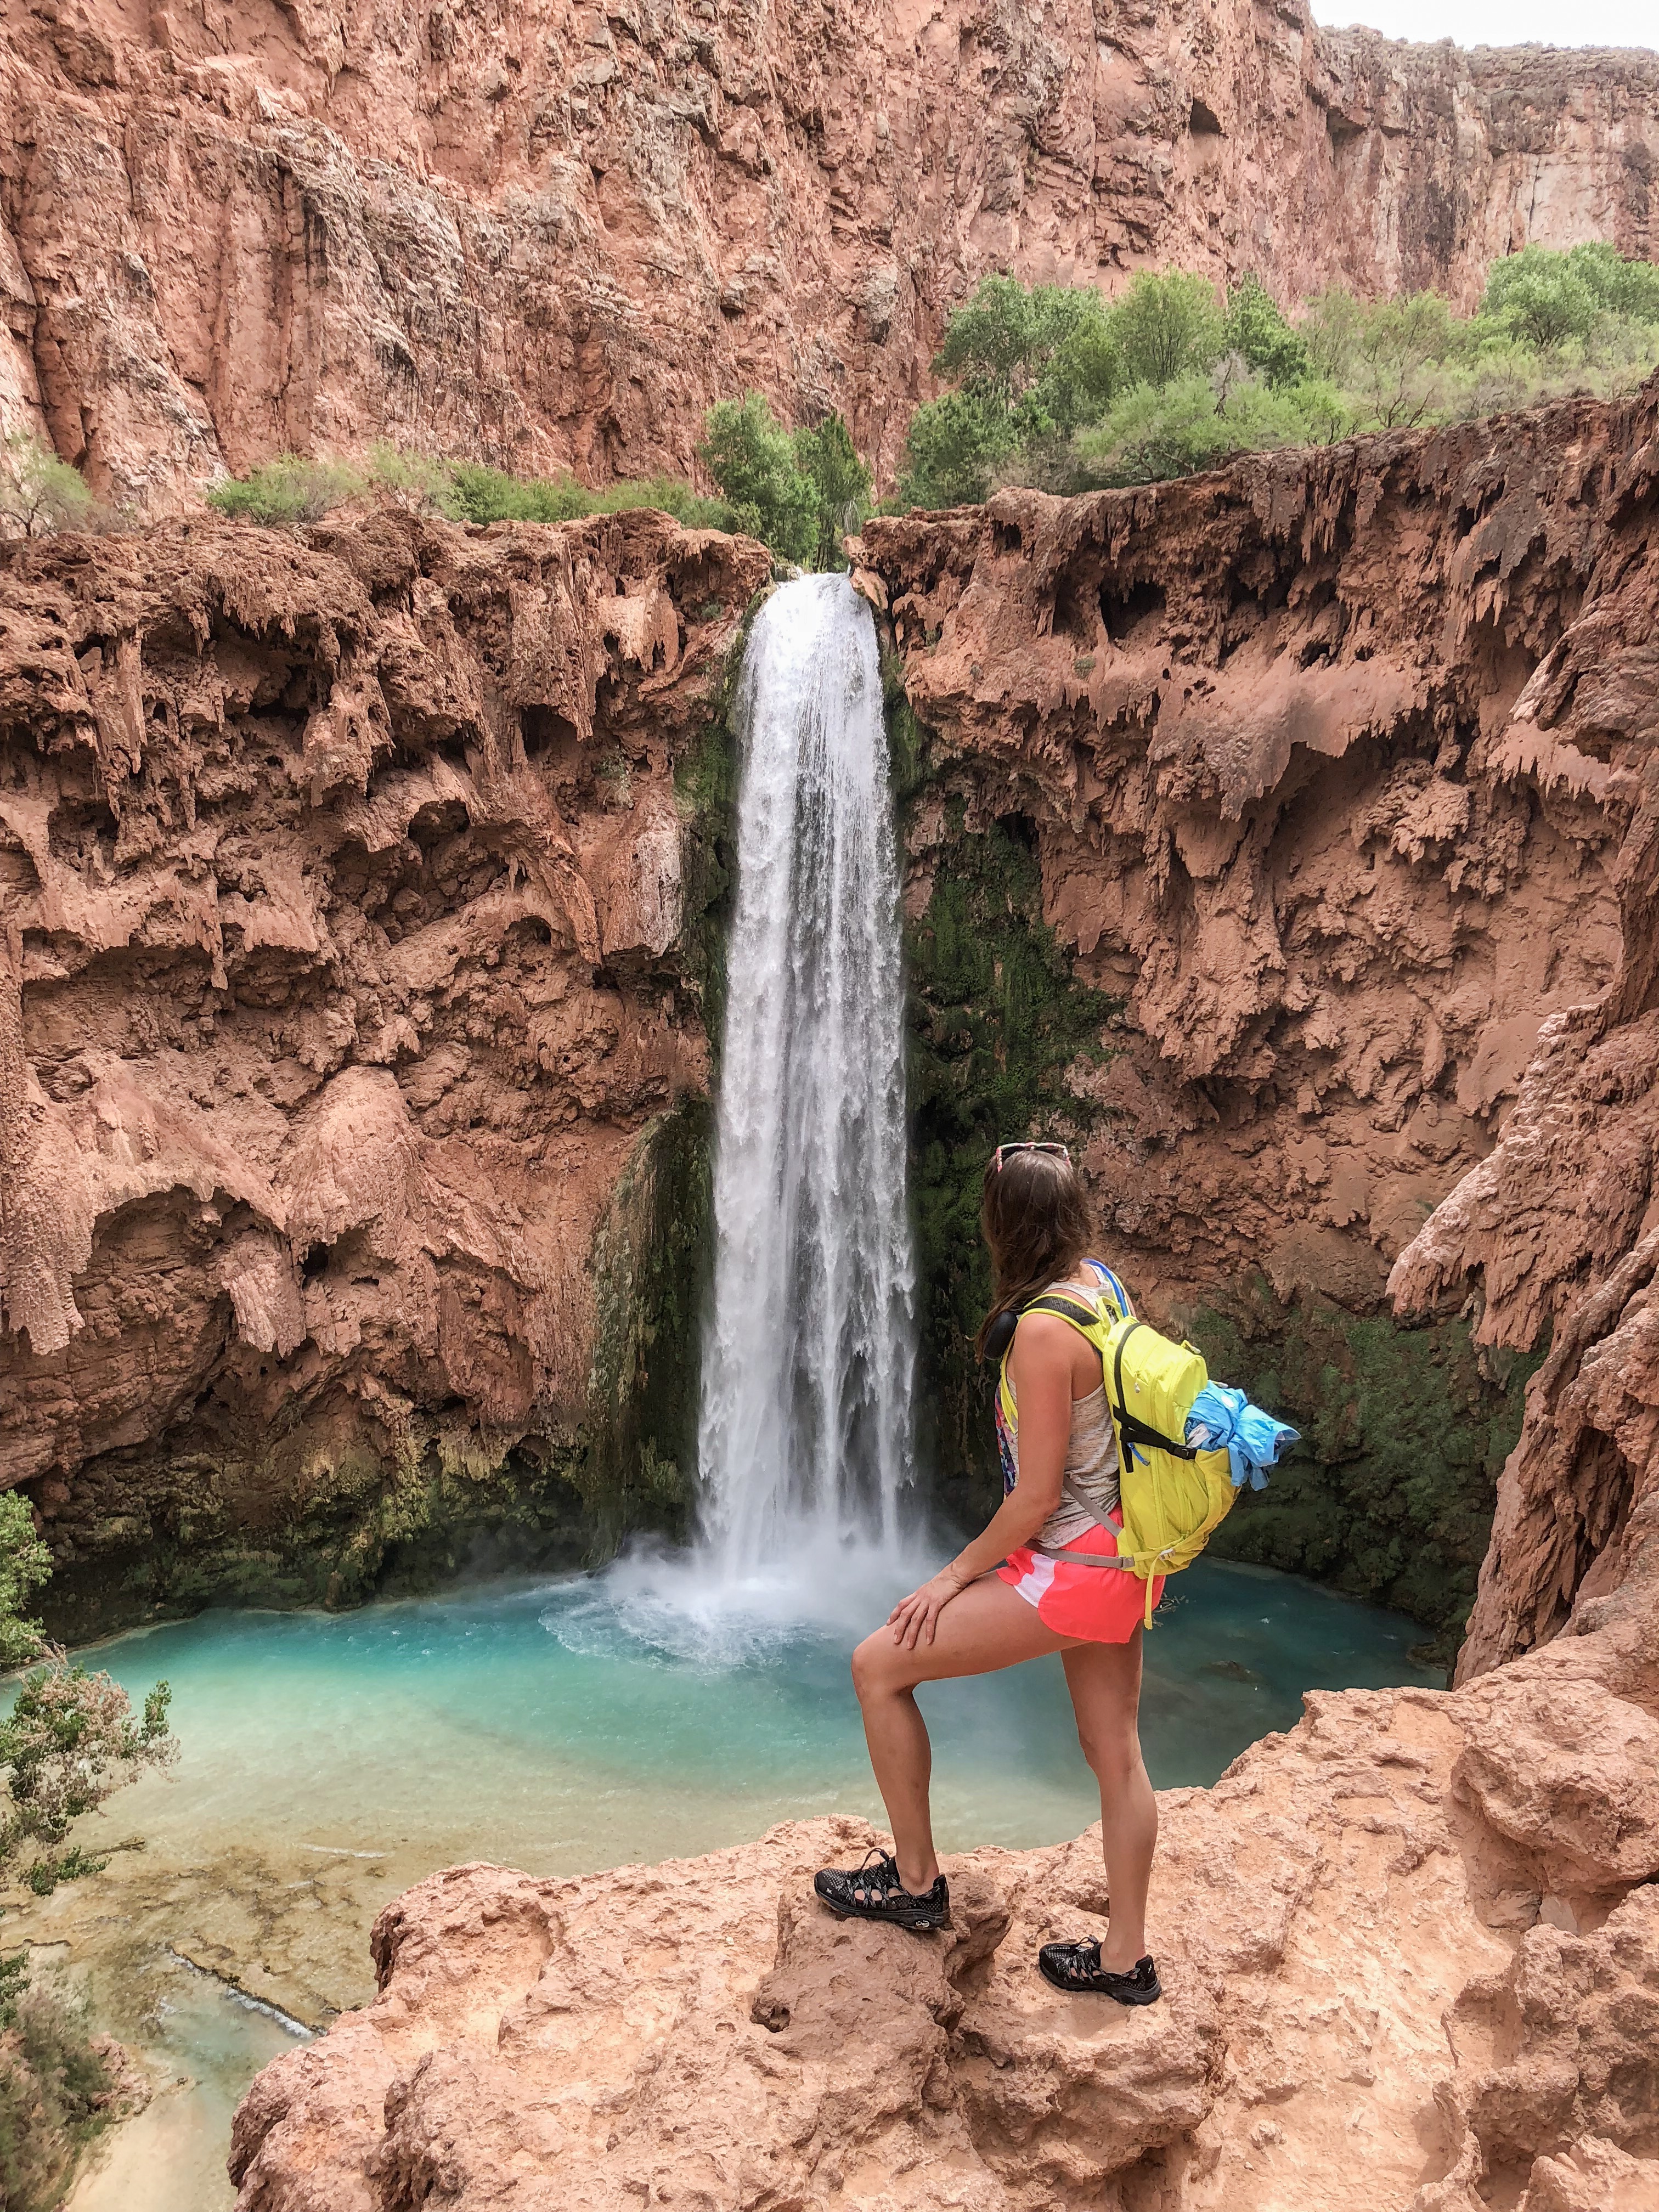
Hiking to the Falls
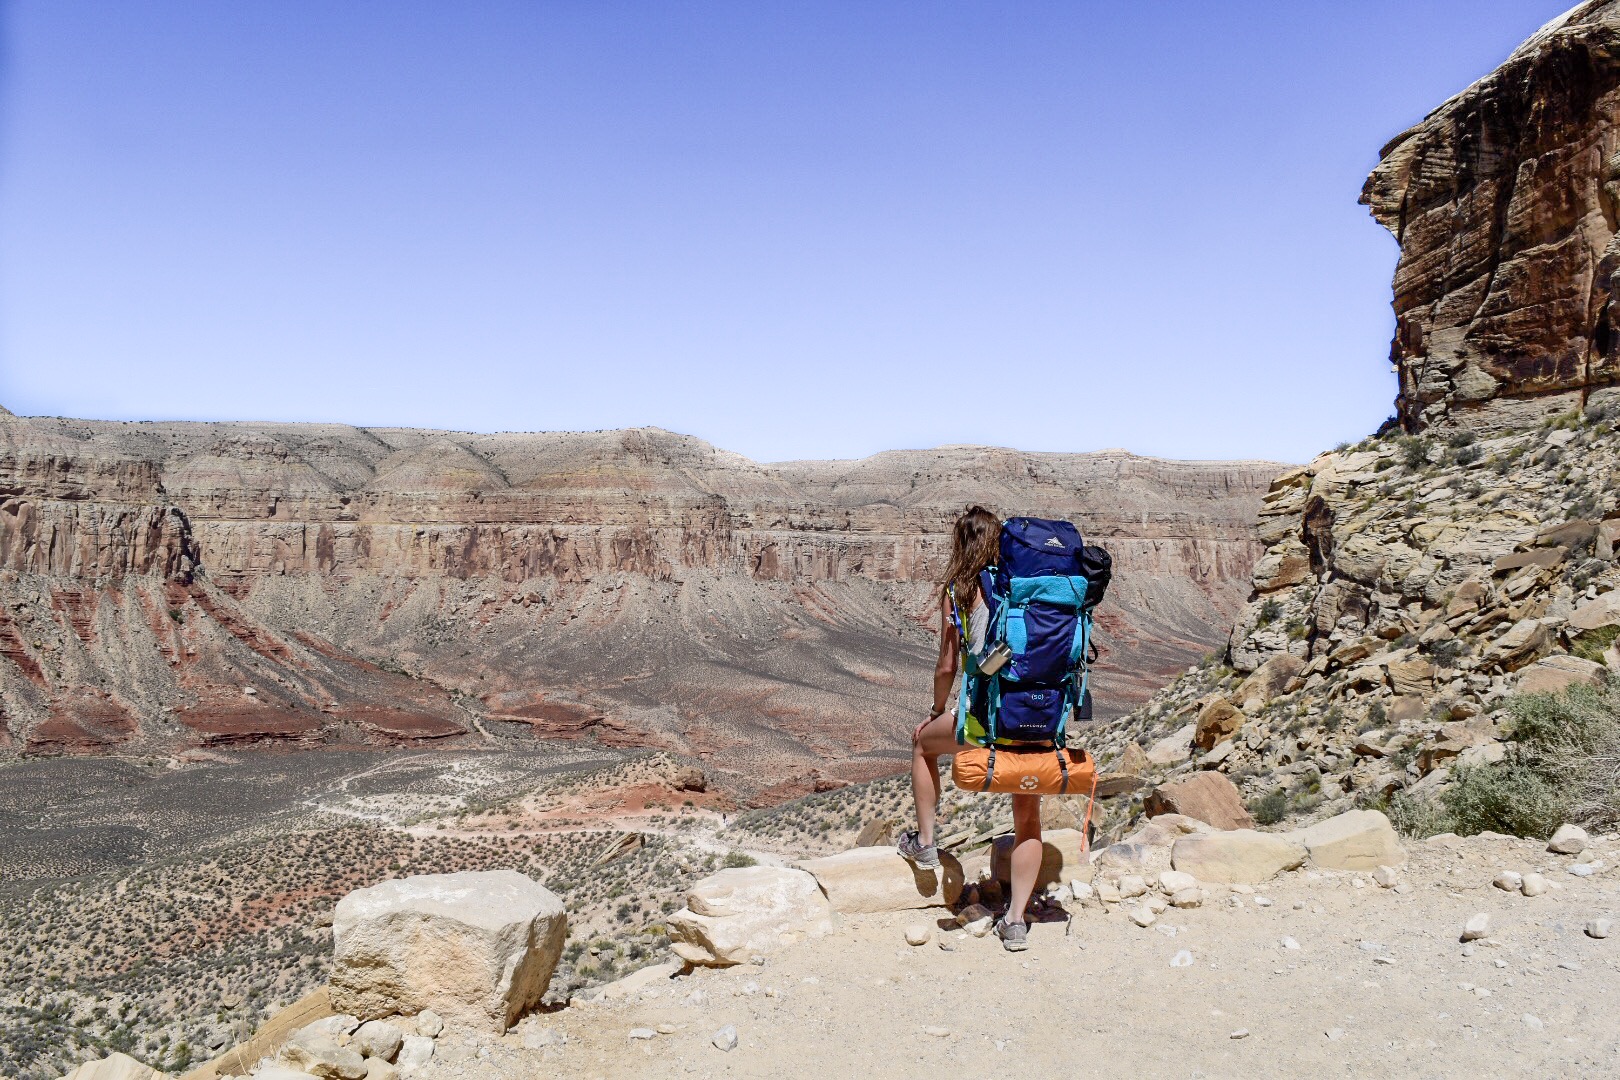
Now that you have everything ready to go, the long 10-mile hike to the stunning Havasupai Oasis can begin! The first portion of the hike is a 1.5 stretch of switchbacks curving around the mountainsides down into the canyon. This portion is a 1500’ elevation loss so watch your footing as there are many loose rocks and the sand can be hard to keep traction on.
Once you are down in the canyon, the rest of the hike is pretty mild with the remaining 1000 feet of elevation loss spread out along the 8.5 miles. You can feel the incline on the way back though, especially if you are carrying camping gear. The hike through the main canyon is incredibly unique. It felt like we were on another planet or a set for a movie on mars at points.
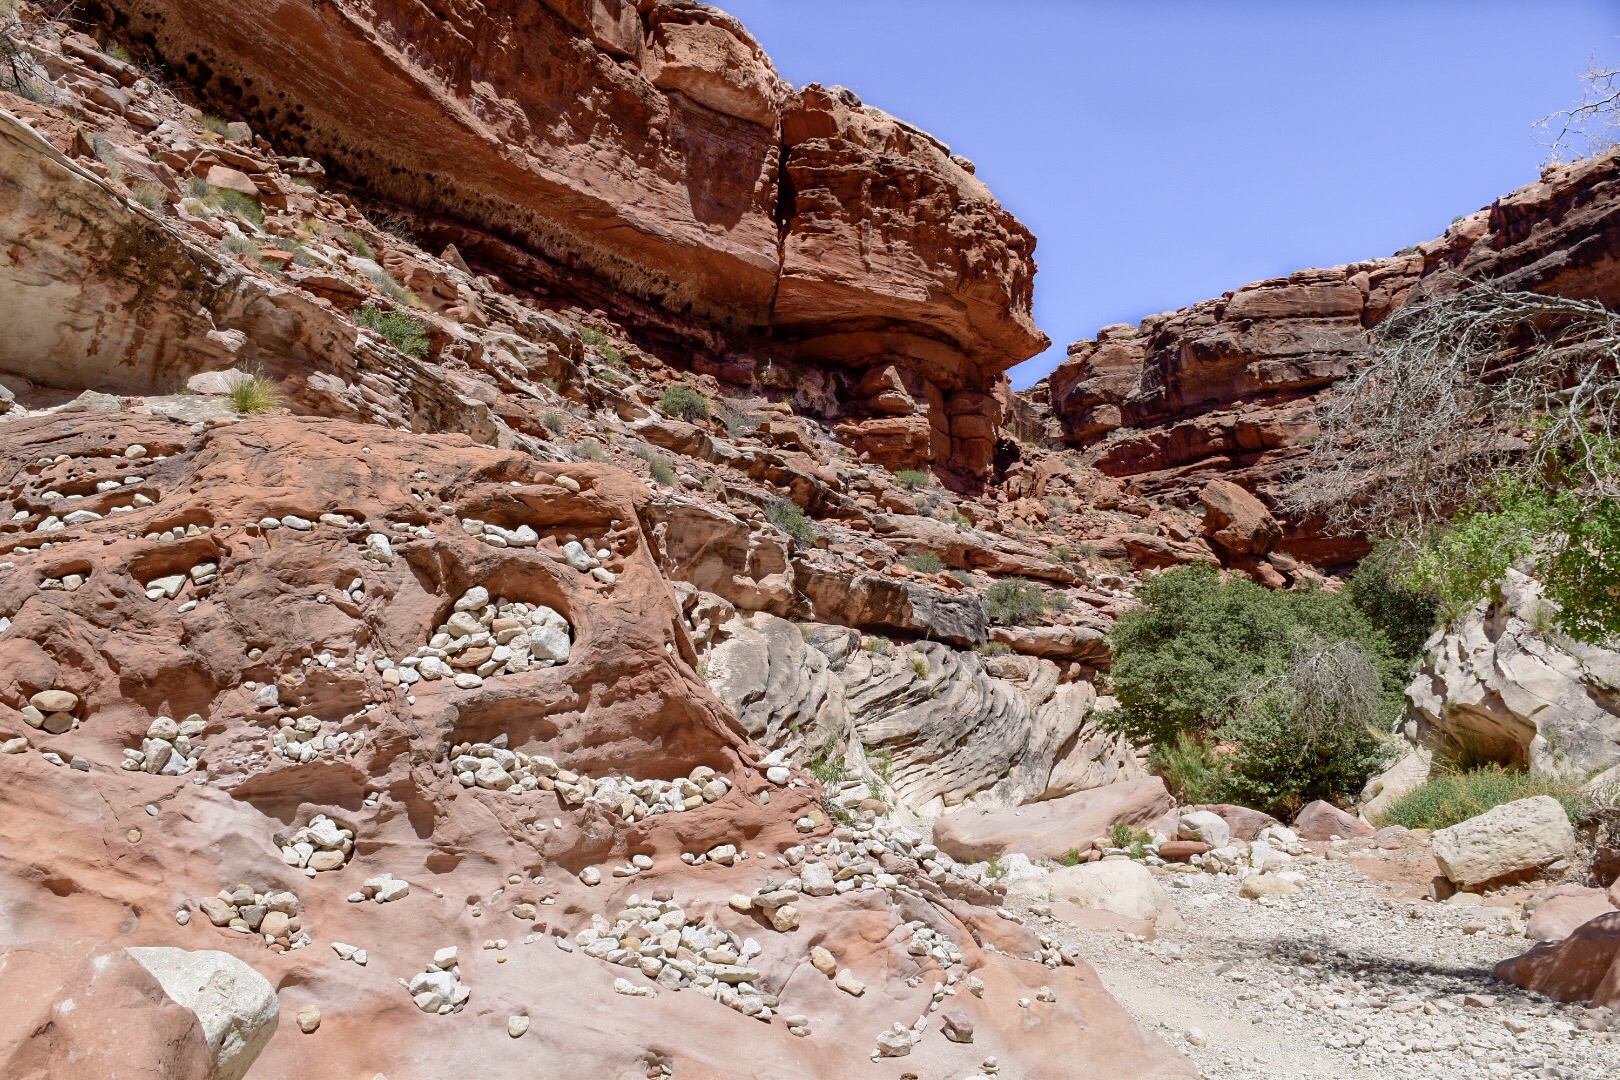
After about six miles, you will start to see a river flowing near the pathway. Once you cross the bridge you are only about a mile or so from the start of the Havasupai Village!
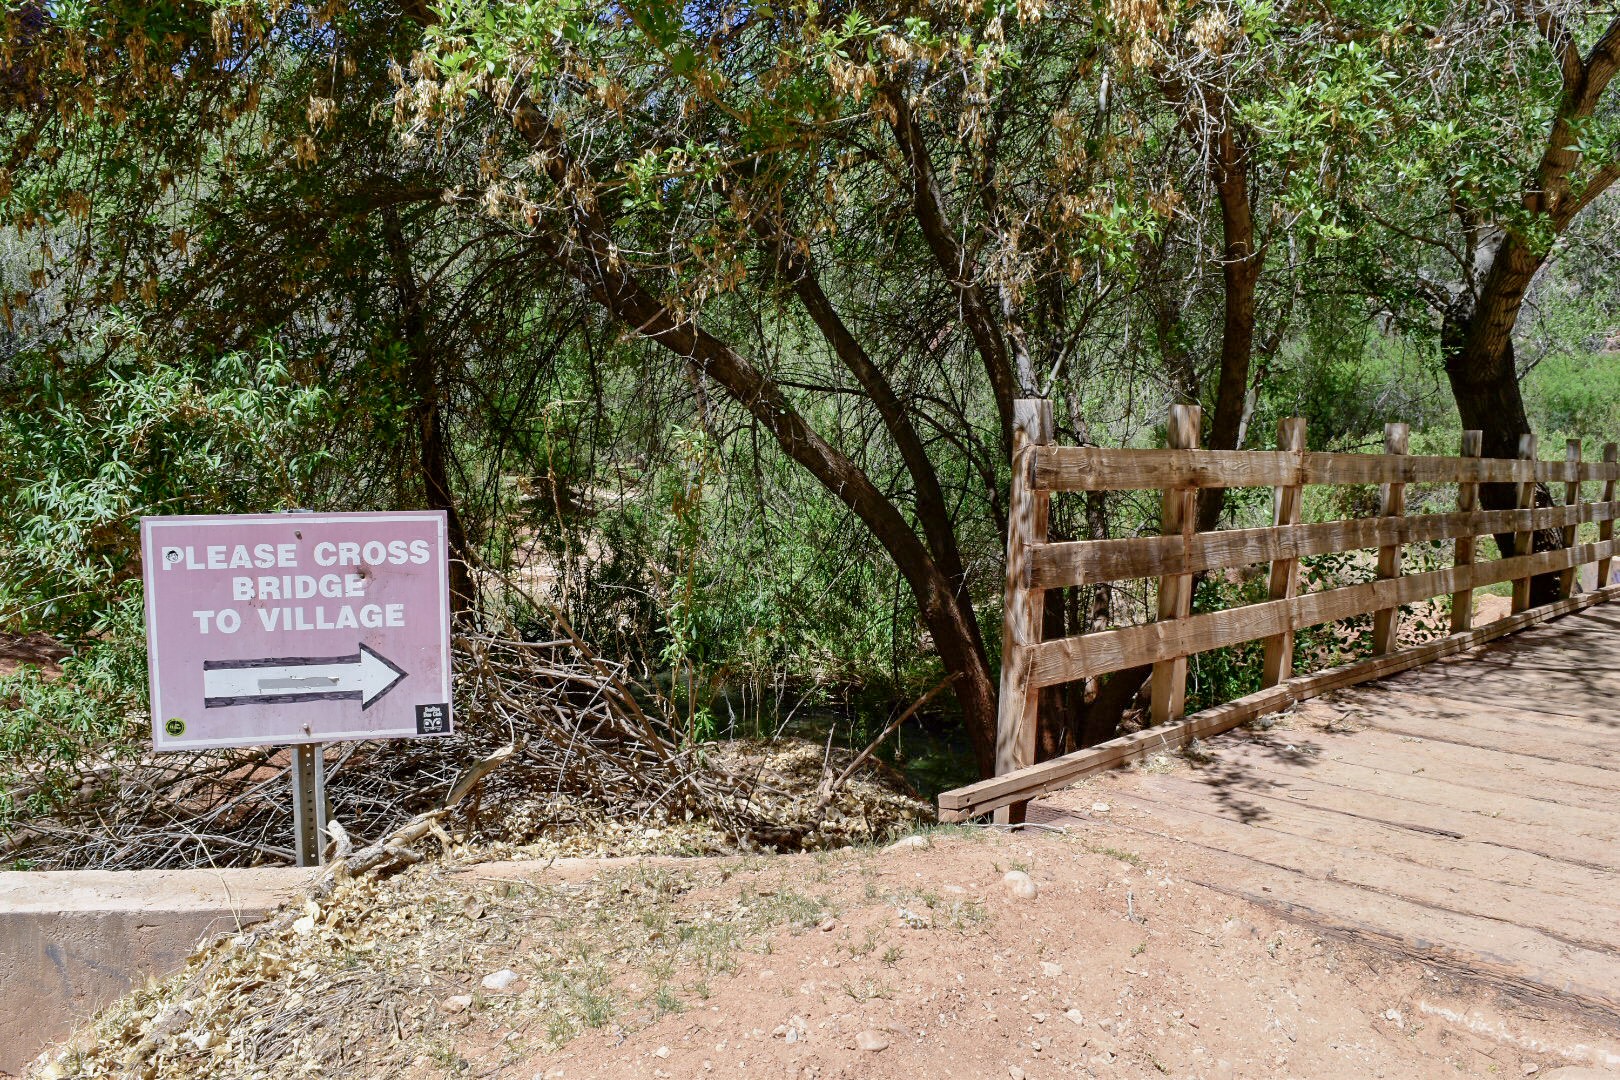
In the village there is one store and one café. If you are camping I strongly advise to make a stop here for any last needs. Keep in mind that the prices here are much higher due to the difficulty of getting supplies delivered to this remote location. If possible, I advise bringing all of your own food to save money.
If you are staying at the lodge, you can check in between the hours of 8am to 5pm and retrieve your permits. Make sure you plan your stay accordingly to the times of check in. The lodge has some basic amenities like a communal fridge, a microwave, hot plates, and two charcoal grills. I advise bringing your own food to make even if you are staying at the lodge in town. The restaurant doesn’t have many options other than fried food or burgers and is also pretty expensive.
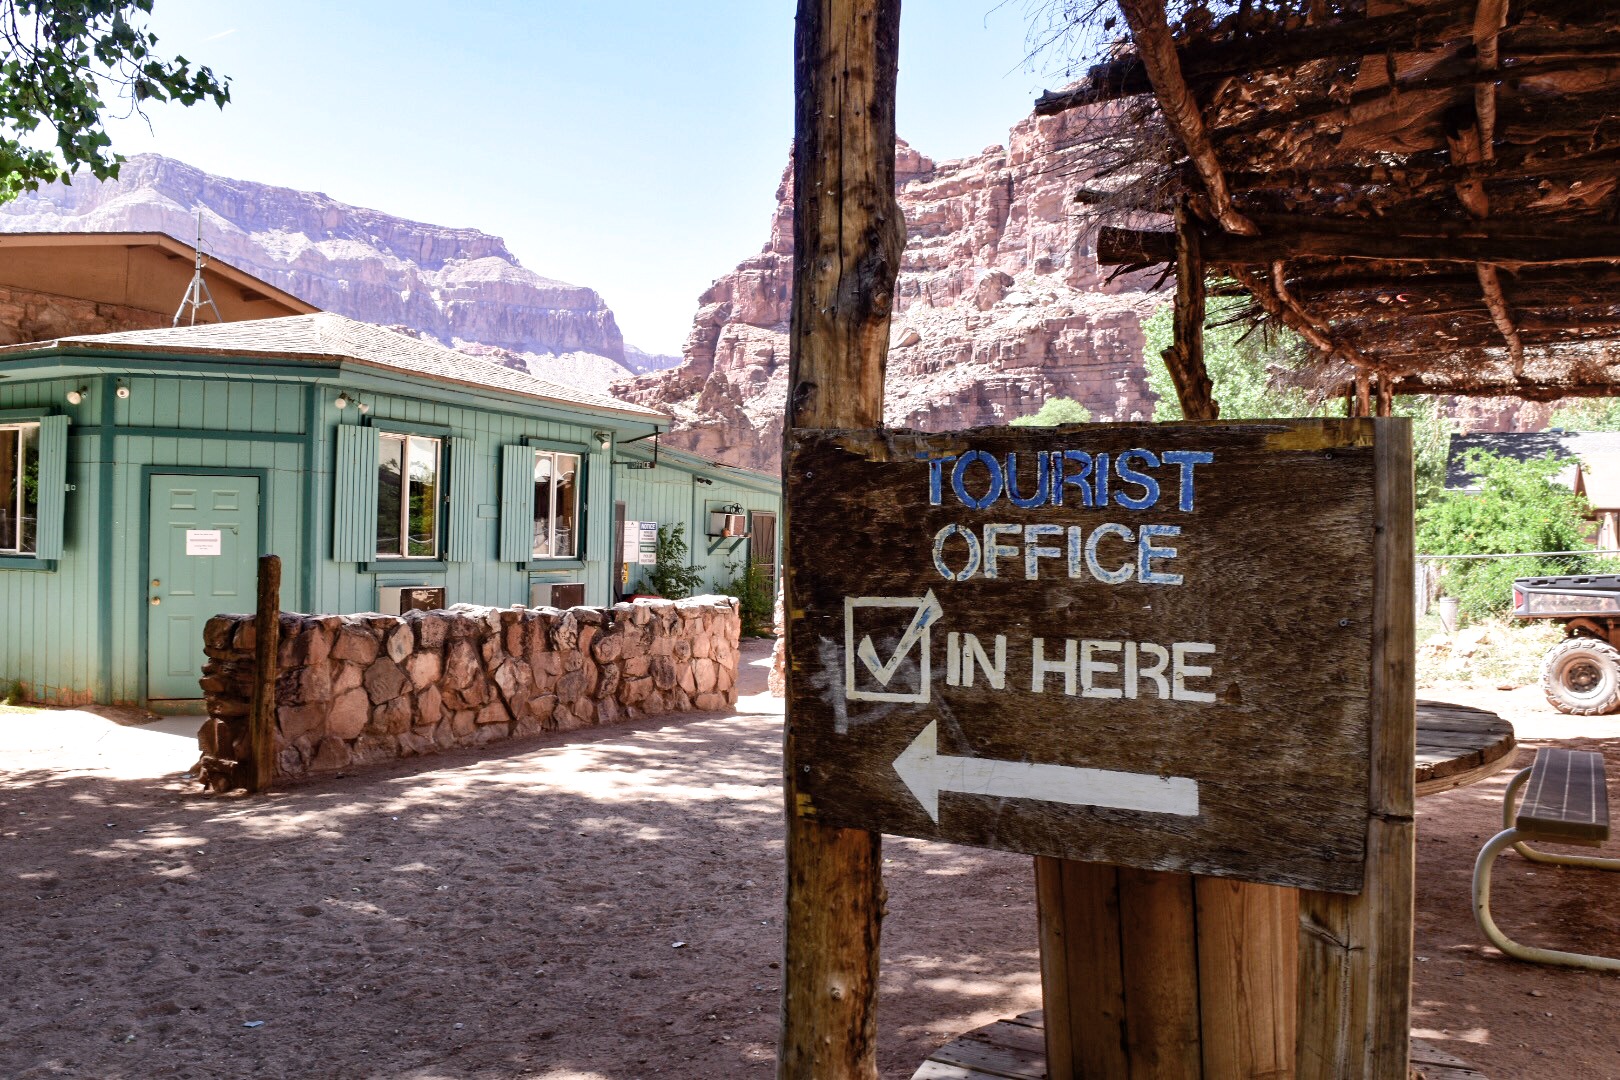
If you are camping, you will check in at the tourist office in town for your permits as well as sign a few liability waivers. Once you complete your check in, you are free to continue on the last two miles to the campgrounds.
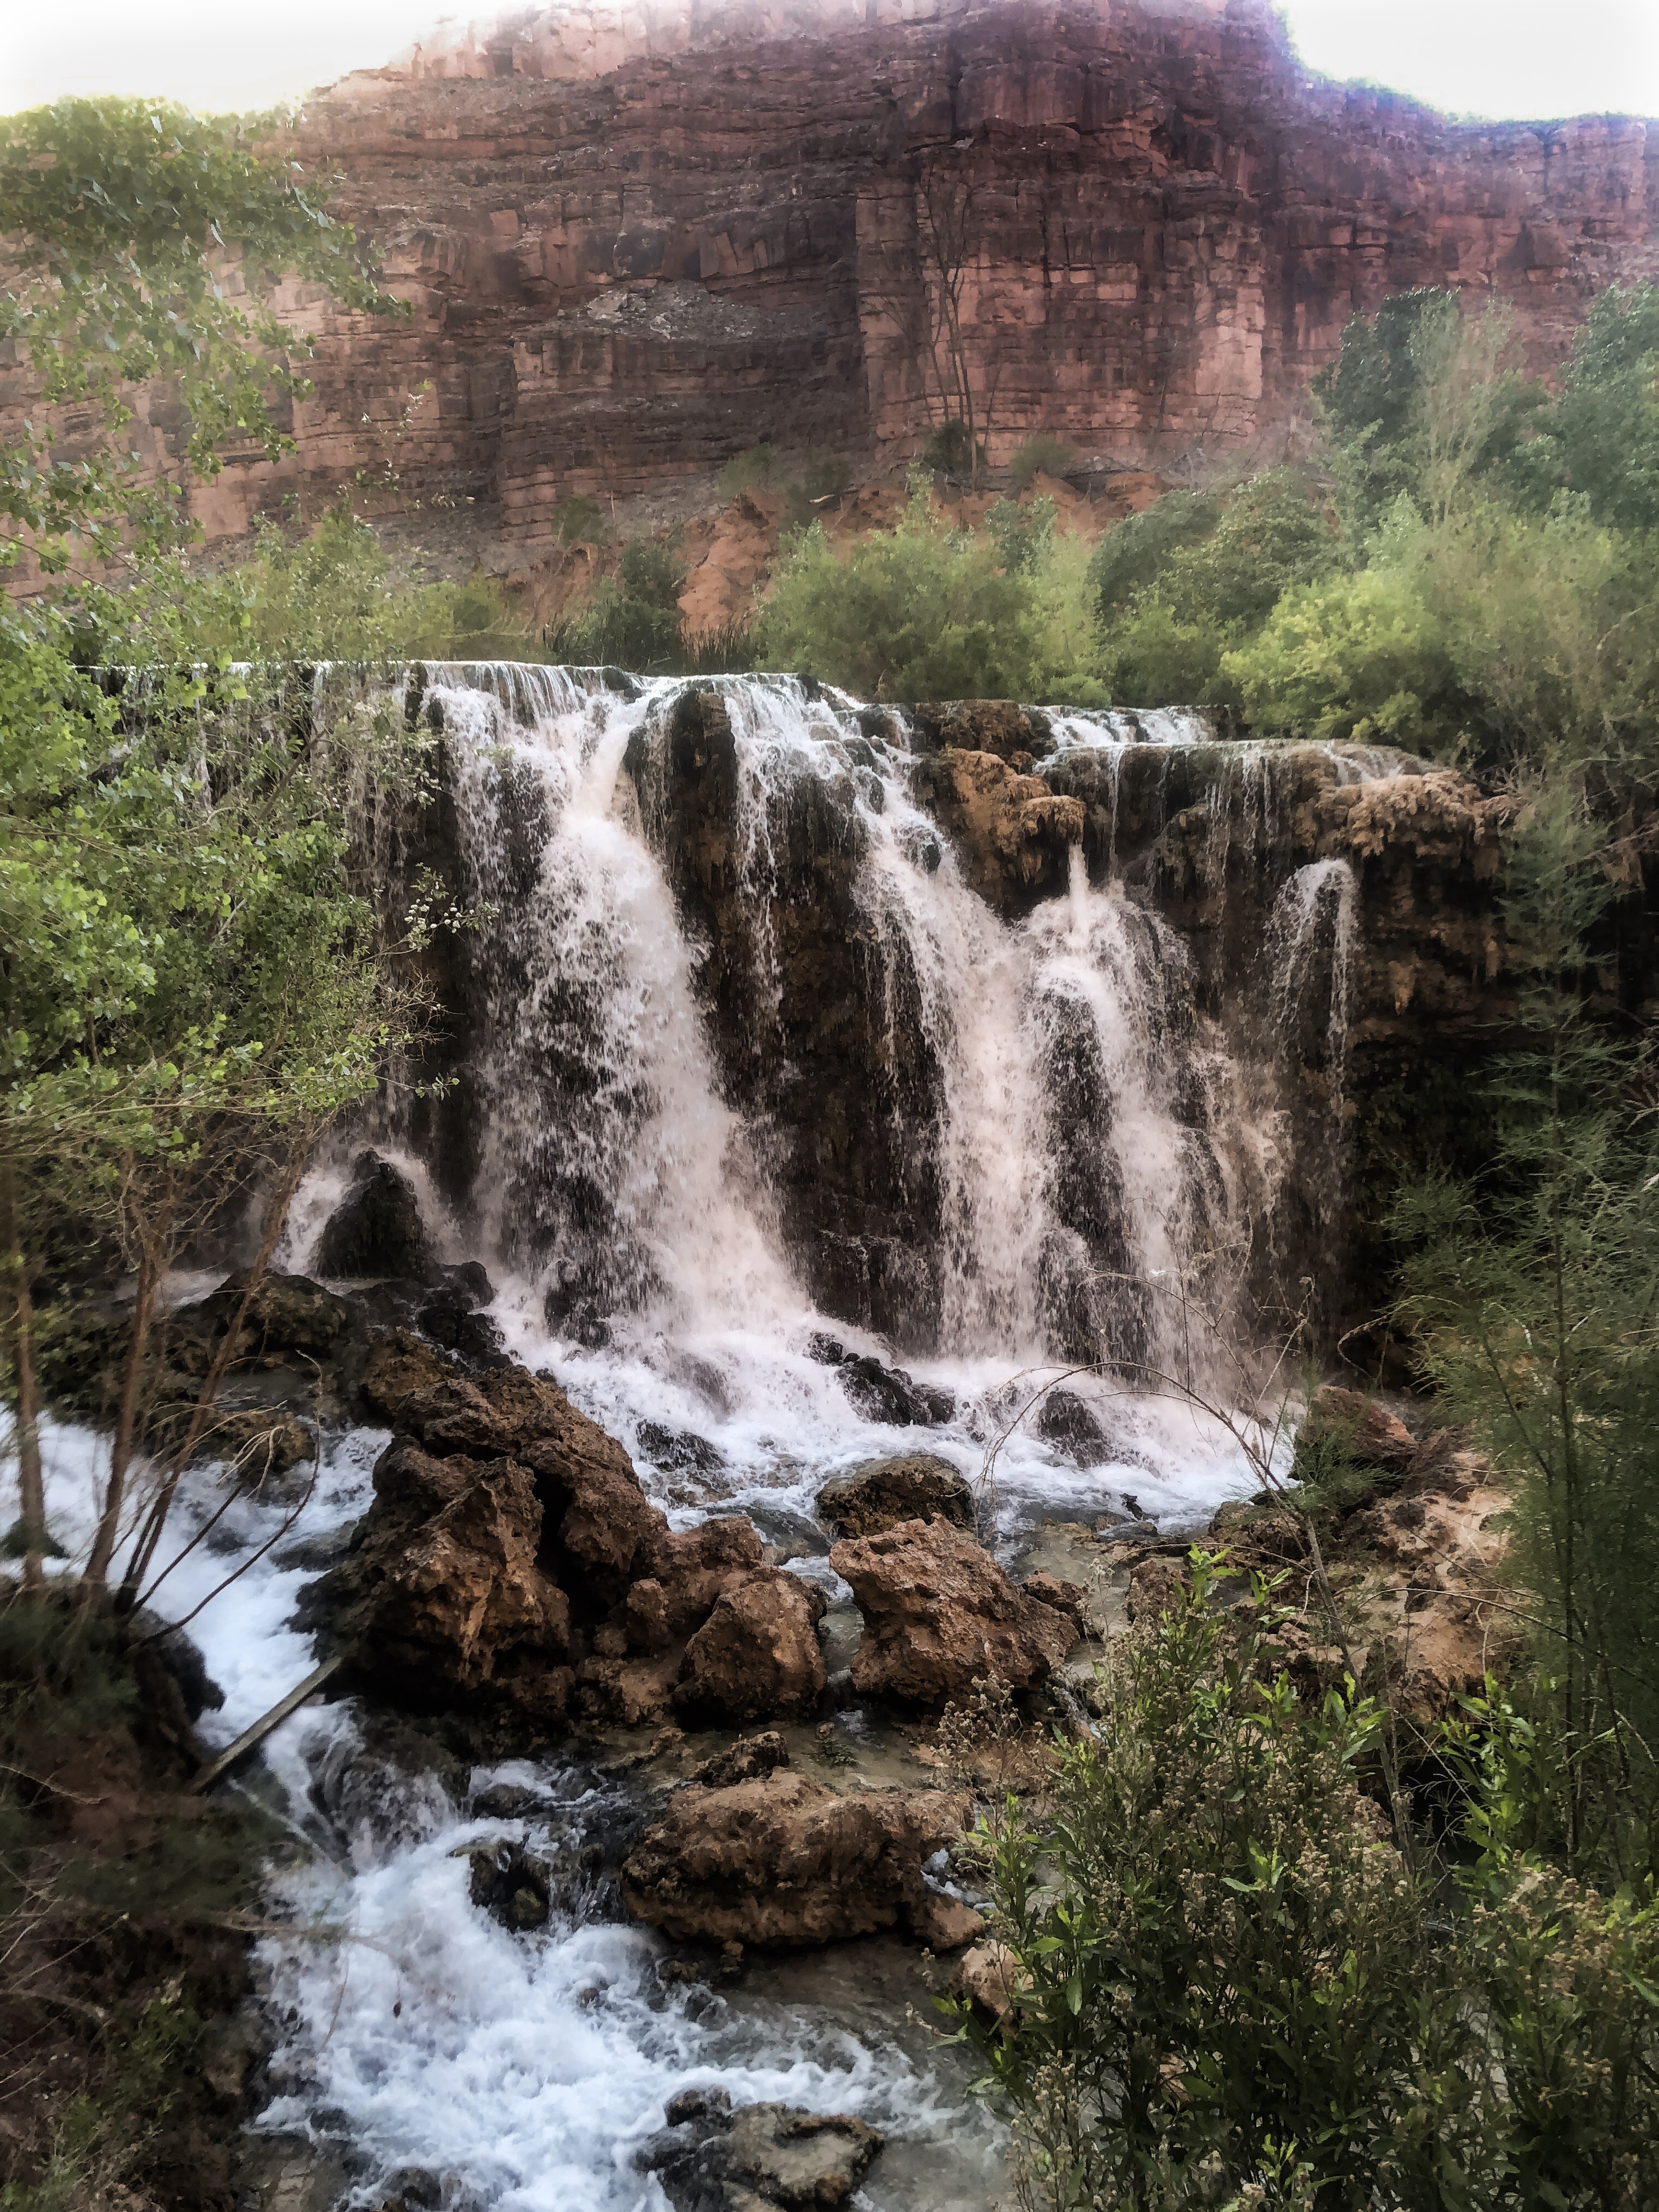
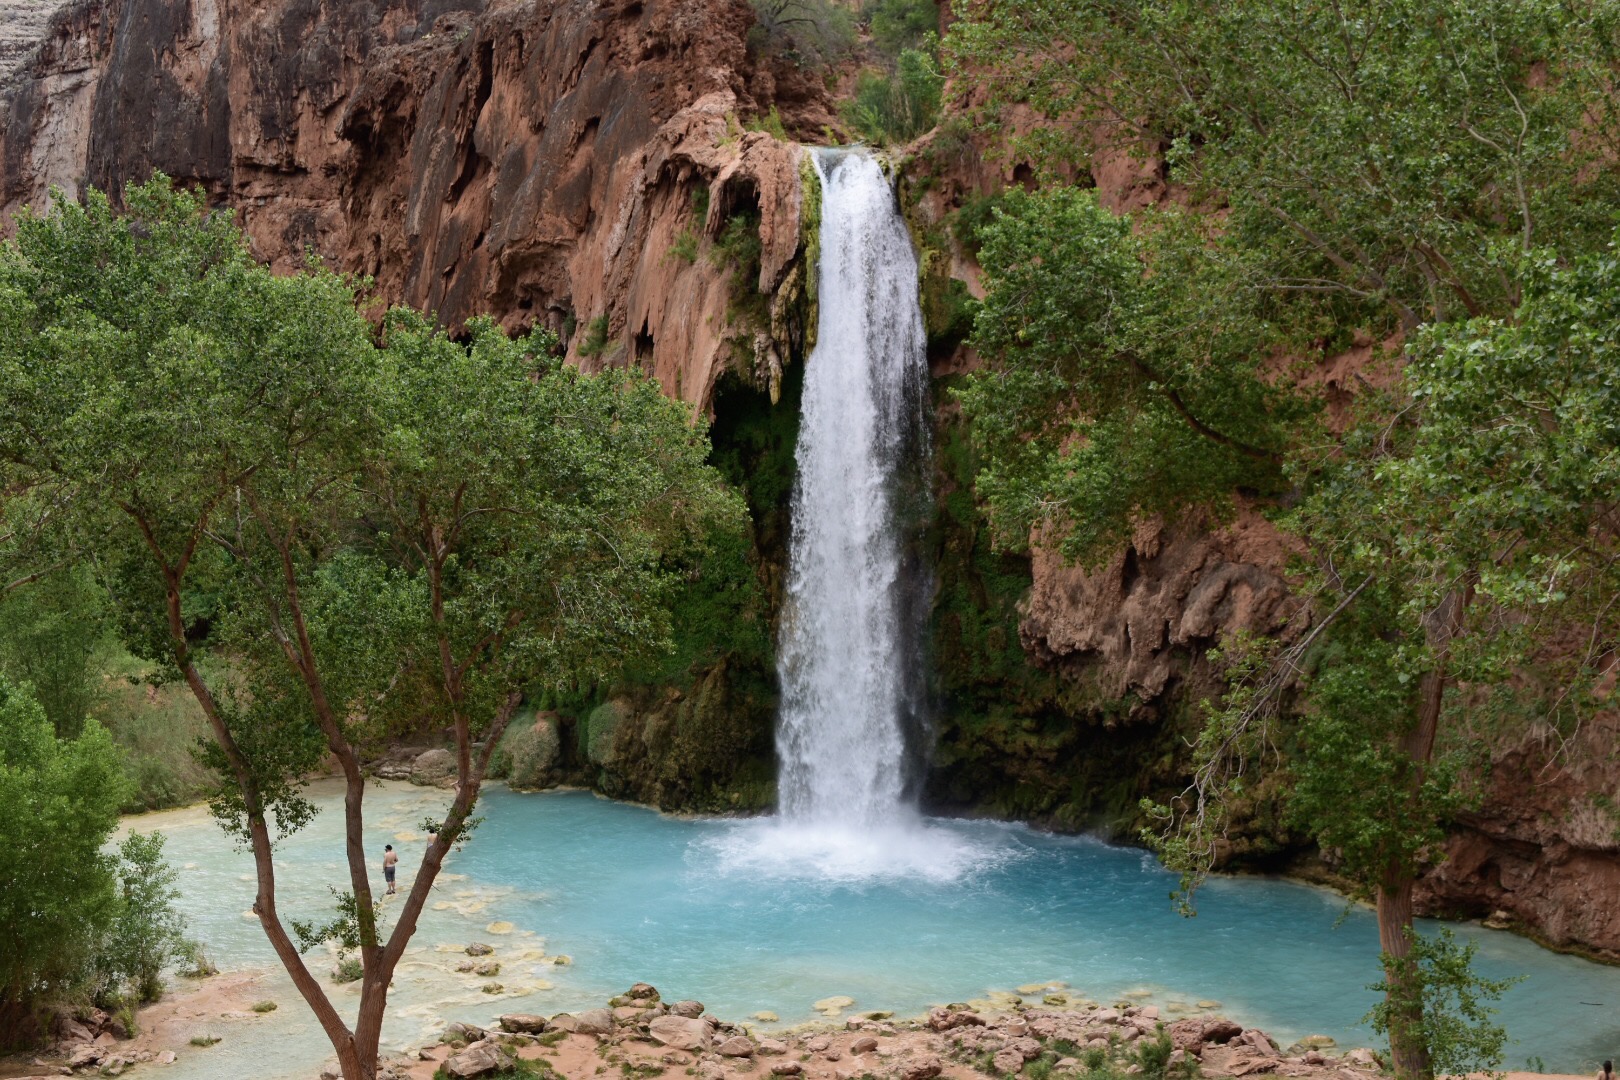
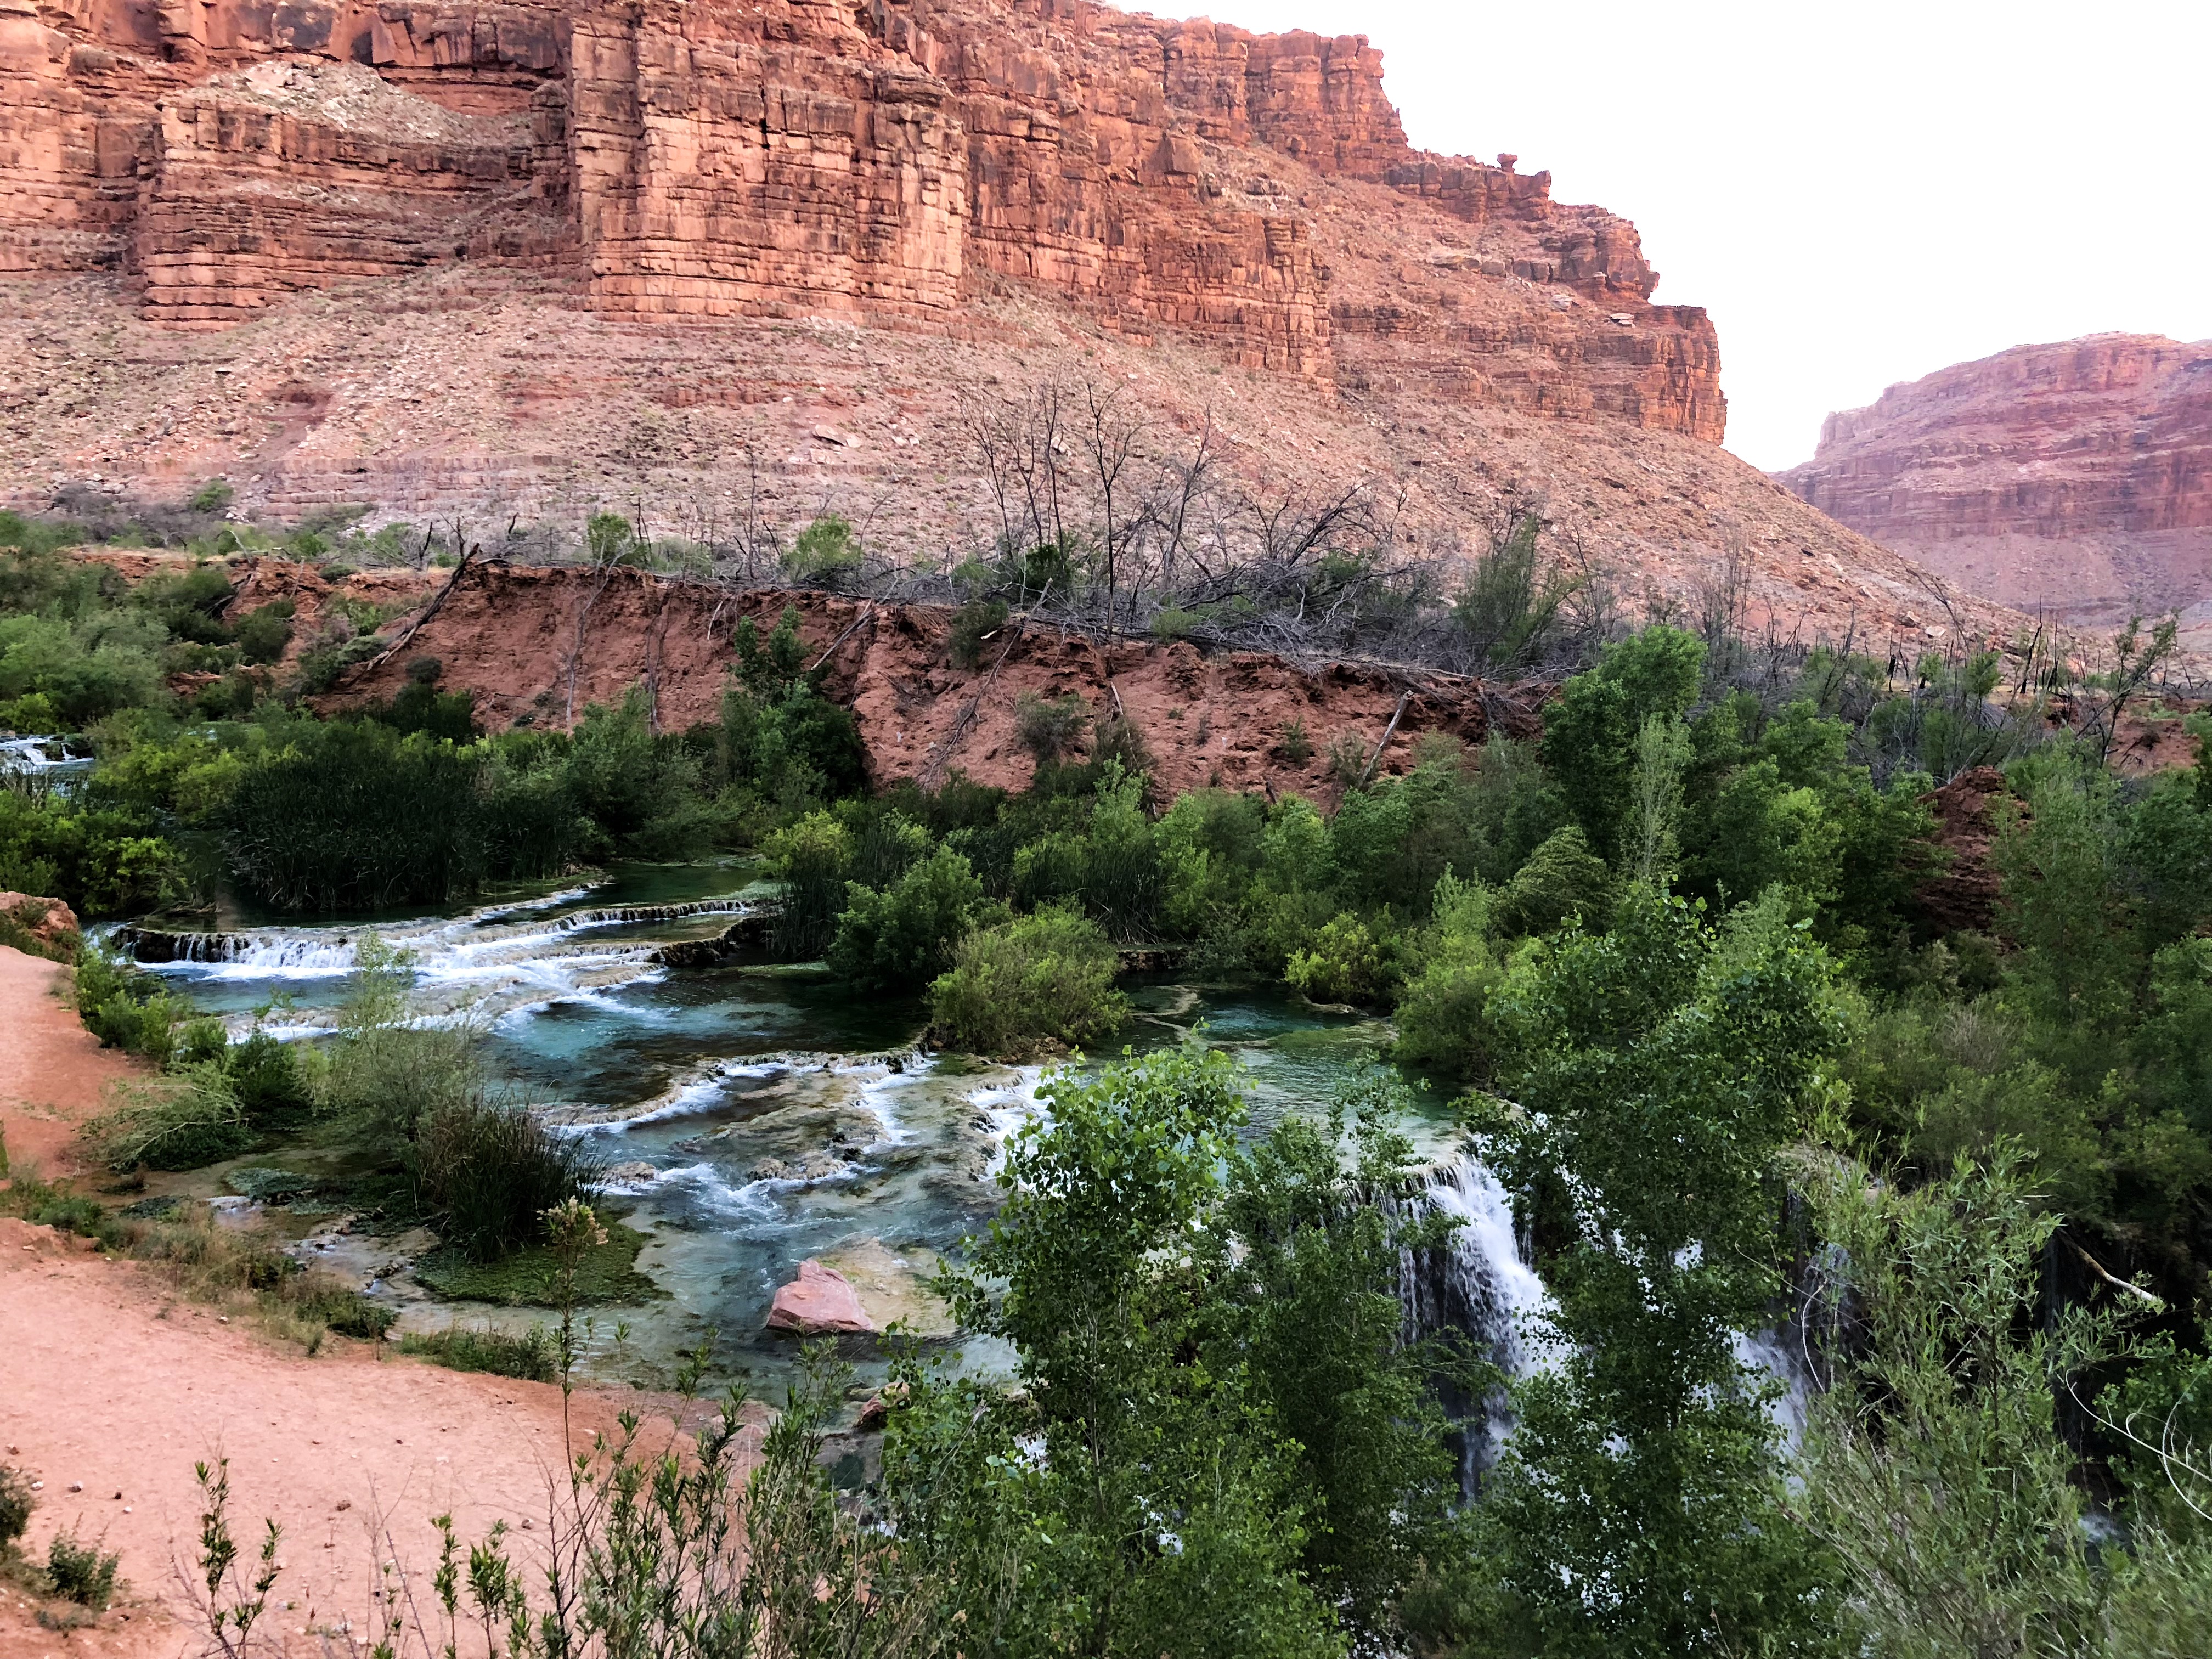
On the ninth mile you will come across the very welcomed site of the first two landmark waterfalls: Navajo Falls and 50 Foot Falls! Depending on how hot you are, you can stop here and go for a dip before continuing on. I personally recommend setting up camp first to secure a good camping space and be done with carrying the heavy baggage though!
After passing the first two falls, you will follow the river and head down a steeper decline. Around the last turn and descent to the campgrounds you will notice you are now looking out with some incredible views over Havasu Falls.

CONGRATULATIONS YOU MADE IT!
Once you arrive at the campgrounds, check in with the small office on the left before heading in to find a spot. Here I recommend grabbing a five-gallon bucket for food storage (free to use during your stay) and heading to the restrooms. If you plan to camp at the end of the campgrounds farther from the water source I recommend stopping to fill up here as well.
Picking A Campsite
Campsites are at a first come, first serve basis and cover one mile expanse from the entrance all the way to the trailhead to Mooney Falls. The last set of bathrooms (there are three total) marks the end of the campgrounds. You can easily tell apart the sites as they are cleared and some have picnic tables for use as well. There are plenty of campsites to choose from but if you want the chance at securing the “best” one, arriving earlier is recommended. In the peak season people tend to hike out before the sun comes up which opens up spots very early in the day.
There are two sides of the campground separated by a gorgeous blue river running through them. If you want more privacy and a quiet space, I recommend heading over the first bridge over the river and selecting a campsite anywhere along there. The farther you head back, the quieter it will be. Keep in mind that the only water source is at the very beginning of the campgrounds near Havasu Falls. A farther hike in translates to a farther hike out on the day you leave as well!
We lucked out and got the first campsite across the river, which was totally private, had a picnic table, and was close to the entrance! Win-Win!
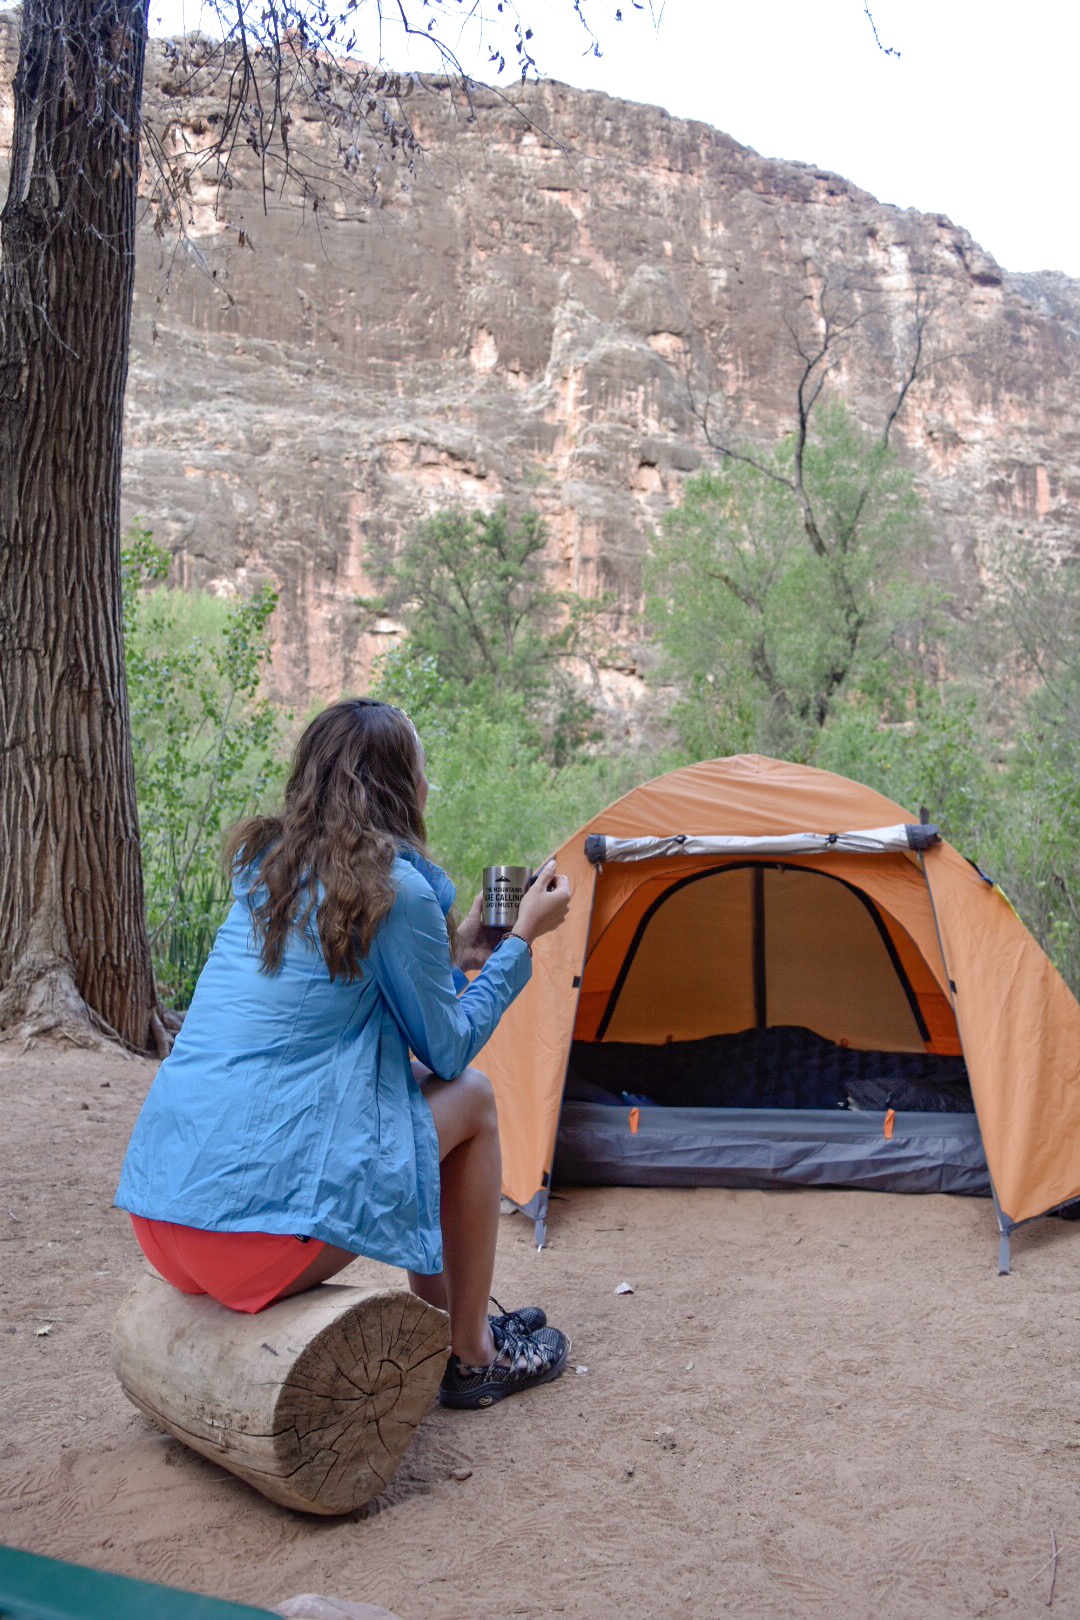
Camping and Hiking Tips
- PRACTICE PROPER FOOD STORAGE – Unless you want to hike two miles back to the grocery store in town or pay 14$ for a taco or hotdog on site, I highly recommend you take this advice to heart. Pick up a five-gallon food storage bucket at the entrance of the campground. They are there free for you to use. If there are no buckets left, leave your food double bagged and hanging from a tree (NOT IN YOUR TENT).
- We thought our bag with food was safe on our picnic table and were very wrong. We came back from our day hike the second day to find our food spread out everywhere and half of it pecked through or completely missing! A pesky squirrel also chewed several holes through our dry bag in the small time we set it down to enjoy one of the falls. Be aware of your belongings and hang anything that contains food (including garbage).
- LEAVE EARLY – Plan to hike back out EARLY to avoid the blazing sun in the summer months because it is advised not to hike the trail during the mid-day hours. The trail will close if it reaches anywhere above 115 degrees Fahrenheit. Make sure to carry ample water and snacks. The trail does not have any stops for nourishment until you reach the town of Supai eight miles in. If it is very hot, I recommend taking several breaks in shaded areas and even resting there until the sun goes down to avoid overheating.
- WEAR PROPER FOOTWEAR – I recommend wearing low ankle/breathable hiking boots or very sturdy gym shoes with ample traction. The terrain is mostly rock or sand and can be slippery in spots where the sand is laying over the rock especially in the beginning of the hike. Make sure the shoes you have on are okay to get dirty and dusty! Wear high ankle socks as well to protect your skin from the dust. Bring a good pair of water shoes or covered water sandals to hike into the falls with. The ground is sharp and rocky from the mineral formations and would not be fun to step in barefoot!
Packing List
There are a couple things that I wish we had brought (apart from the customary backcountry camping amenities) that would have made our lives a whole lot easier. This is not a complete list of what to bring, these are just items that I would have brought specifically for this trip. Lookout for my full all-season backpacking gear list in the next coming week for a more detailed list of what to bring for backcountry camping in the wilderness!
- Cash– this is not something I would normally think to have on a camping trip but because there are no credit card machines around cash is imperative here. If you want to purchase any hand-made items in town or food at the small pop-up stand at the campsite you will need physical money. If you don’t have cash and run out of food you can consider yourself SOL so make sure you have some on you in case!
- String– this is great for hanging trash bags, wet clothing or shoes, and any other items you may not want lying around the tent or on the sandy ground.
- Collapsible Water Jug– there is a natural water source here but there is only one at the beginning of the mile long campground. Having a large five-gallon collapsible water jug will help cut trips back and forth to the campsite down immensely. You can find these for a reasonable cost on Amazon. (link)
- Slip On Sandals– The terrain in the campgrounds is full of sand and dust. Putting on gym shoes or wet water shoes to use the bathroom or even walk around the campsite is just plain annoying. Bring a pair of cheap flip-flops to make the process easier on yourself and keep your tent and feet as sand-free and dry as possible.
- Dish Soap– you can buy this at the store in town but I recommend just bringing a small squeeze bottle and rinsing your dishes out in the nearby river.
- Trekking Poles– Trekking poles really help evenly distribute the weight from your pack to the rest of your body. It also helps with stability, which is great for the sandy inclines that can be slippery. Grab a pair that can collapse easily and store in the side of your bag like these (link here).
- Solar Powered Charger– there is no lack of sun in the desert but there is a lack of electricity. If you have anything you may need charged like your fitness watch or cell phone, I recommend checking out a solar charger like this one (link).
- Hammock – I didn’t realize there would be so many trees in the area and a lot of people brought their hammocks to nap in or set up around the falls. I immediately regretted not having mine. There are a few good options on amazon that can fold up and pack away easily (link).
- Headlamp (with a red light setting)– A headlamp is great for rummaging around at night for things and for hiking to the falls to watch the full moon rise. I would recommend getting one with a red light setting especially if you are planning to do some night photography just to make it a bit easier on yourself and other people around. The bright white light can be a bit much and can disturb other campers around when walking by.
Hiking to Mooney Falls, Beaver Falls, and the Colorado Confluence
If you are planning on getting the three or four day permit to enjoy more time at Havasupai, I recommend checking out some of the other waterfalls a bit farther along the trail towards the Colorado river (past the campground). Mooney Falls is the first waterfall you will come across located at the far end of the trail a mile or so past the beginning of the campground. This waterfall is the largest at over 200 feet tall and is equally as stunning (and blue) as Havasu Falls.
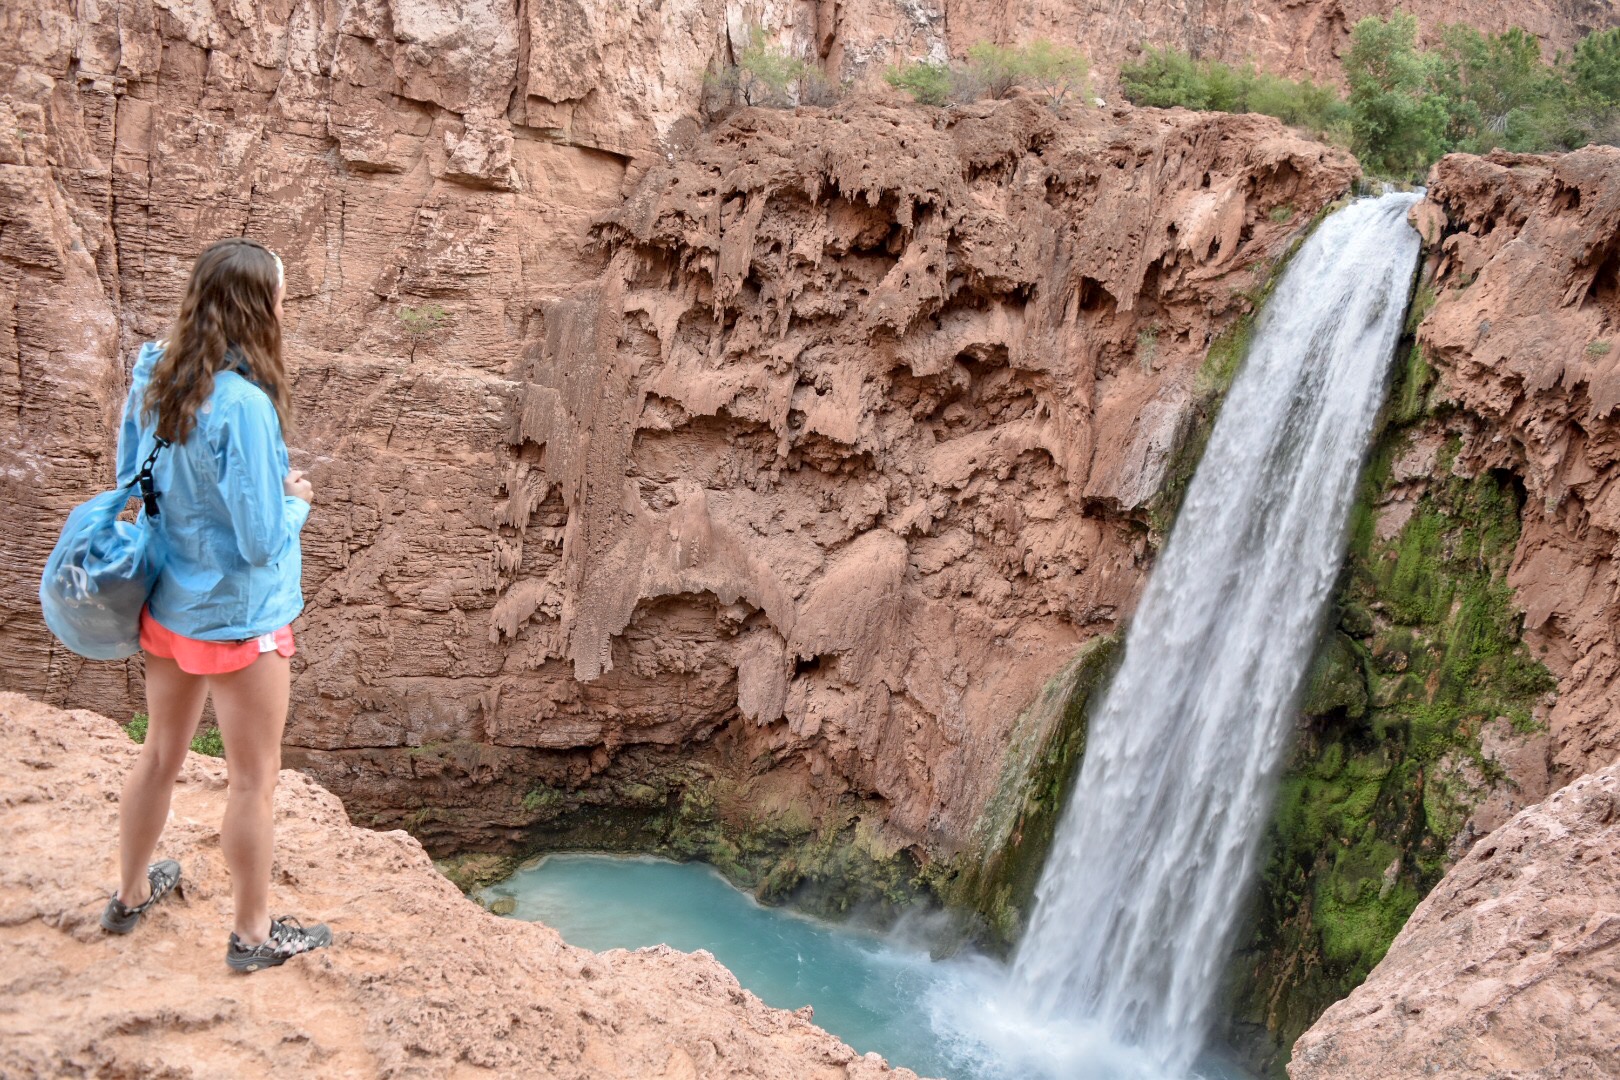
Mooney Falls from above
The second waterfall is much farther with about a seven mile round trip hike from the campgrounds. Beaver Falls can be tricky to get to on a trail that requires bouldering down a steep decline of wet and slippery ladders and chains (down Mooney Falls) along with several river crossings. If you are an experienced hiker and are okay with getting wet, the hike out to the falls is rewarding and worth it!
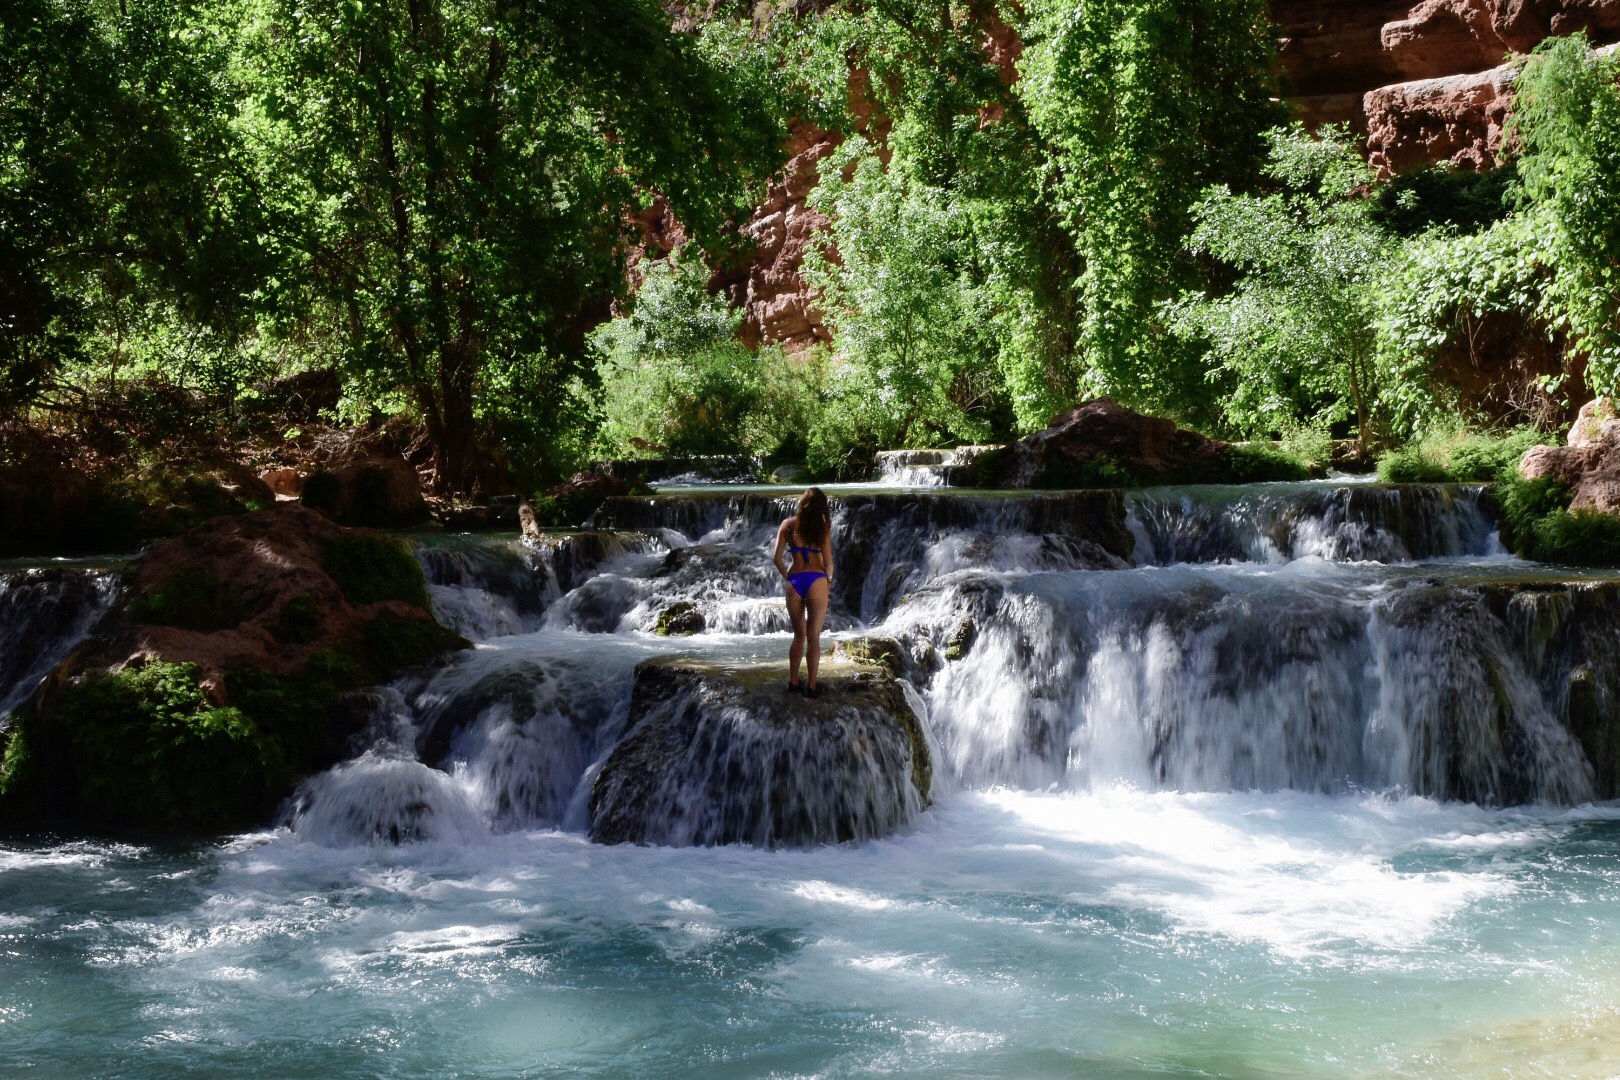
Beautiful Beaver Falls
If you are an extreme adventurer or just headstrong on getting some unique photographs, hike the 14 mile round trip trek to the point where the turquoise blue Havasu Creek meets the reddish-brown Colorado River. This area is referred to as the Confluence and is incredibly stunning from all the pictures I have seen. Had I done more research on this prior I would have definitely continued on to this place!
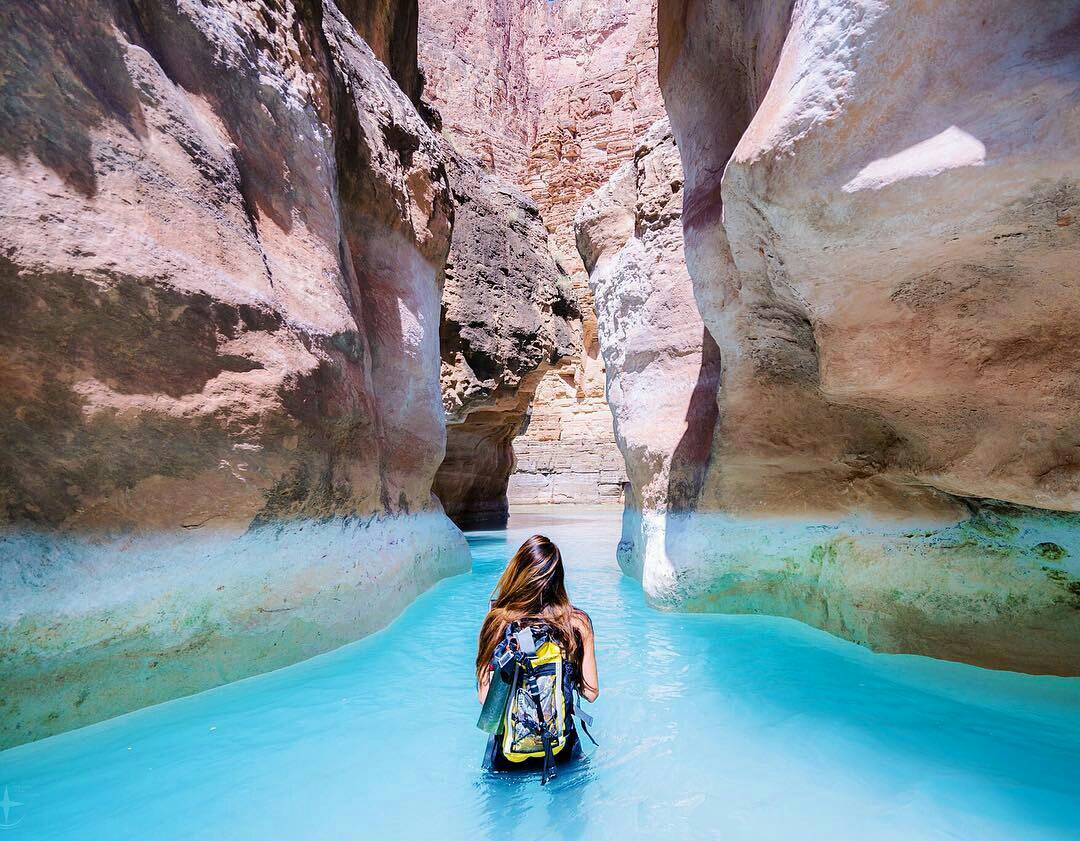
Photo: The Confluence courtesy of Google Images (though I most definitely plan on recreating my own on my next visit!)
If you want more details about the hikes to these stunning falls from the campgrounds, subscribe to the email list below and look out for my full guide (coming soon)!
