Havasu Falls in Supai, Arizona has gained massive attention on social media this past year due mostly in part to its stunning blue-green tinted water contrasting against the stark red walls of the Grand Canyon. Though Havasu Falls is incredibly gorgeous in and of itself, there are actually several other waterfalls in the area that are equally as beautiful and worth checking out.
In order to explore all of the waterfalls on this list, you will need to first secure an advanced permit. For more information on securing a permit, check out my Havasu permit guide here. I recommend getting the three or four-day permit to allow yourself enough time to relax and enjoy everything Havasupai has to offer. The full hike to see all of the falls in this list is roughly 32 miles round trip broken up into three or four days of hiking.
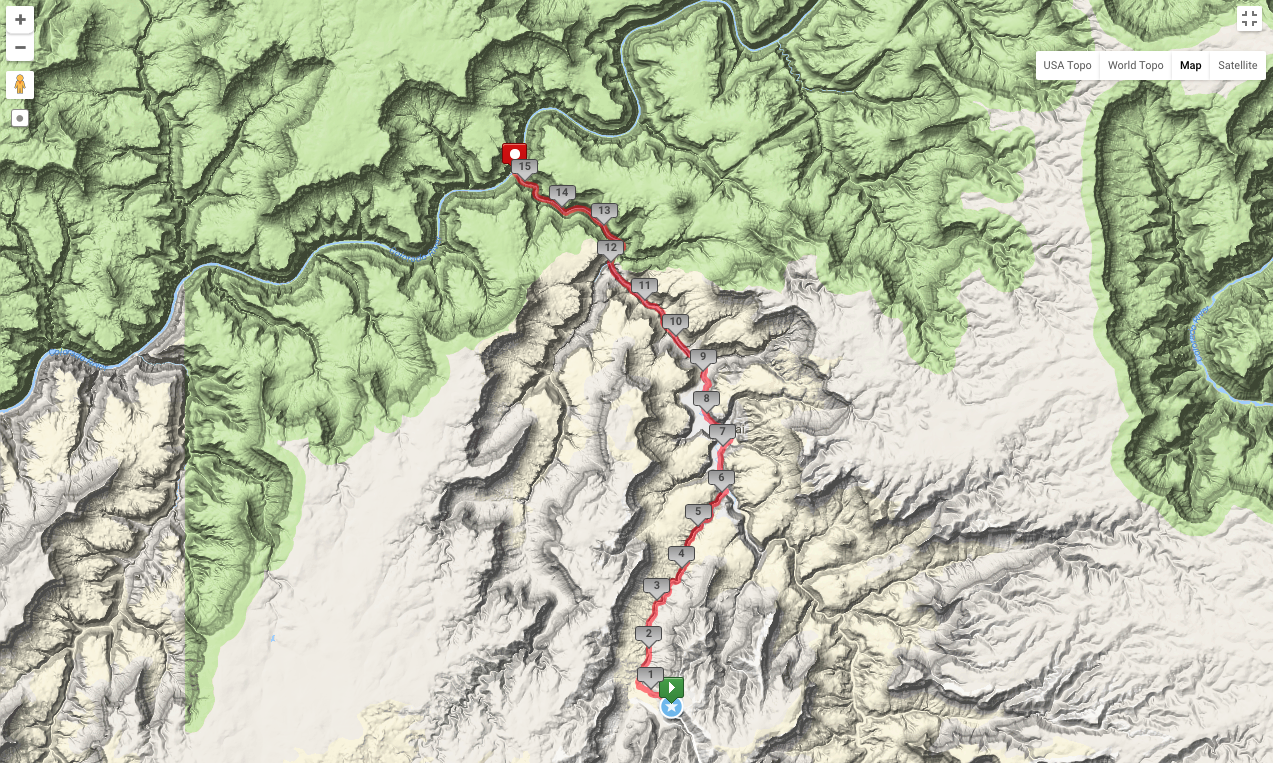
On the first day of your hike, you will likely hike the ten miles to the campgrounds (or eight miles to the lodge in the village) and settle in or explore the nearby Havasupai Falls for the afternoon. On the way to the campground, you will pass the first two significant waterfalls on the hike. The first of the five waterfalls is located around nine miles down the Havasu trail and is known as Navajo Falls.
Navajo Falls (Mile 9)
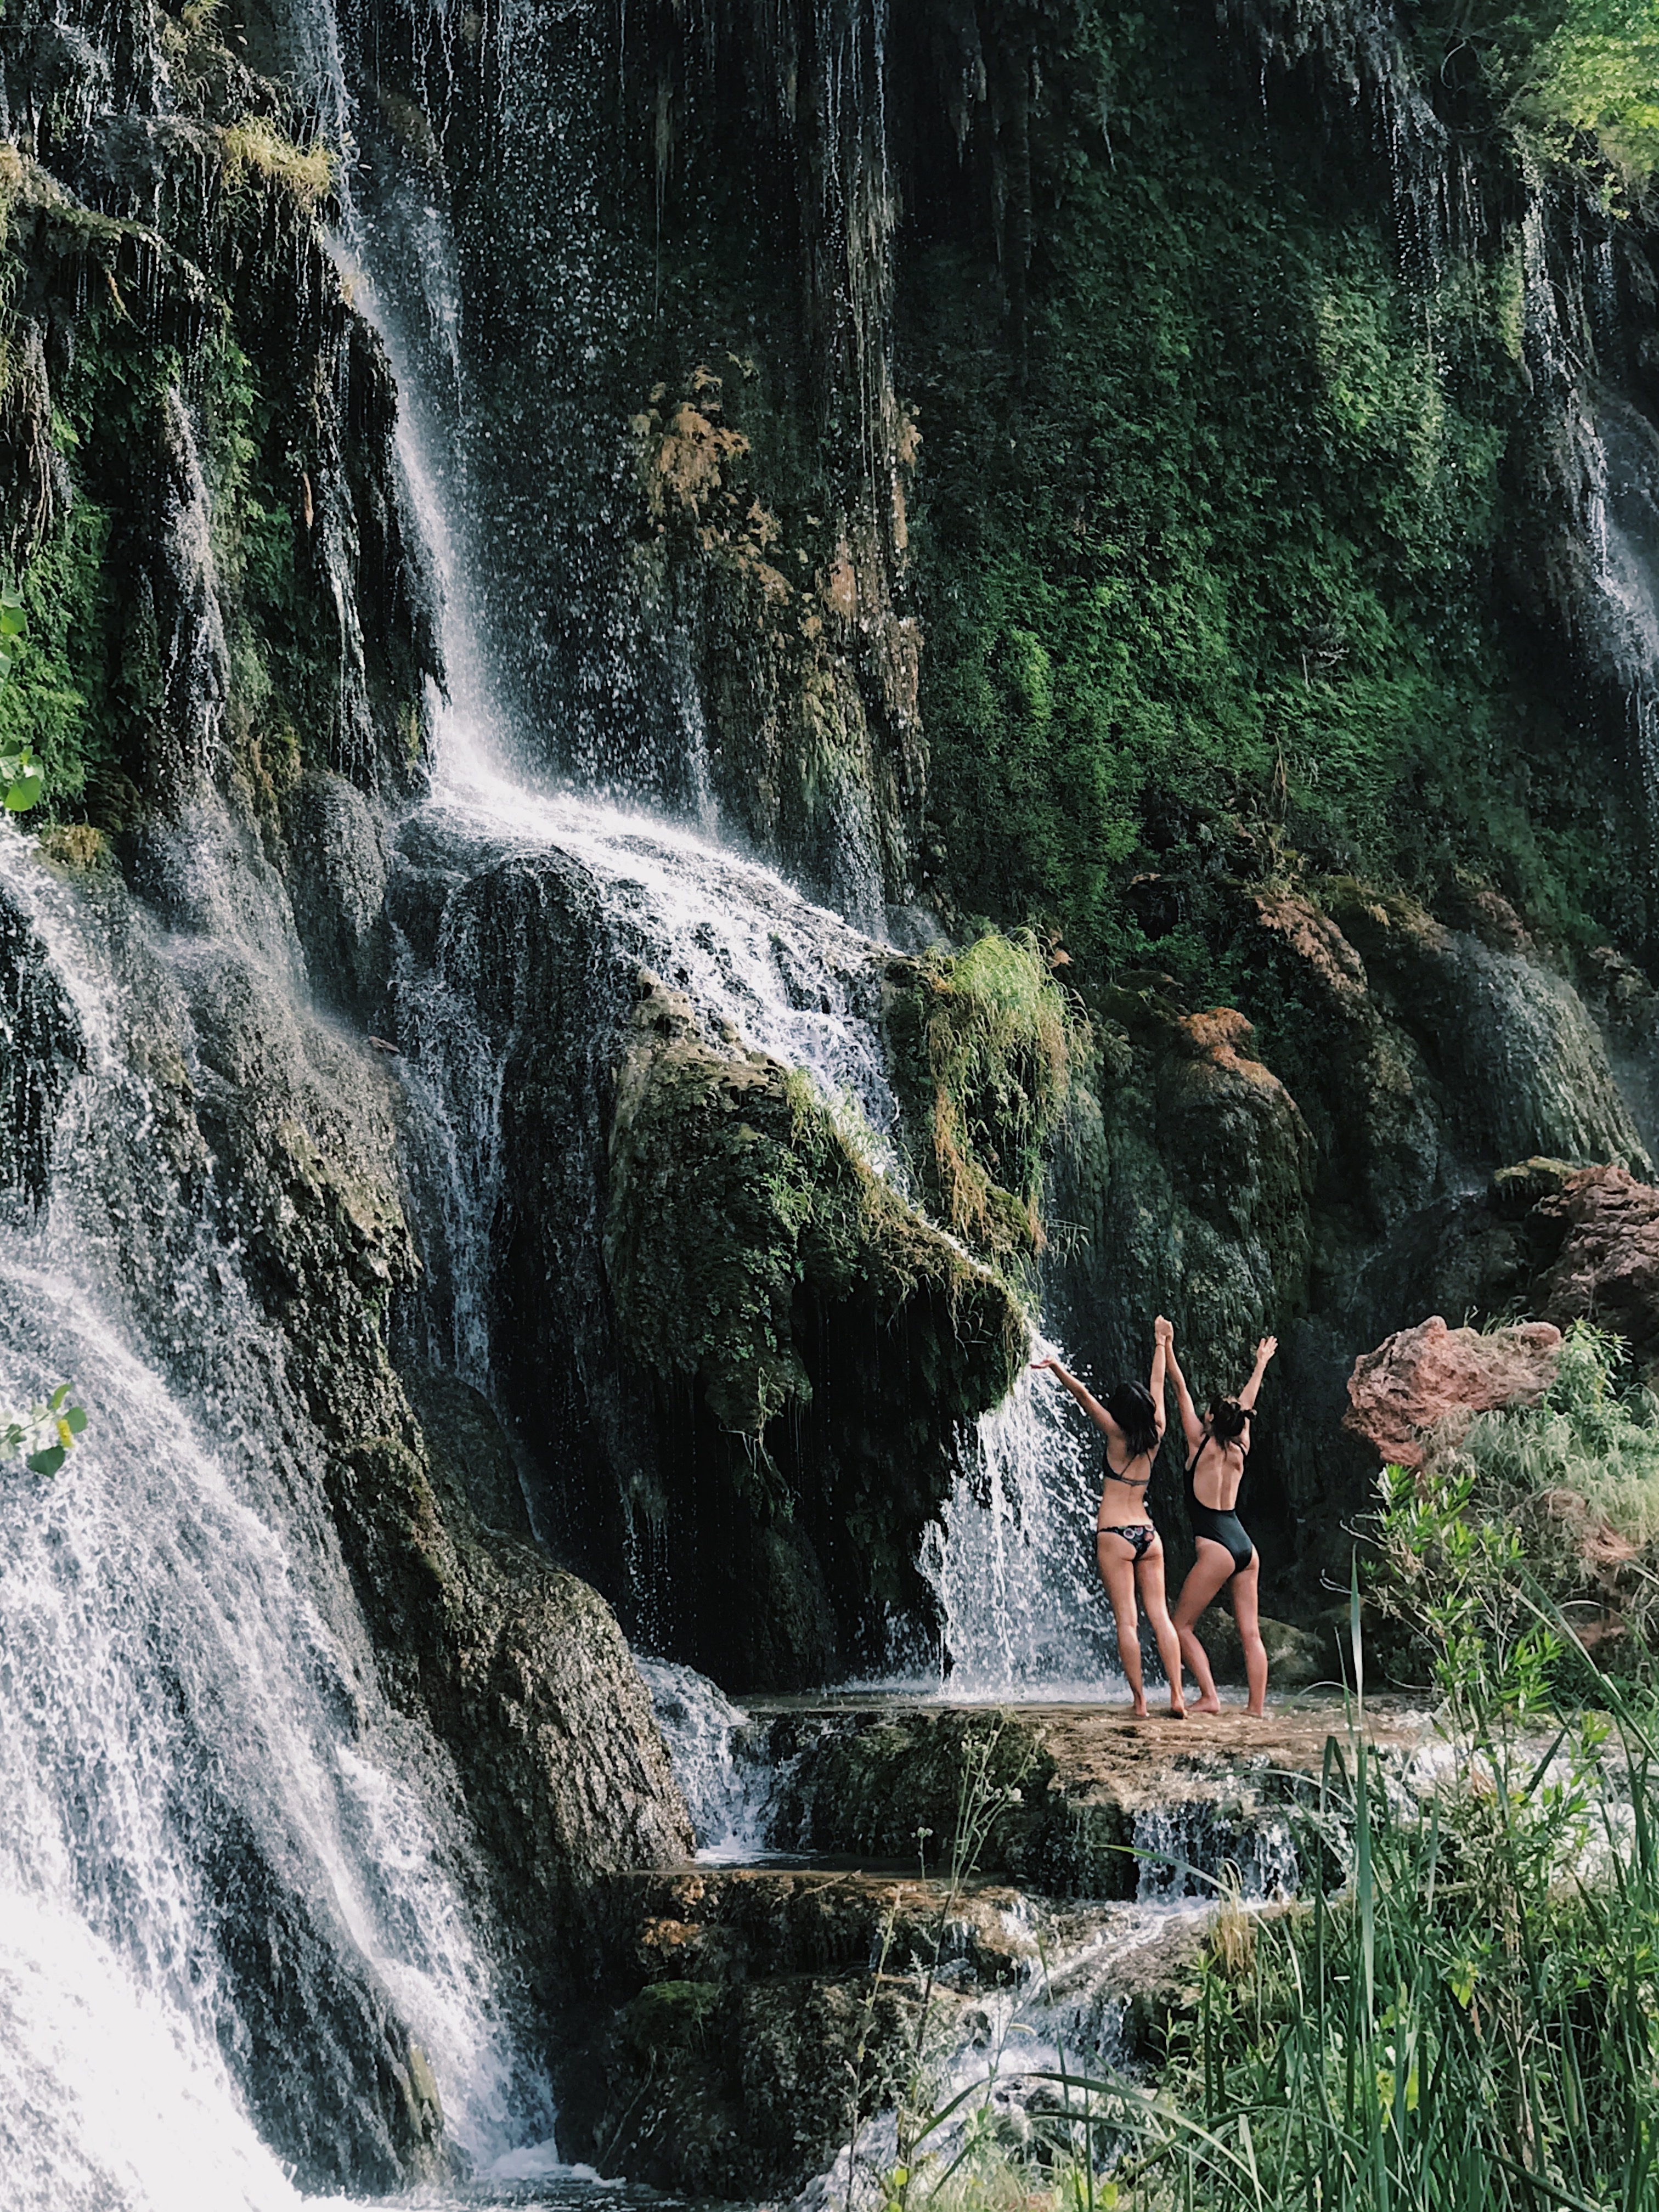
Photo courtesy of @rhaun1
There’s an upper and lower portion to this set of waterfalls. The upper portion is fairly hidden, as it is located farther North off the main access trail. Once you hike down towards the campgrounds and see the large pools of cascading water, turn left and head downhill to continue on the trail. You can see these falls from far away on the trail towards the campgrounds but they are easily missed when walking by, as you have to hike for a little on the lower access trail.
50-Foot Falls (Mile 9.5)
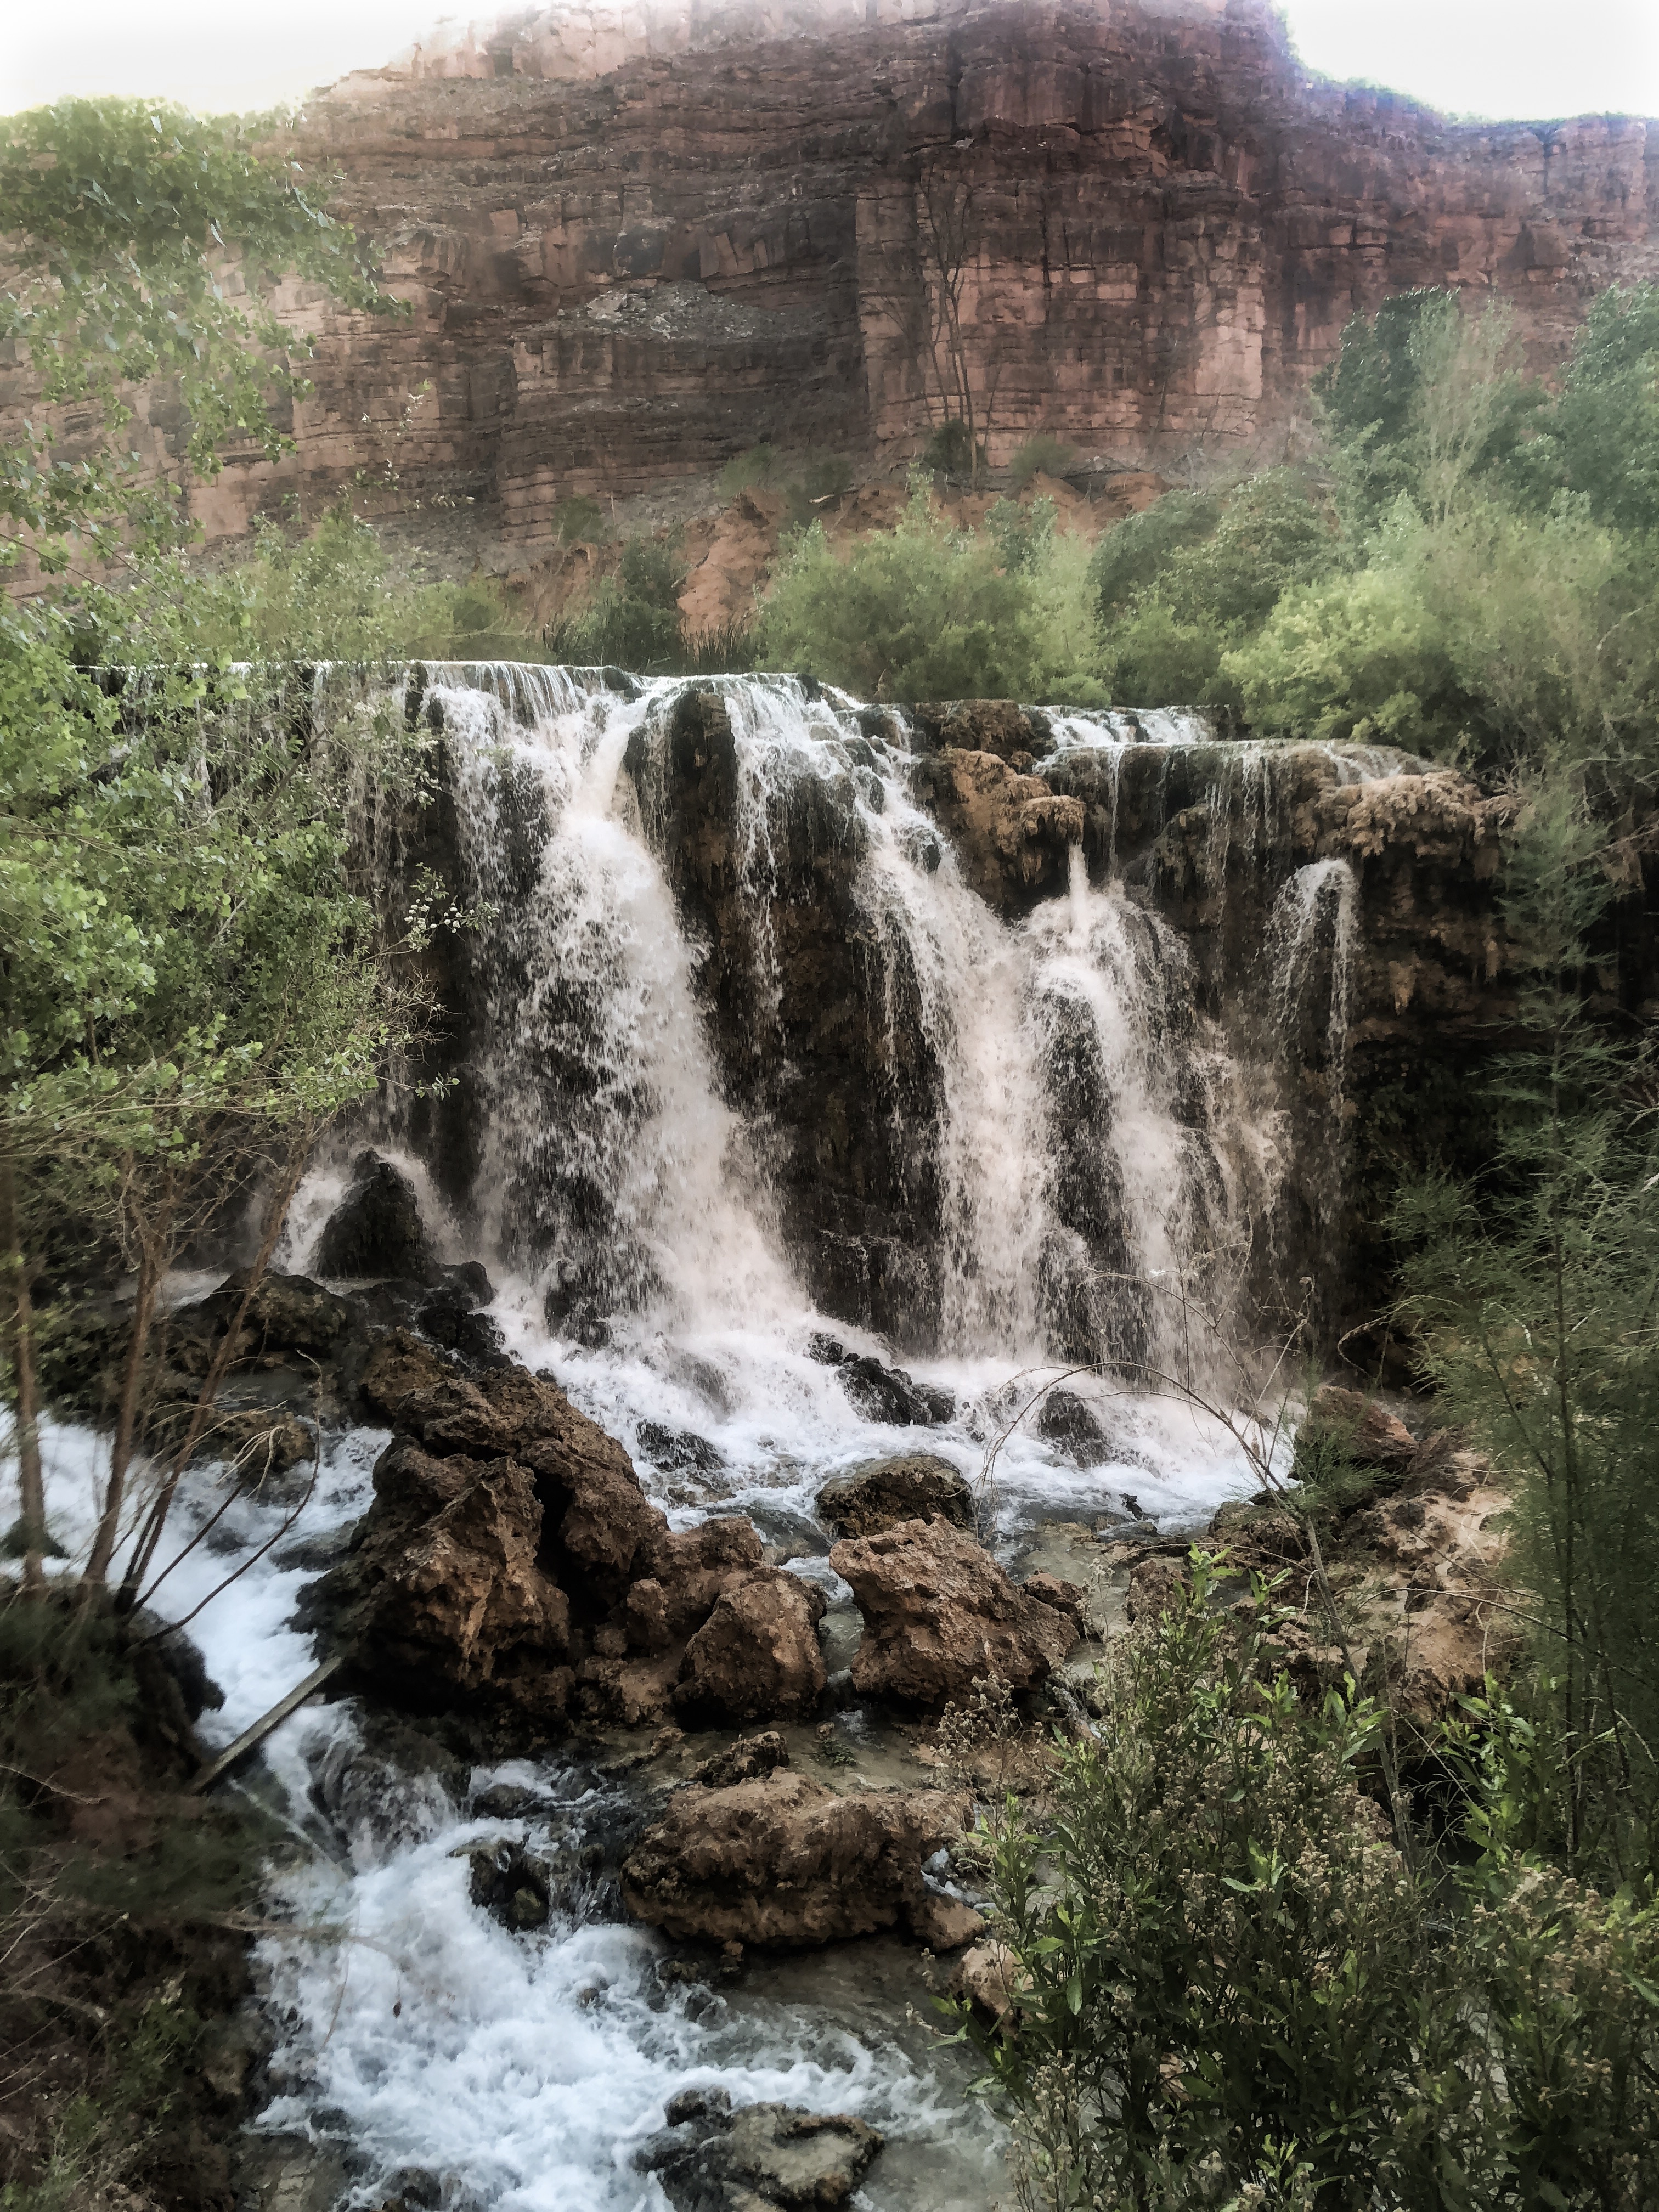
The second waterfall you will see is directly off the main access trail before rounding the bend for the last half-mile before hitting the campsites. This waterfall is known as 50-foot falls and is the first highly visible waterfall on the trail. You can turn left and go down the hill to wade in the large pools above the falls, or you can continue down to the bottom of the falls to enjoy it from a different perspective.
Havasu(pai) Falls (Mile 10)

Just before you hit the campgrounds, you will round a bend and head down a steep descent right past the right side of Havasu Falls. There are gorgeous views all the way down to the bottom. Stop here to take it all in and snap a few good victory shots. After you set up camp, the trail will be pretty straightforward to get back to the bottom of Havasu Falls.

There is a huge pool area and picnic tables in the water and around the grounds to rest at. Every view around this area is so unique so make sure to walk around and explore all of it. If you are staying at the campgrounds, make sure to spend at least one night star-gazing at the falls. If you get lucky like we did you may even get a full moon rise right over the top of the falls! On the far left of the falls the river flows towards the campgrounds and continues on to eventually create Mooney Falls, the fourth staple waterfall of this hike.
Mooney Falls (Mile 11)
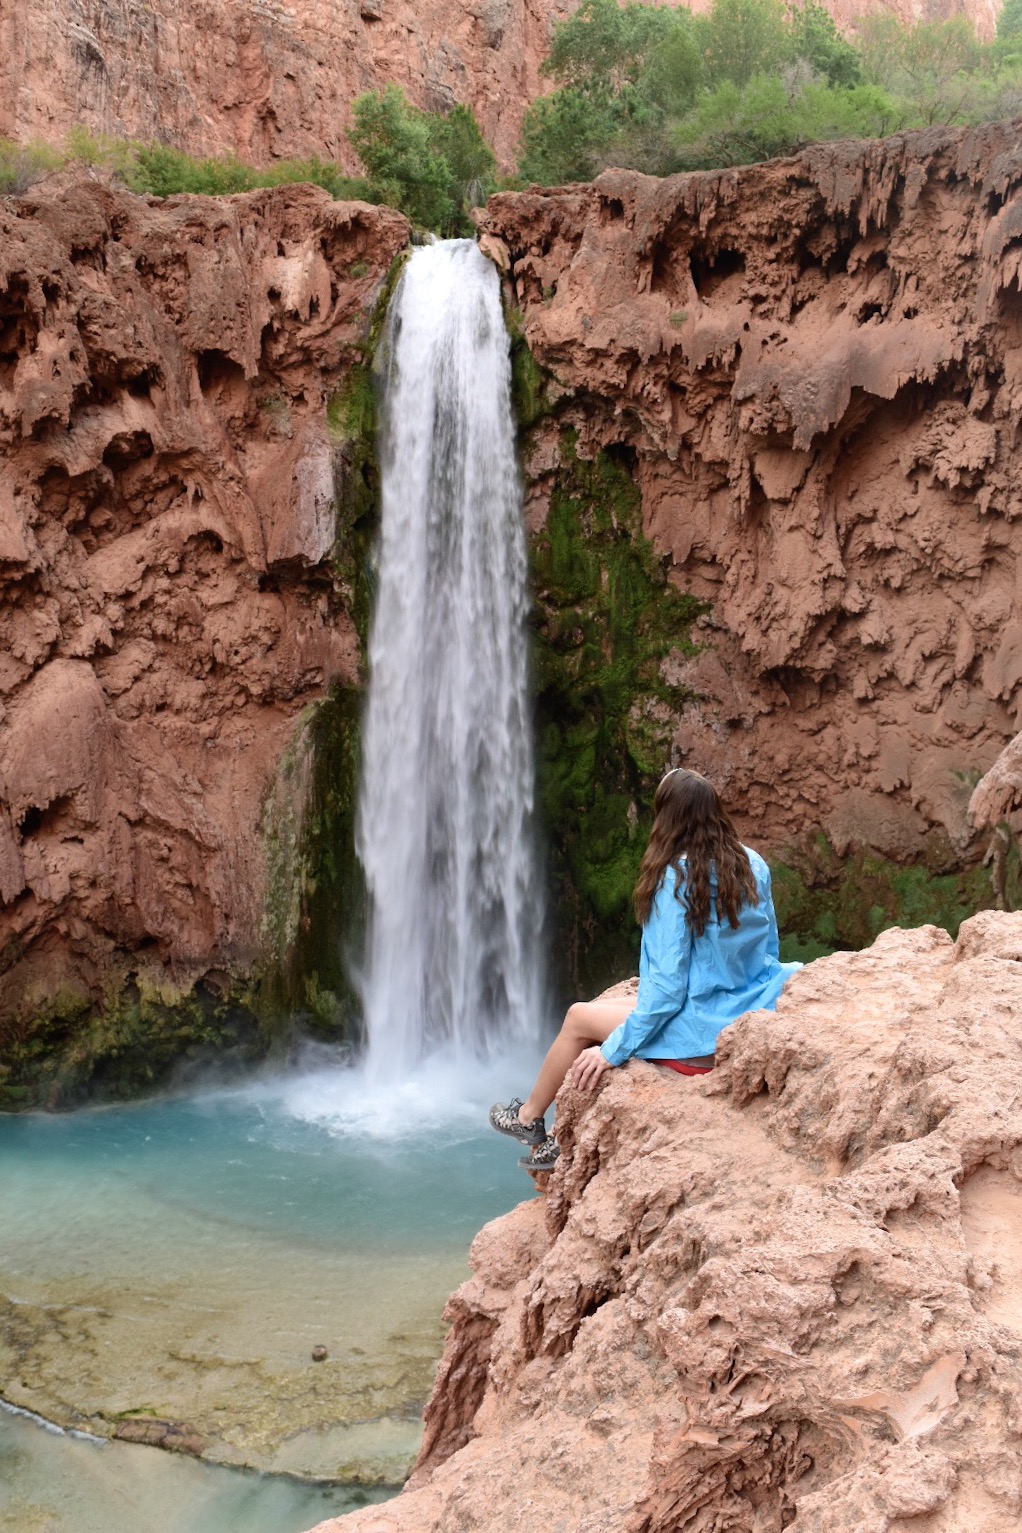
If you continue on the trail to the left one-mile past the campgrounds, you will eventually run into the massive 200-foot tall Mooney Falls tumbling down to the canyon floor below. The trail at the end of the campground leads to the top of the falls which means you will have to scramble down a series of wet slippery rocks and ladders with the help of chains to get down to the bottom. 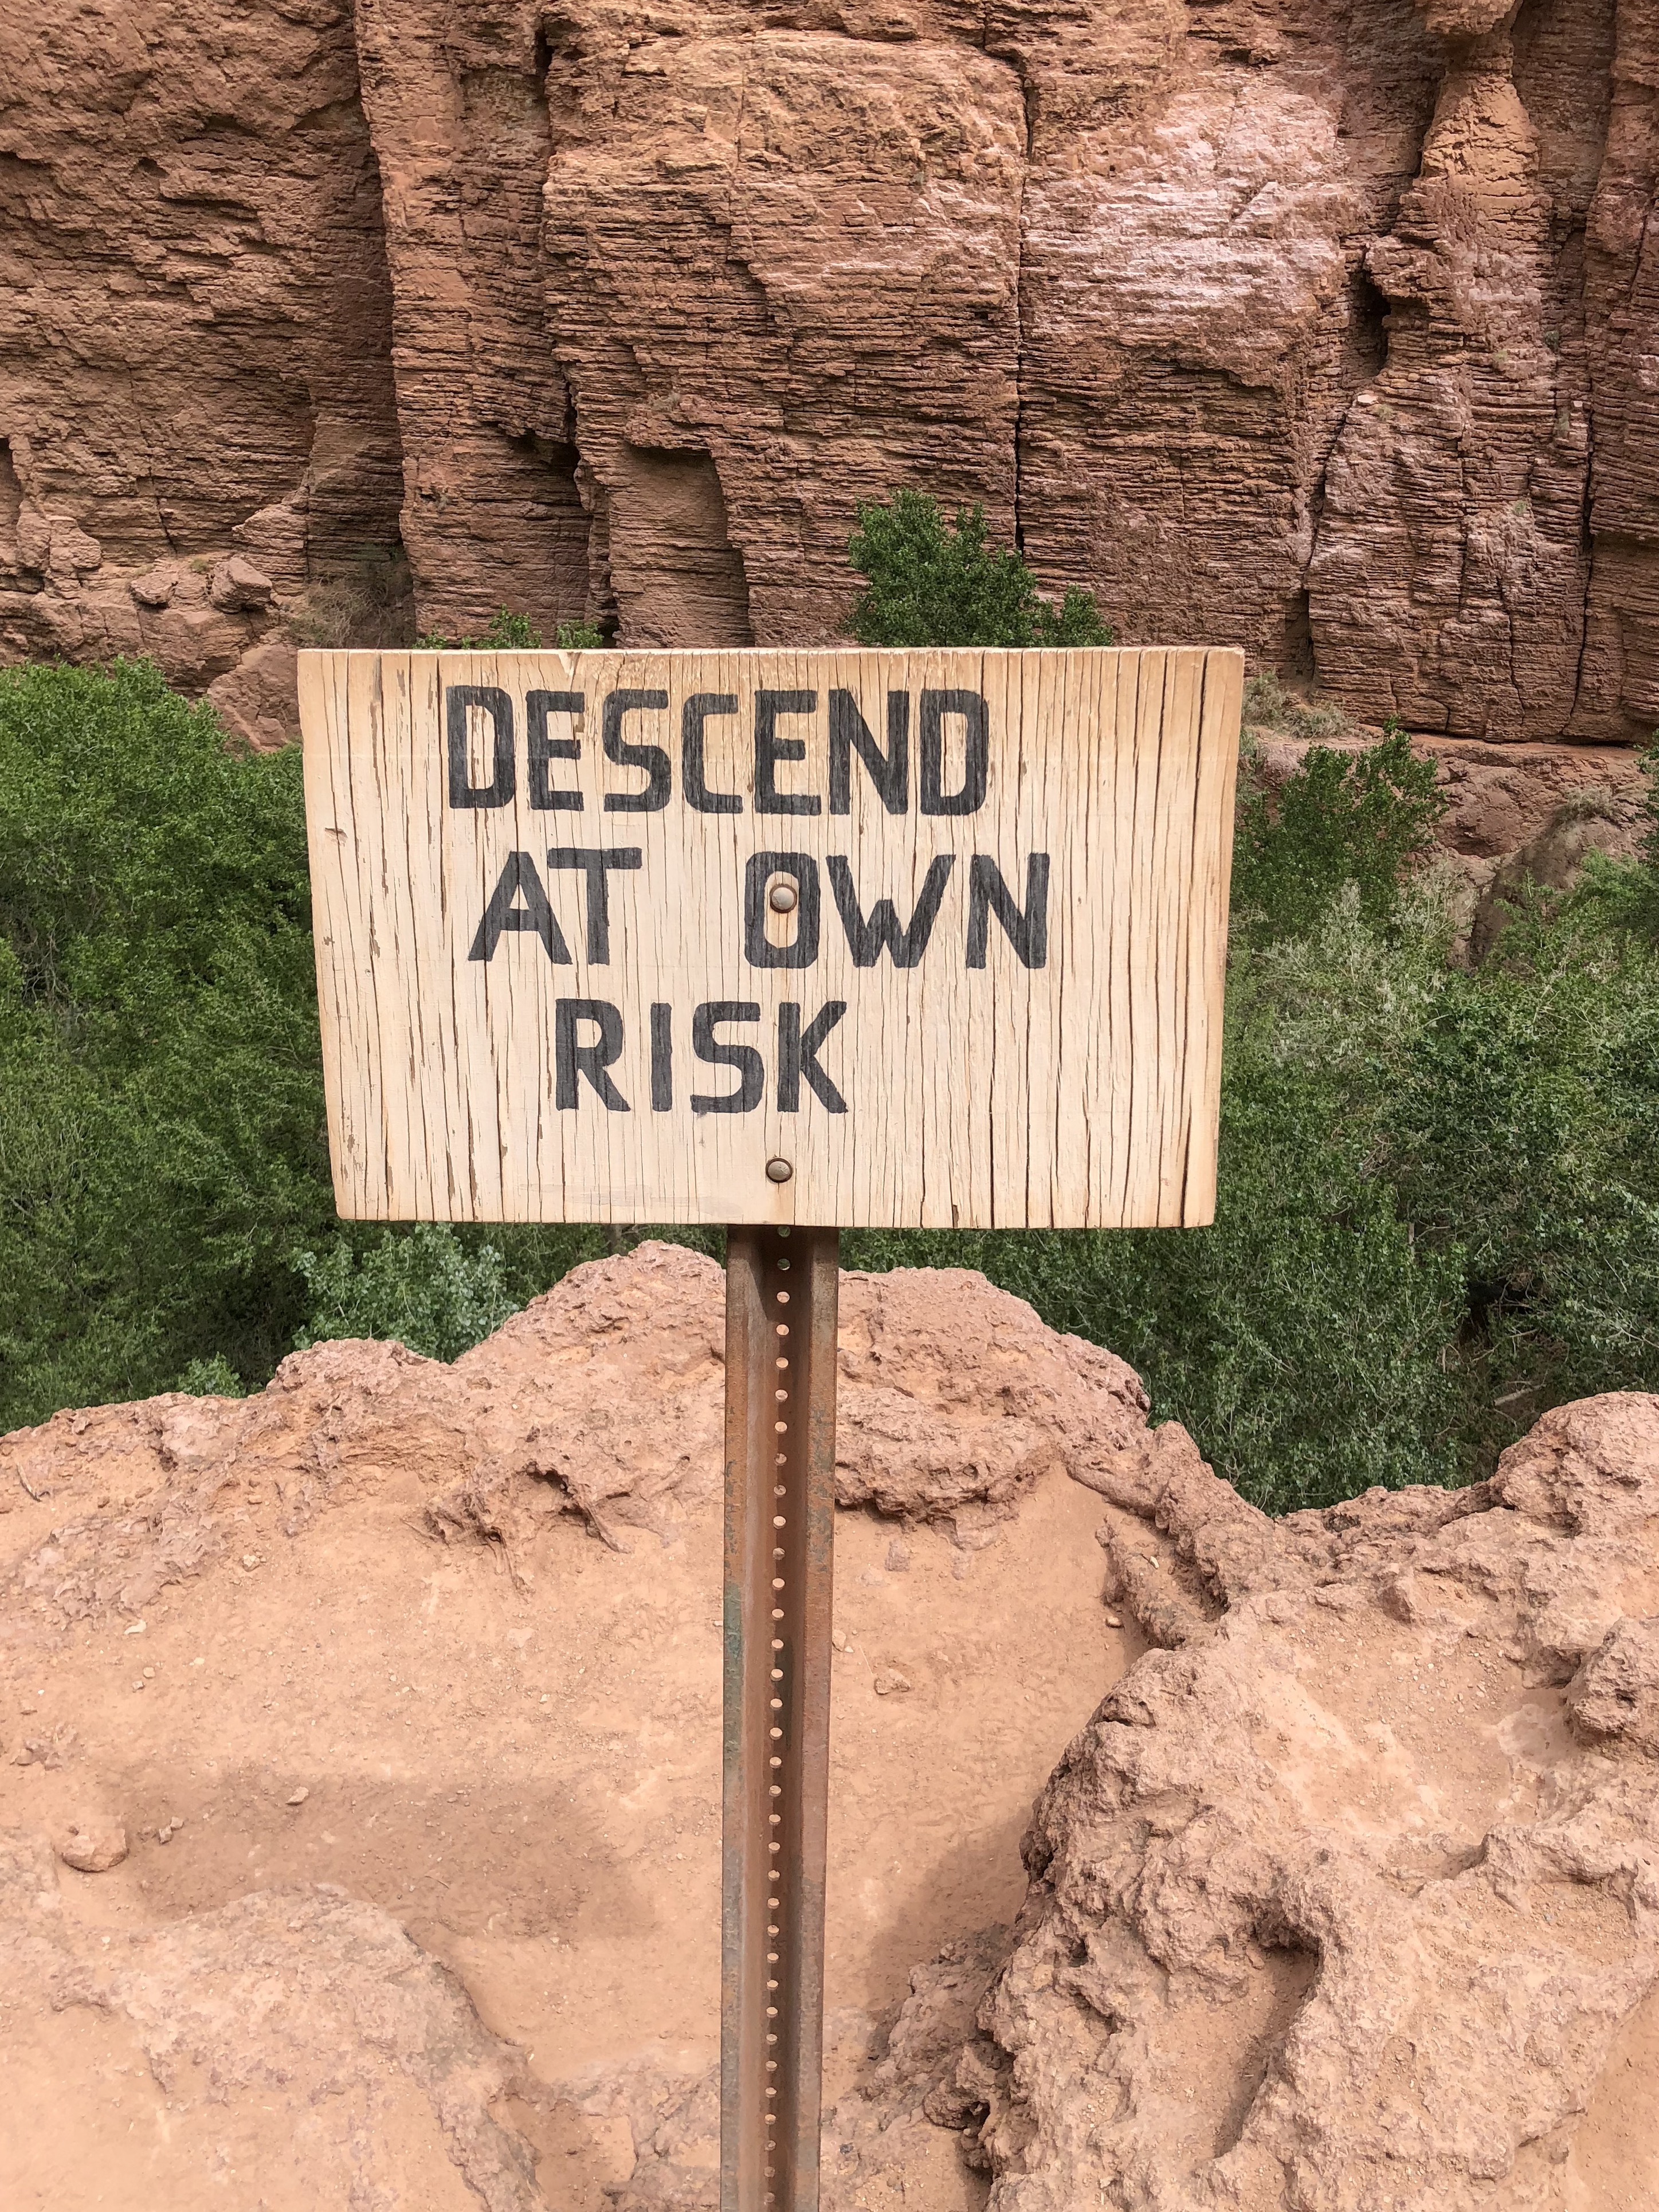
THIS IS NOT EASY.
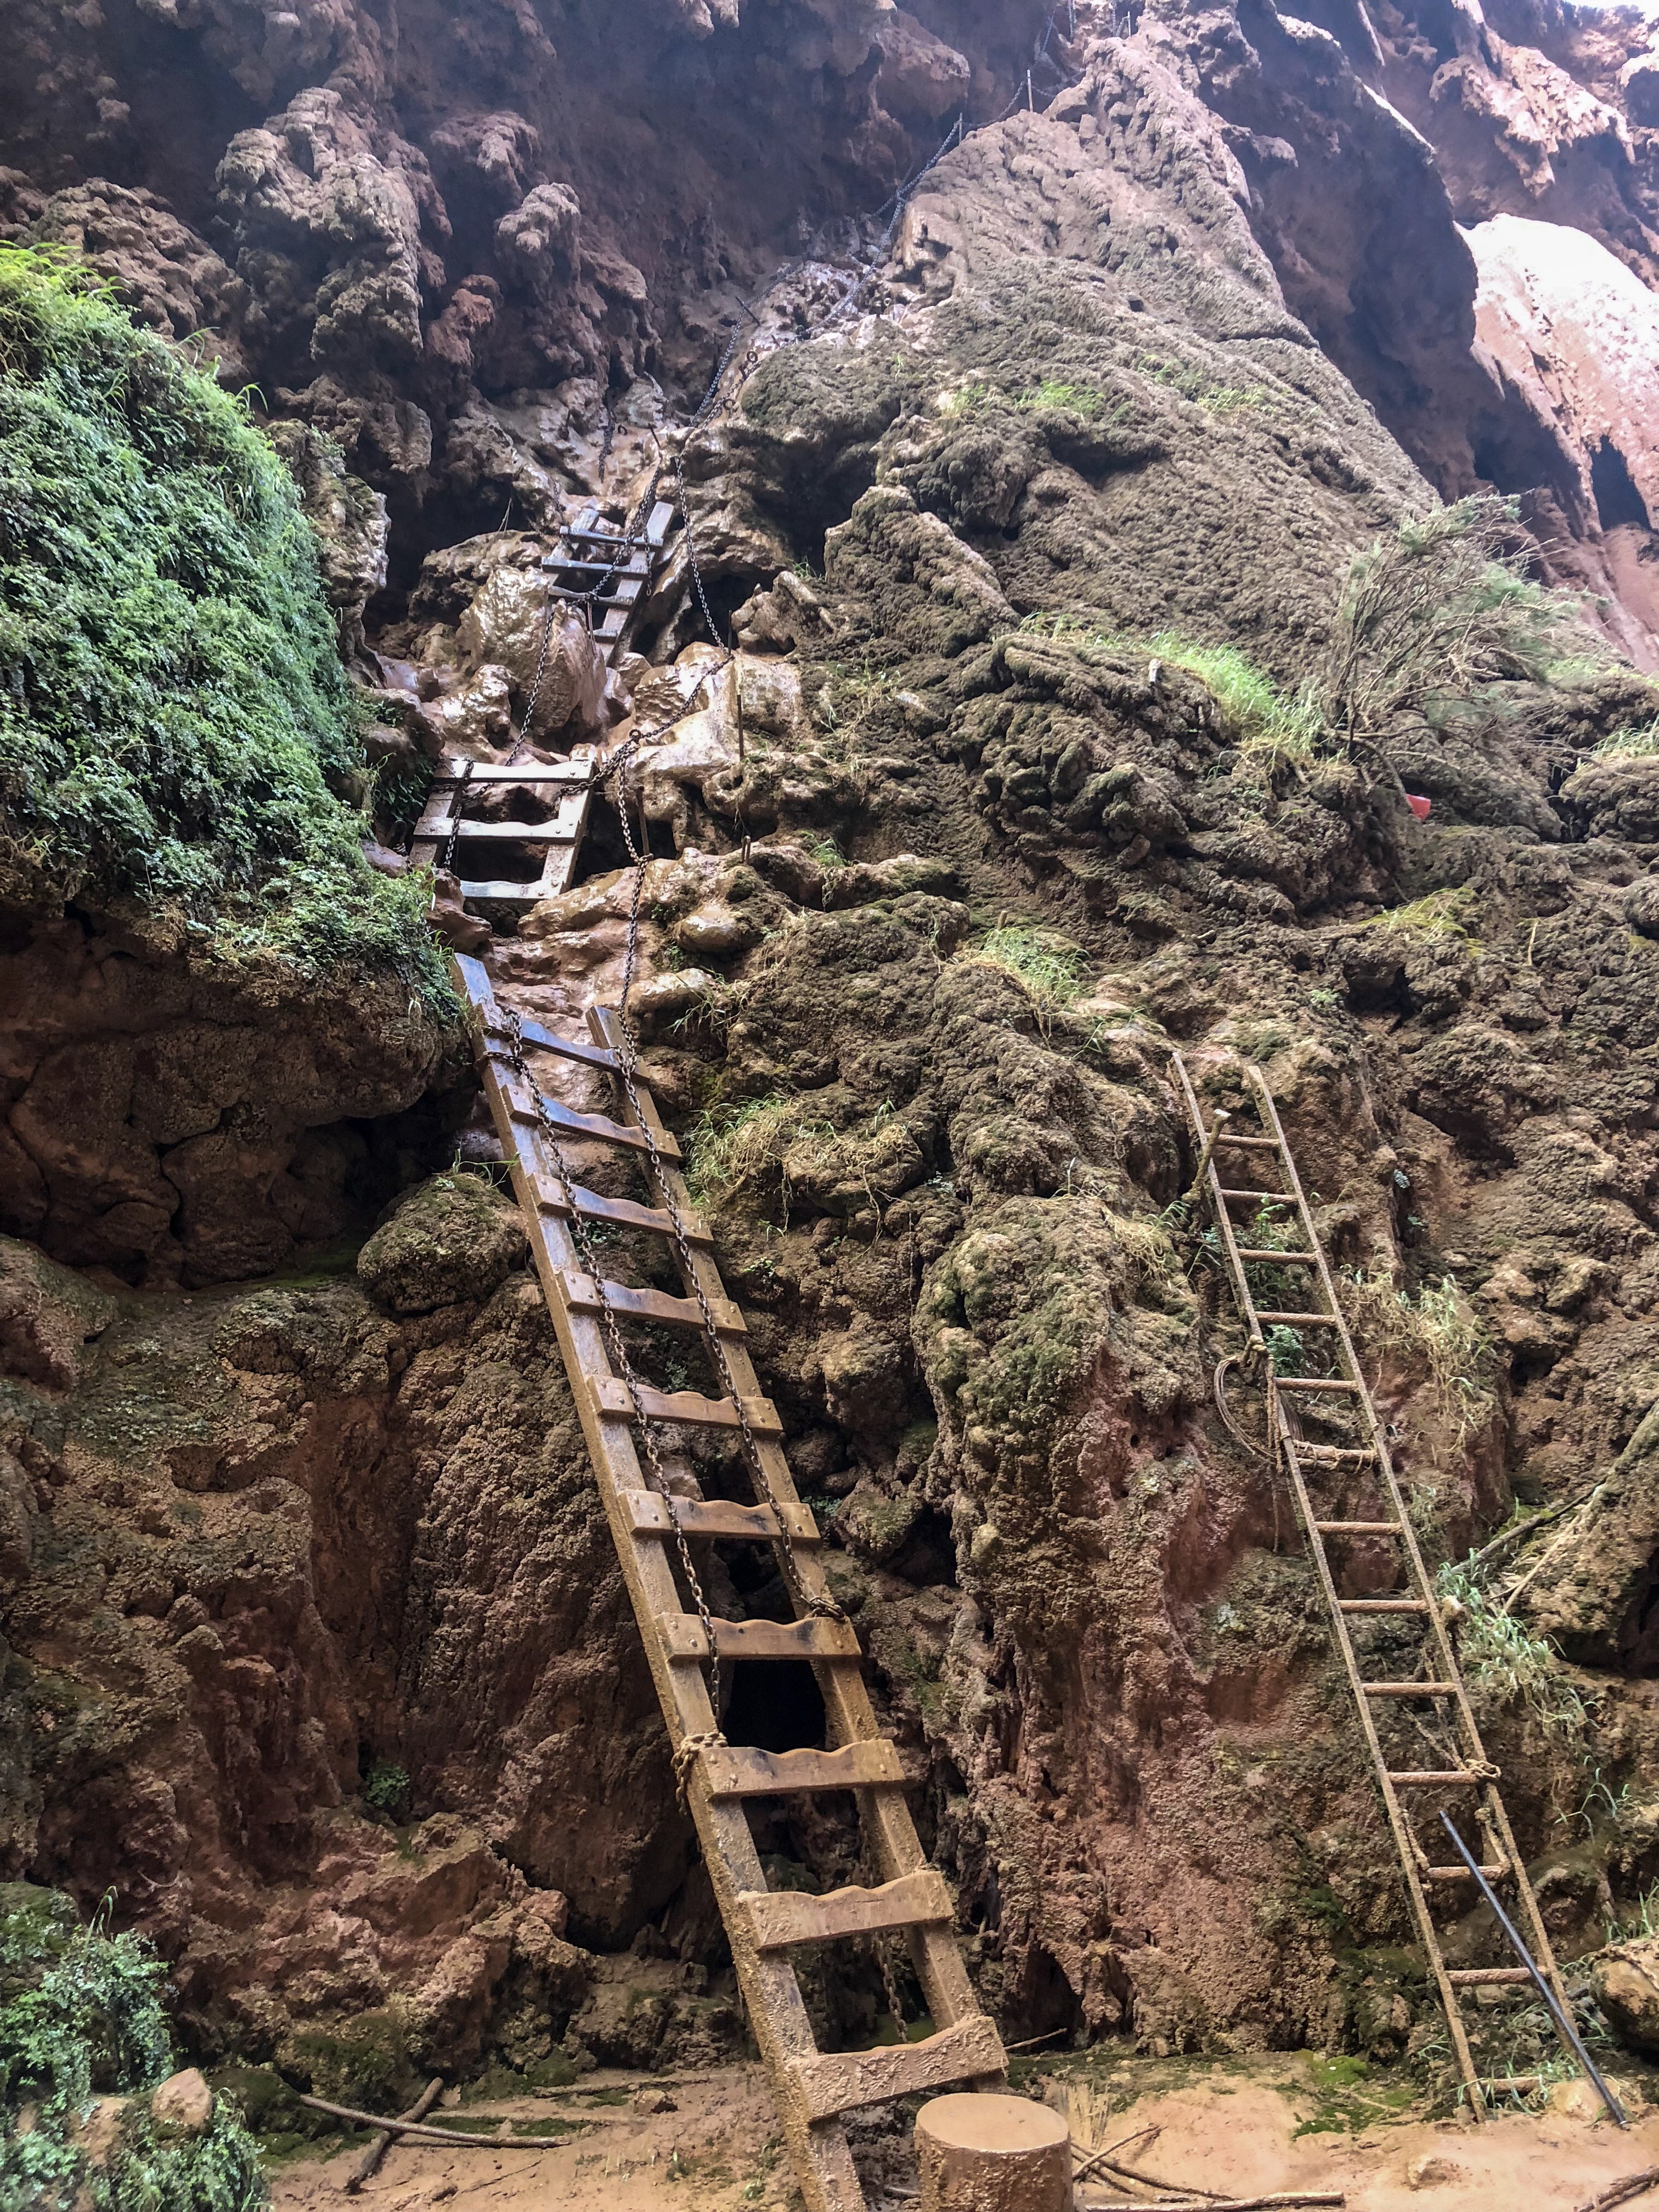
I do not recommend attempting this hike if you are not an experienced hiker and/or feel uncomfortable. It can be very dangerous so make sure to wear proper footwear and bring no slip style gloves if you feel you need them to hold onto the wet chains. I would not bring children on this part of the hike. There is a nice viewing platform near the top of the falls before the steep descent that you can bring them to! There are also several picnic tables around this area you can relax and enjoy a lunch at if you want to sit and admire the power of this gigantic waterfall.
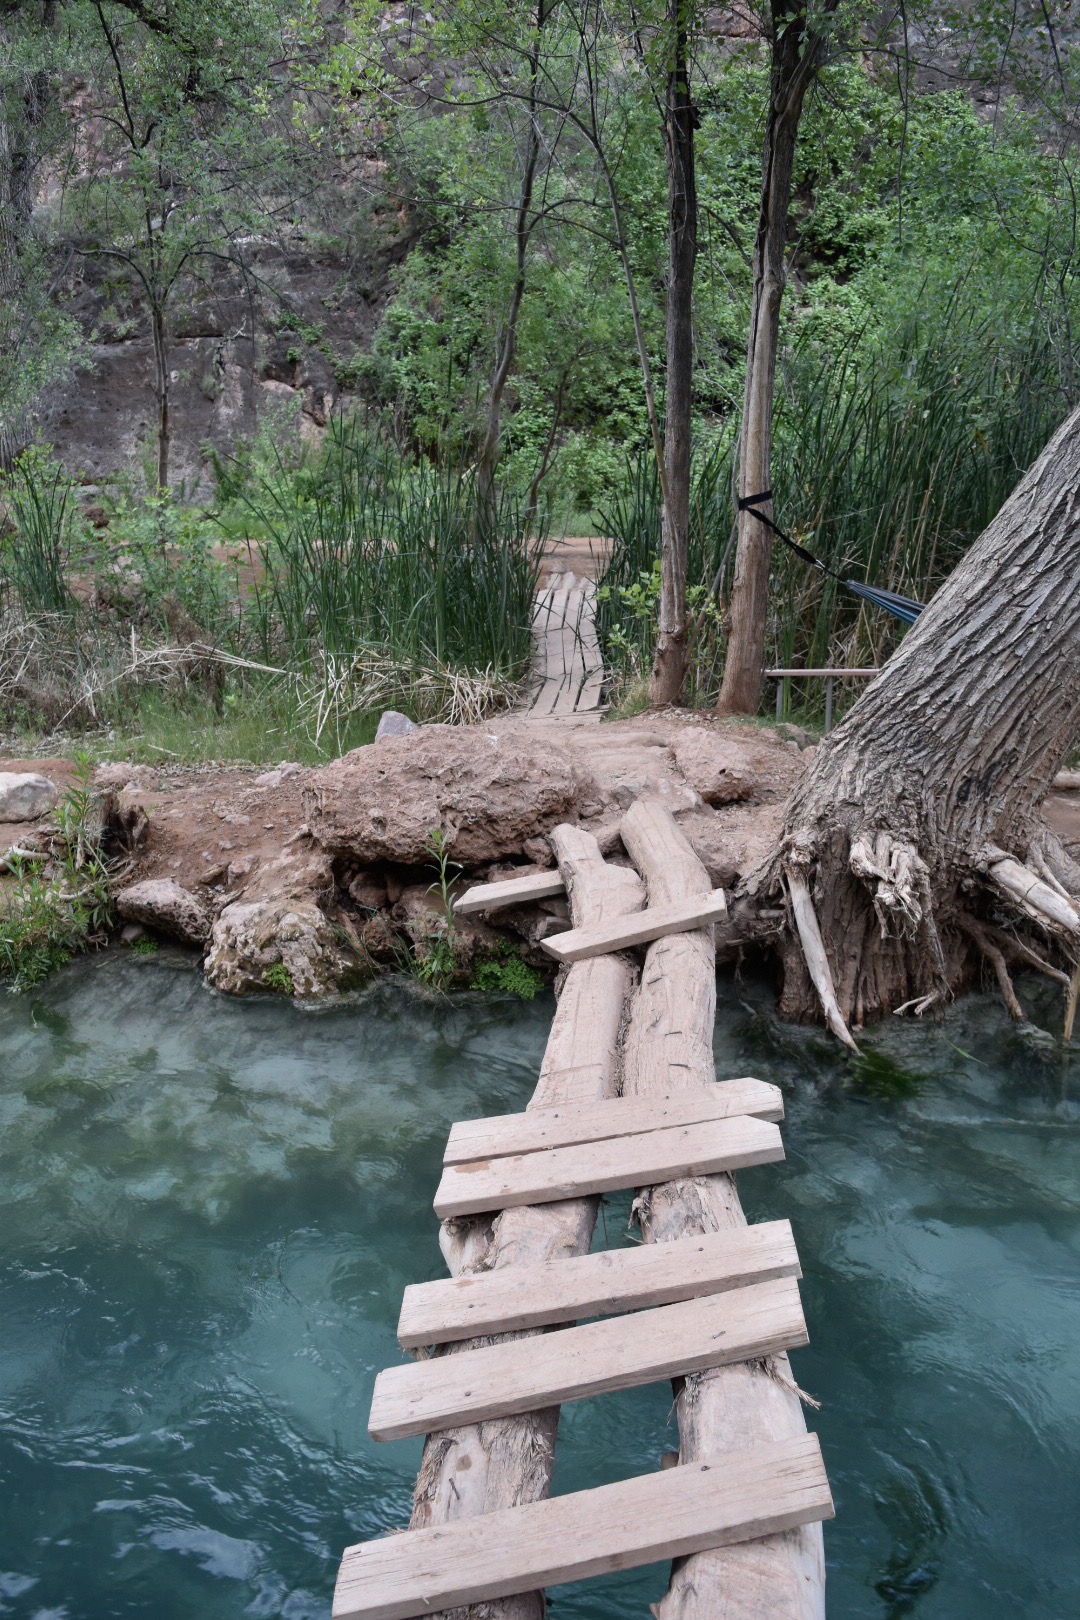
Once you reach the bottom of the falls, you can relax at the picnic table in the water on the far side or enjoy swinging off the rope swing nearby into the crystal clear blue waters. If you plan to continue on to Beaver Falls, take the pathway on the left side of the falls once you get to the base of the ladder. Along the way you will need to cross several ladders over the river and eventually will have to cross the river itself. Keep this in mind, as you will want to have good combination water hiking shoes, a swimsuit, and a dry bag handy!
Beaver Falls (Mile 13.5)
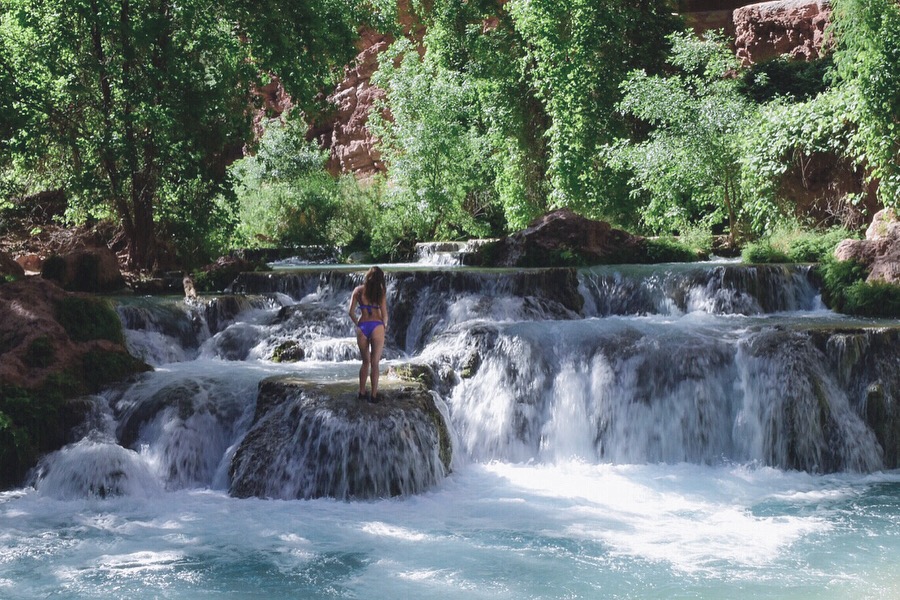
The hike to Beaver Falls is an additional 2.5 miles from Mooney Falls. It took us about two hours to hike over to here but we took our time to enjoy some beautiful photography opportunities. The trail can be a bit tricky to navigate, so look out for pink ribbons hanging from the trees to signify where a river crossing is needed (usually around where the trail dead ends). Prepare to get lost a few times, just continue to follow the creek downstream and you will eventually figure out a way.
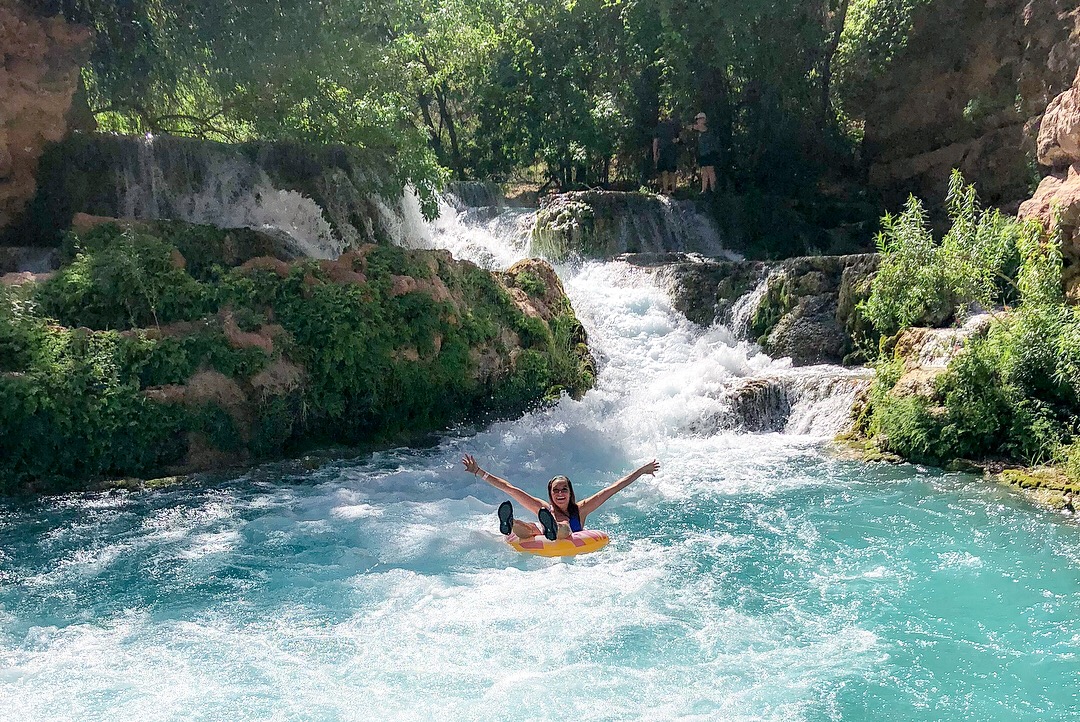
Once you pass the short section of ladders on the right side of the canyon, the falls will be located a short distance further on your left. If you hike up the lower path next to the falls through the trees, you can reach the upper portion of these cascading falls. This area tends to be less crowded and is great for soaking up some sunshine (or flying around in a donut inner tube).
The Confluence (Mile 16)
Photo courtesy of Mina Young Lee
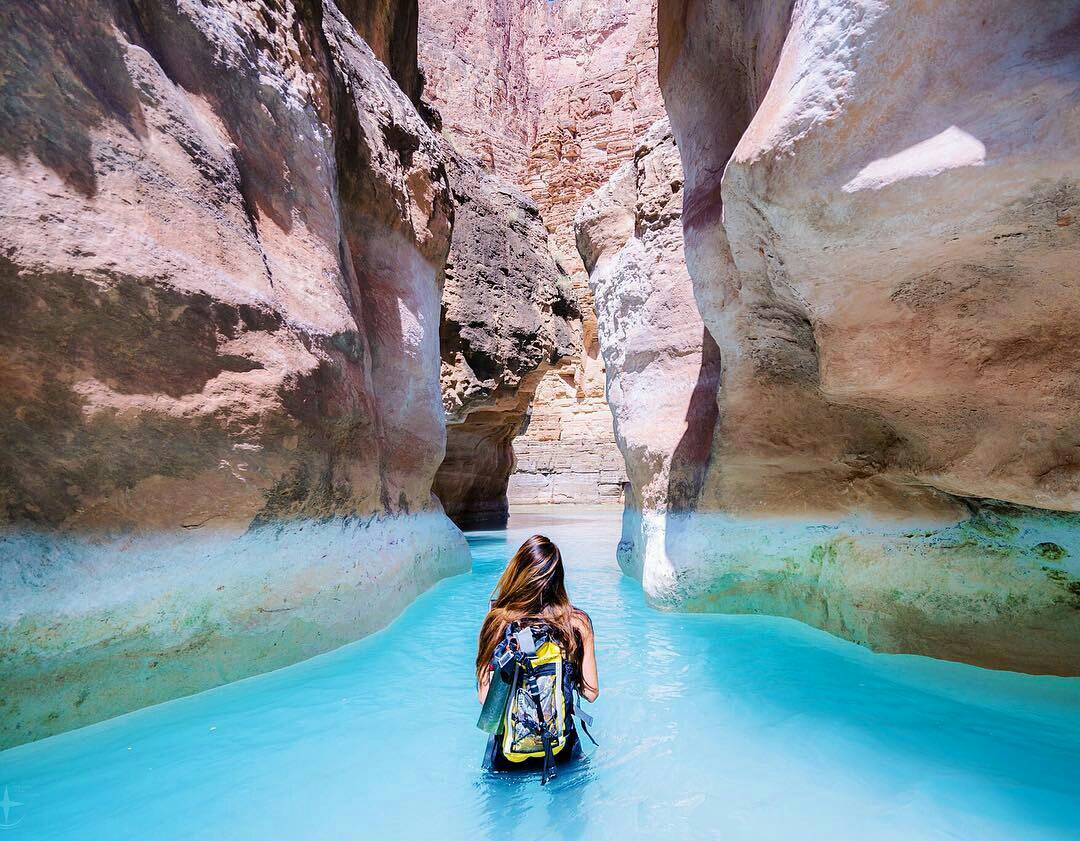
If you haven’t had enough hiking, you can continue along after Beaver falls to the narrow junction where the Havasu creek meets to Colorado River. This area is extremely gorgeous as the water is directly against the slot style canyon walls contrasting turquoise blue with bright red-orange. Where the creek meets the river, there is a really cool visible separation between the brown of the Colorado River and the bright turquoise-blue of the creek.
This hike is recommended only for 3-4 day permit holders with advanced hiking experience. The trail itself is fairly easy after the descent down Mooney Falls, but requires hiking out before sunrise in order to complete it in a day. The hike itself is said to be about 14 miles round trip. The time it takes to get here varies but I recommend setting aside the entire day to enjoy Beaver Falls, and Mooney Falls along the way as well as the Confluence itself.
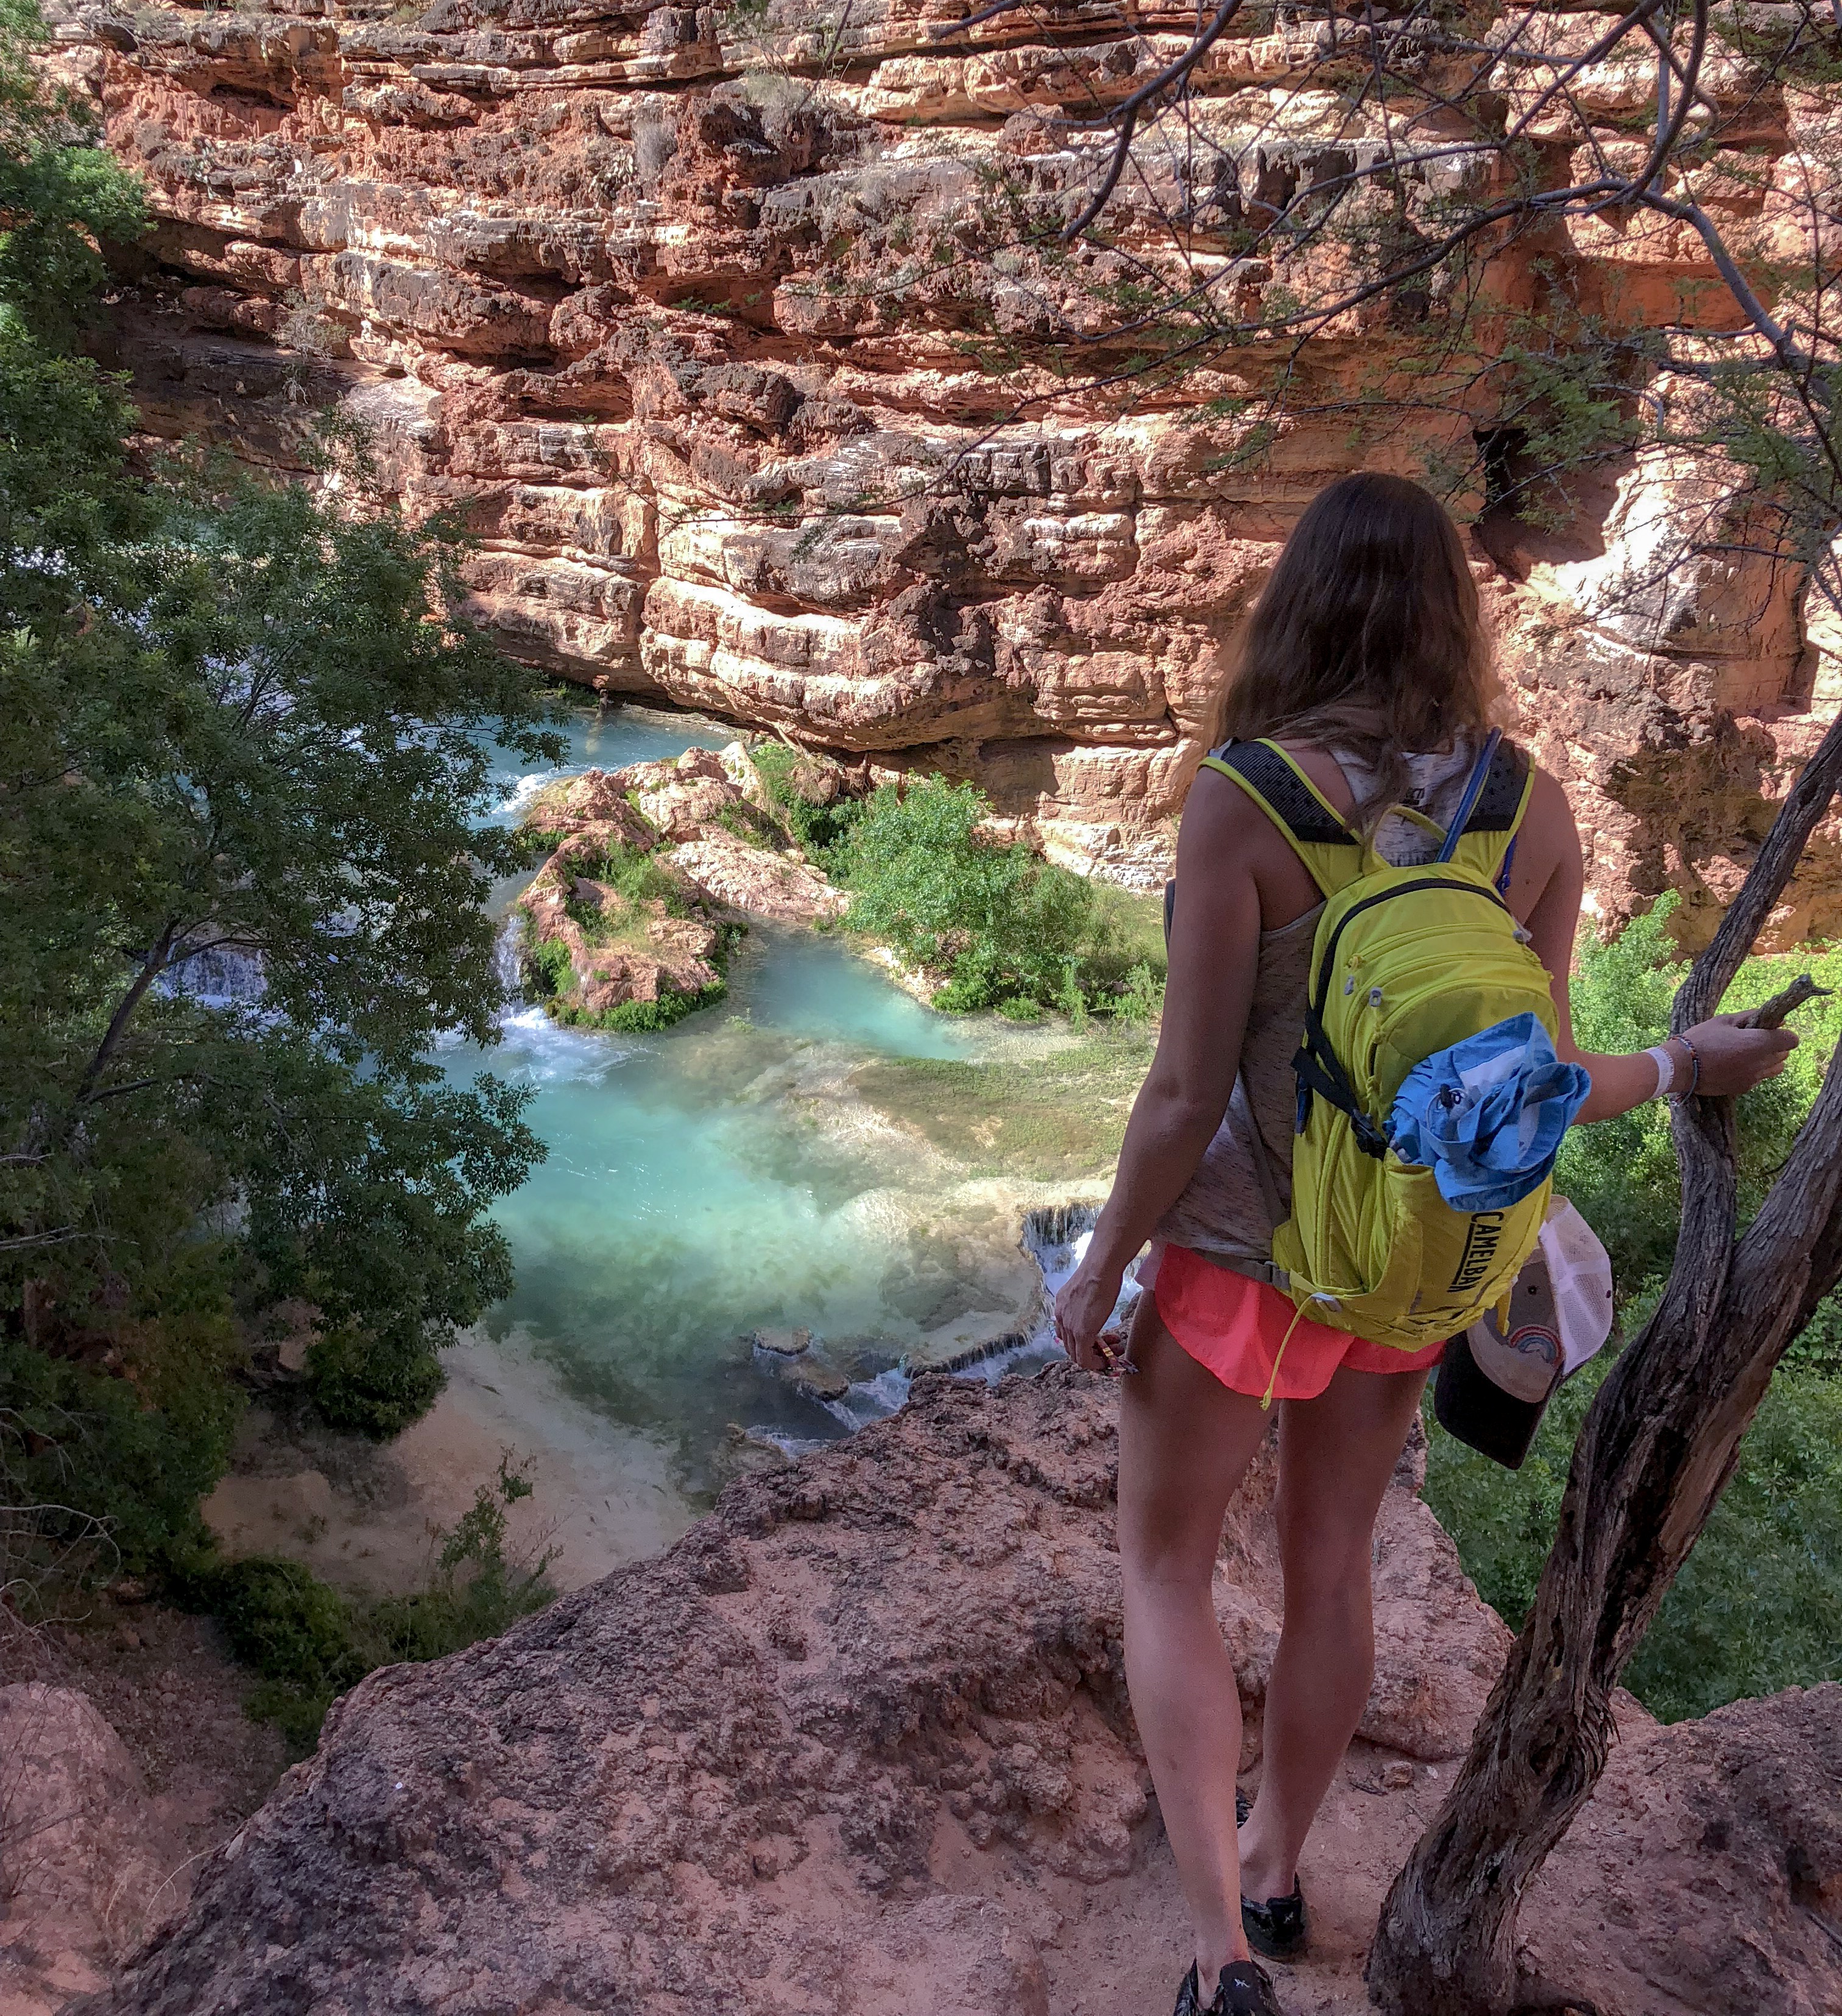
If you decide to visit these beautiful remote places, make sure you are aware of the temperature and time of day. You don’t want to get caught overheating as there is no one around this area and no cell service! I recommend taking at least a 3L camelback to have enough water for the day. We finished ours between two of us just hiking to Beaver Falls and back.
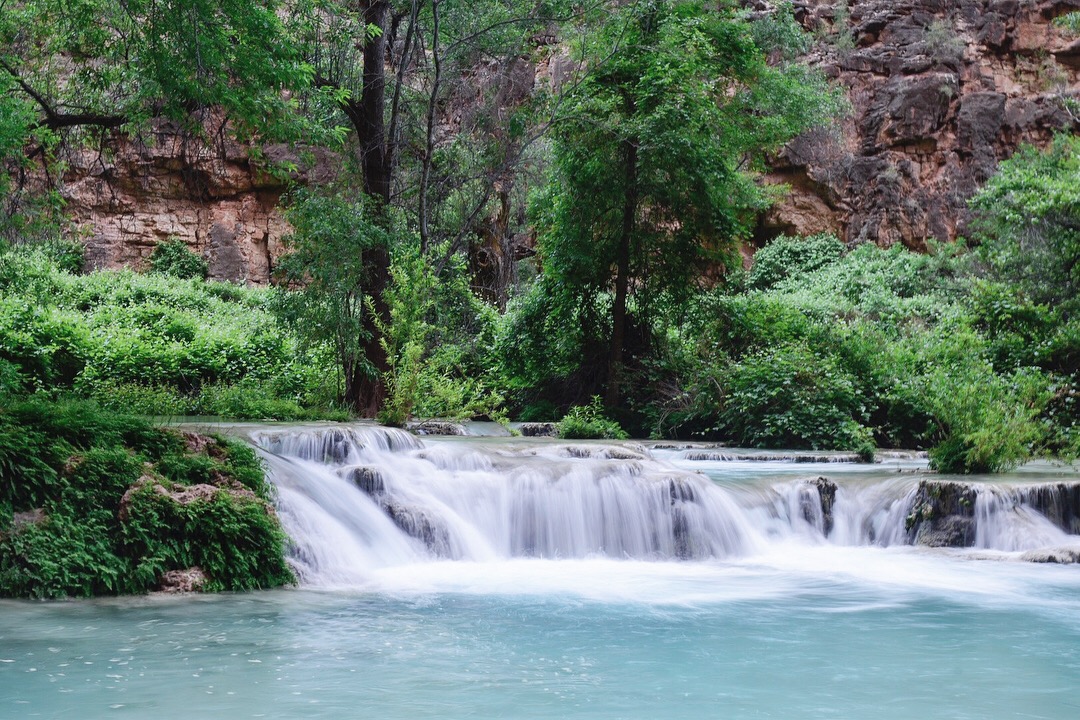
The hike back is a bit tricky to navigate. Just be patient and continue to scan for river crossings and pathways. We somehow ended up missing the ladder section entirely on the return journey and ended up popping out to the right of Mooney falls. Continue to follow the creek upstream. You will eventually find your way back to Mooney Falls and the campground. Spend the night relaxing, enjoying the stars, and congratulating yourself for completing an incredible adventure!
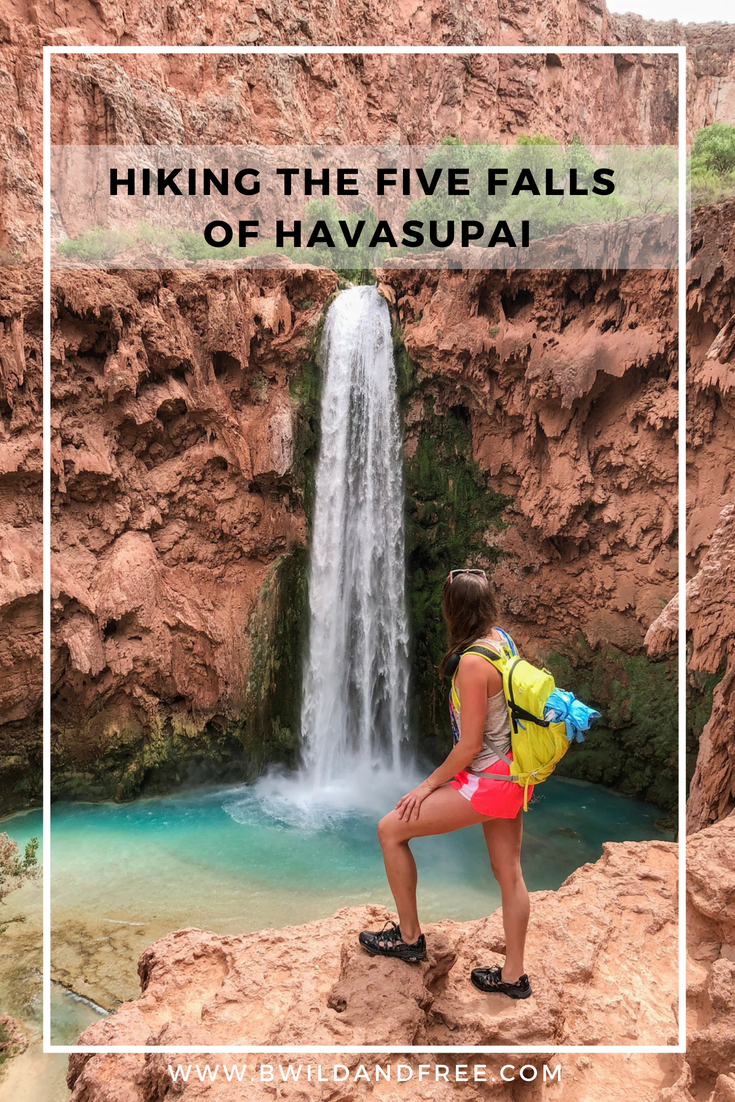
Interested in checking these waterfalls out in person? Click here for an extensive overview and guide to backpacking to Havasupai.

