If you have a heart for adventure and are constantly looking for ways to up your hiking game, Guatemala is a killer travel destination to add to your list. The country is chalk full of lush green volcanoes, (37 of them to be exact) three of which are currently active. The best part is, no matter what your hiking style is, Guatemala has something to offer you. There are a plethora of exciting hikes to conquer, ranging from beginner level half-day hikes, to thrilling multi-day backcountry treks.
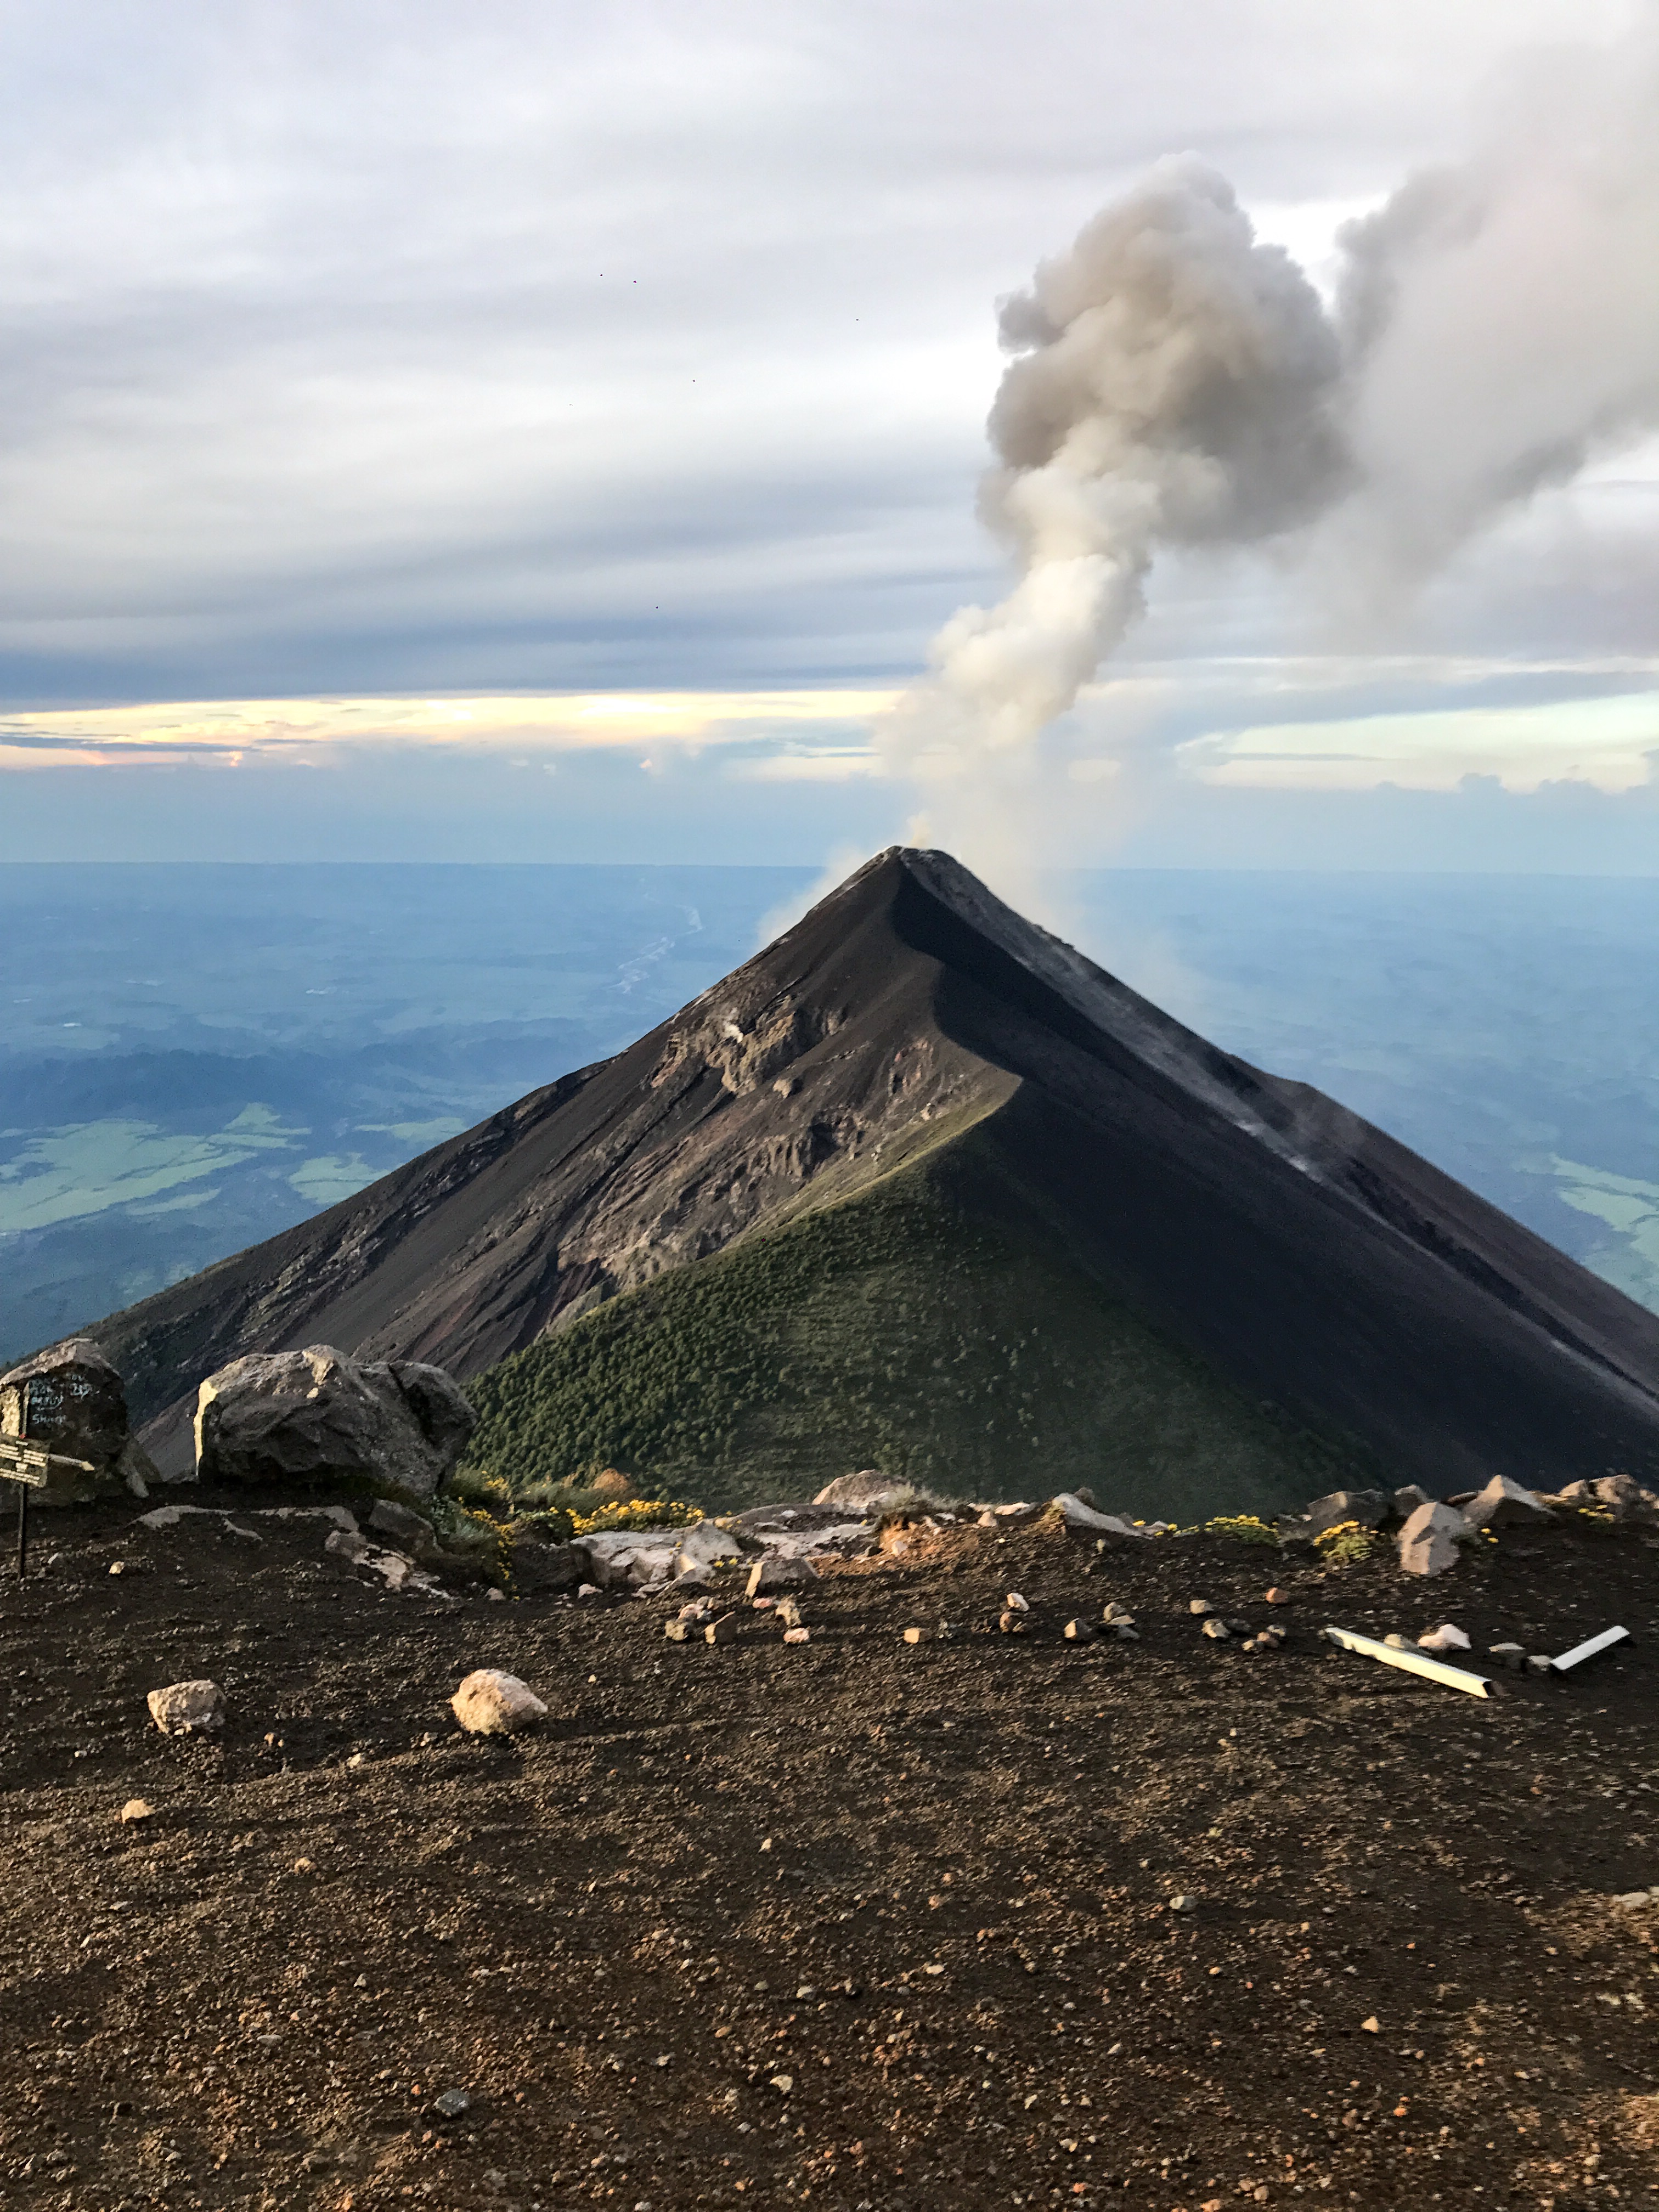
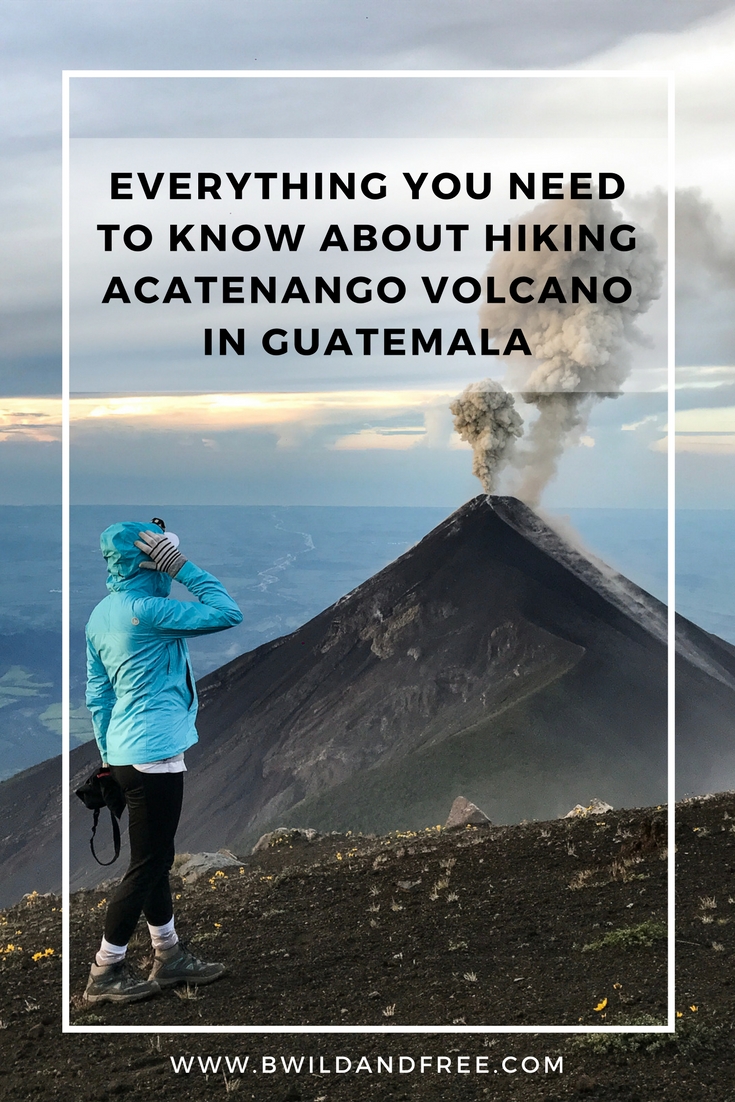
I’m always looking for a challenge, so naturally we decided to go for the overnight trek to summit Volcan Acatenango – the third highest peak in Central America standing tall at 13,045 ft. Hiking to the top of Acatenango gives you the absolute best views of Guatemala along with the added thrill of being attached by a ridgeline to Volcan Fuego, one of the most active volcanoes in Central America. As an added bonus, you can also watch Volcan Pacaya erupting in the distance!
What to Expect:
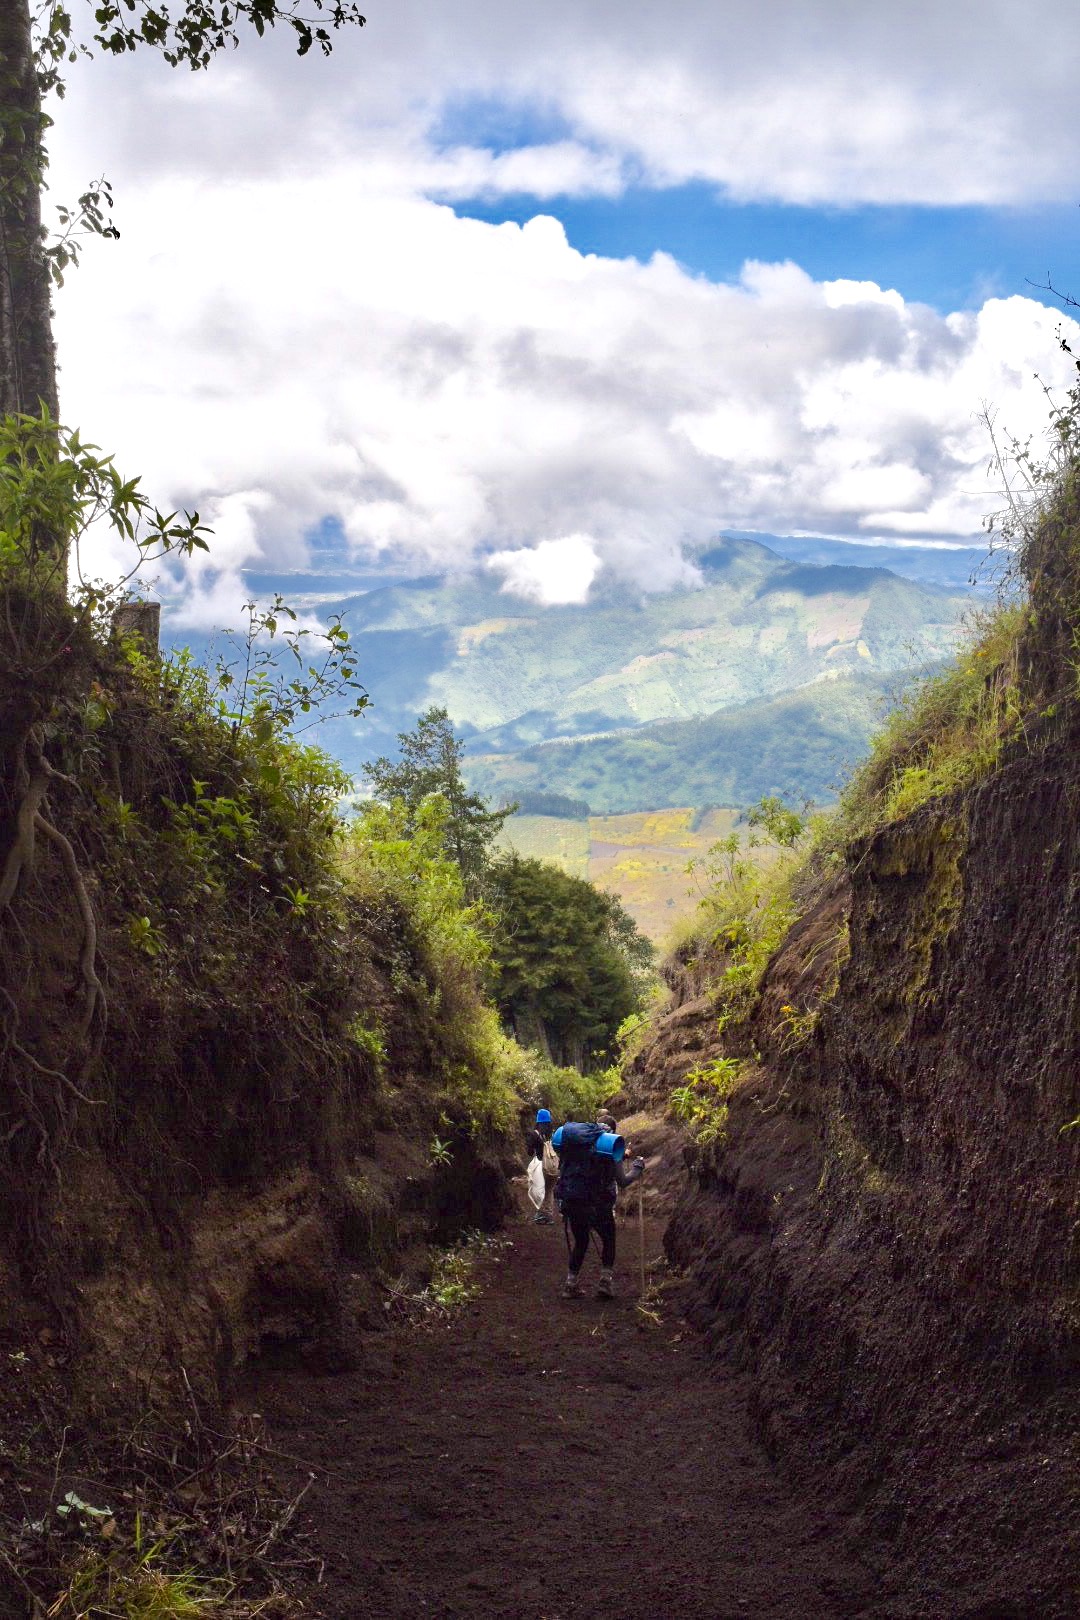
This hike is not for the faint of heart and can be very dangerous without a guide. Starting out at around 8,000 feet of elevation, you make your way up through a series of four different environmental terrain types:
High Farmland
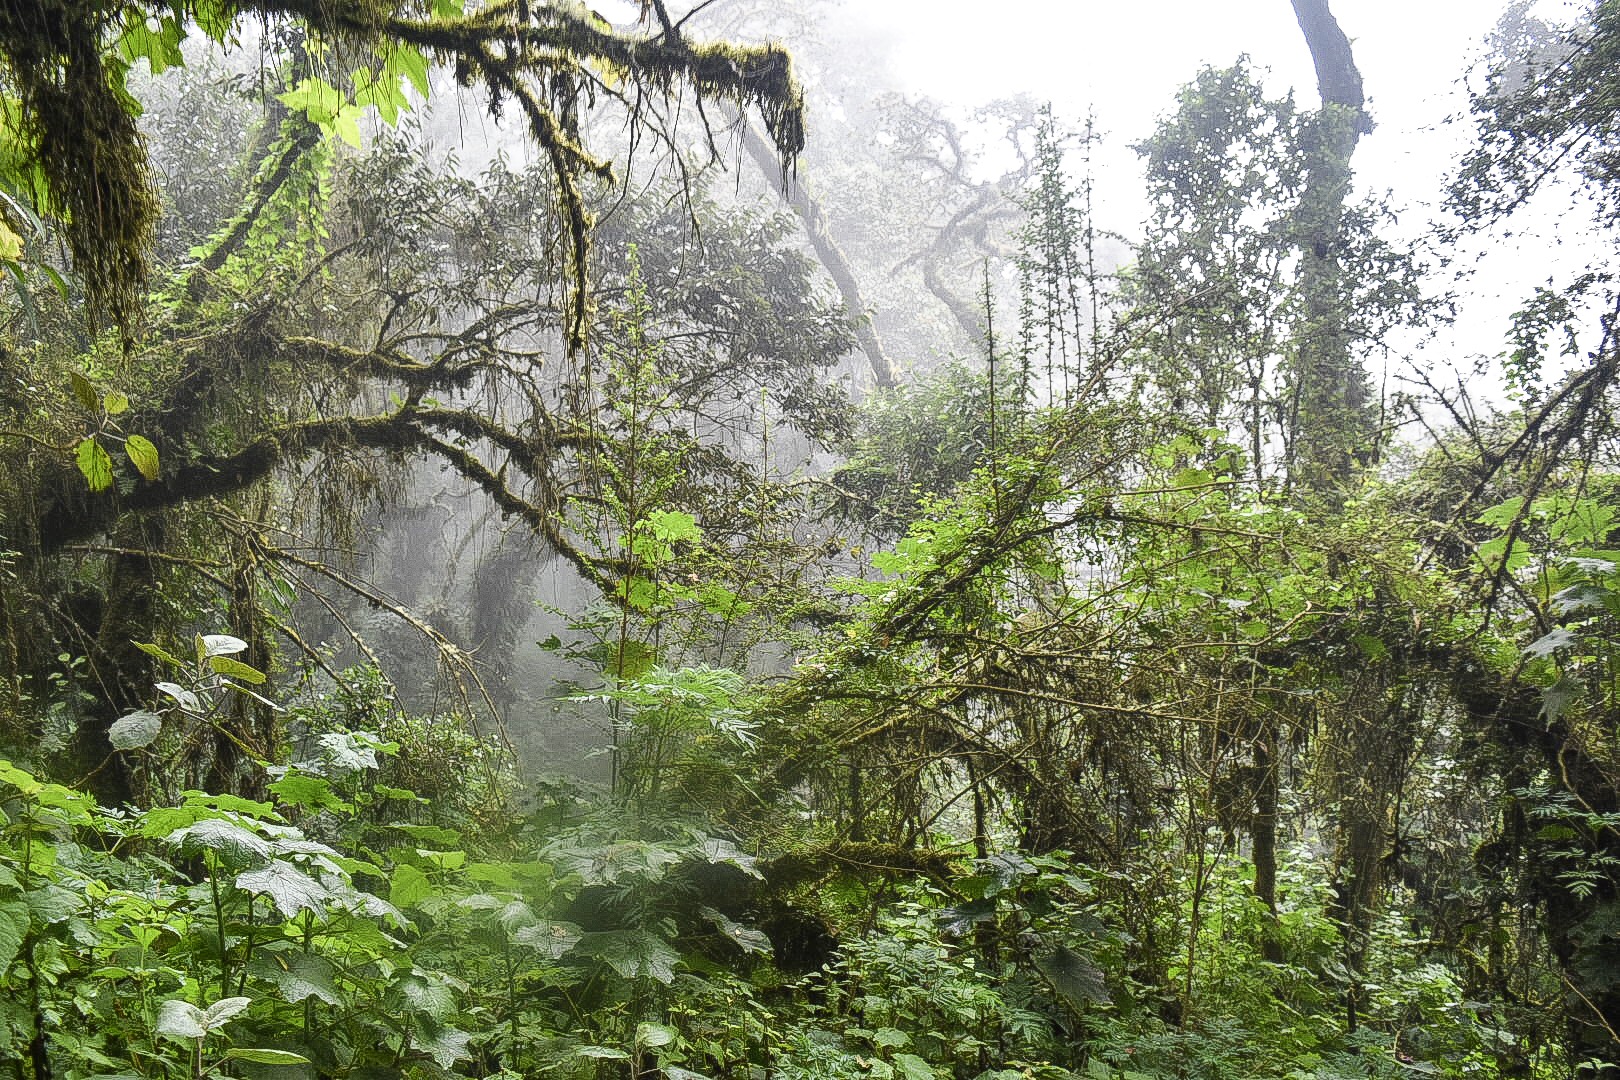
Cloud Forest
High-Alpine Forest
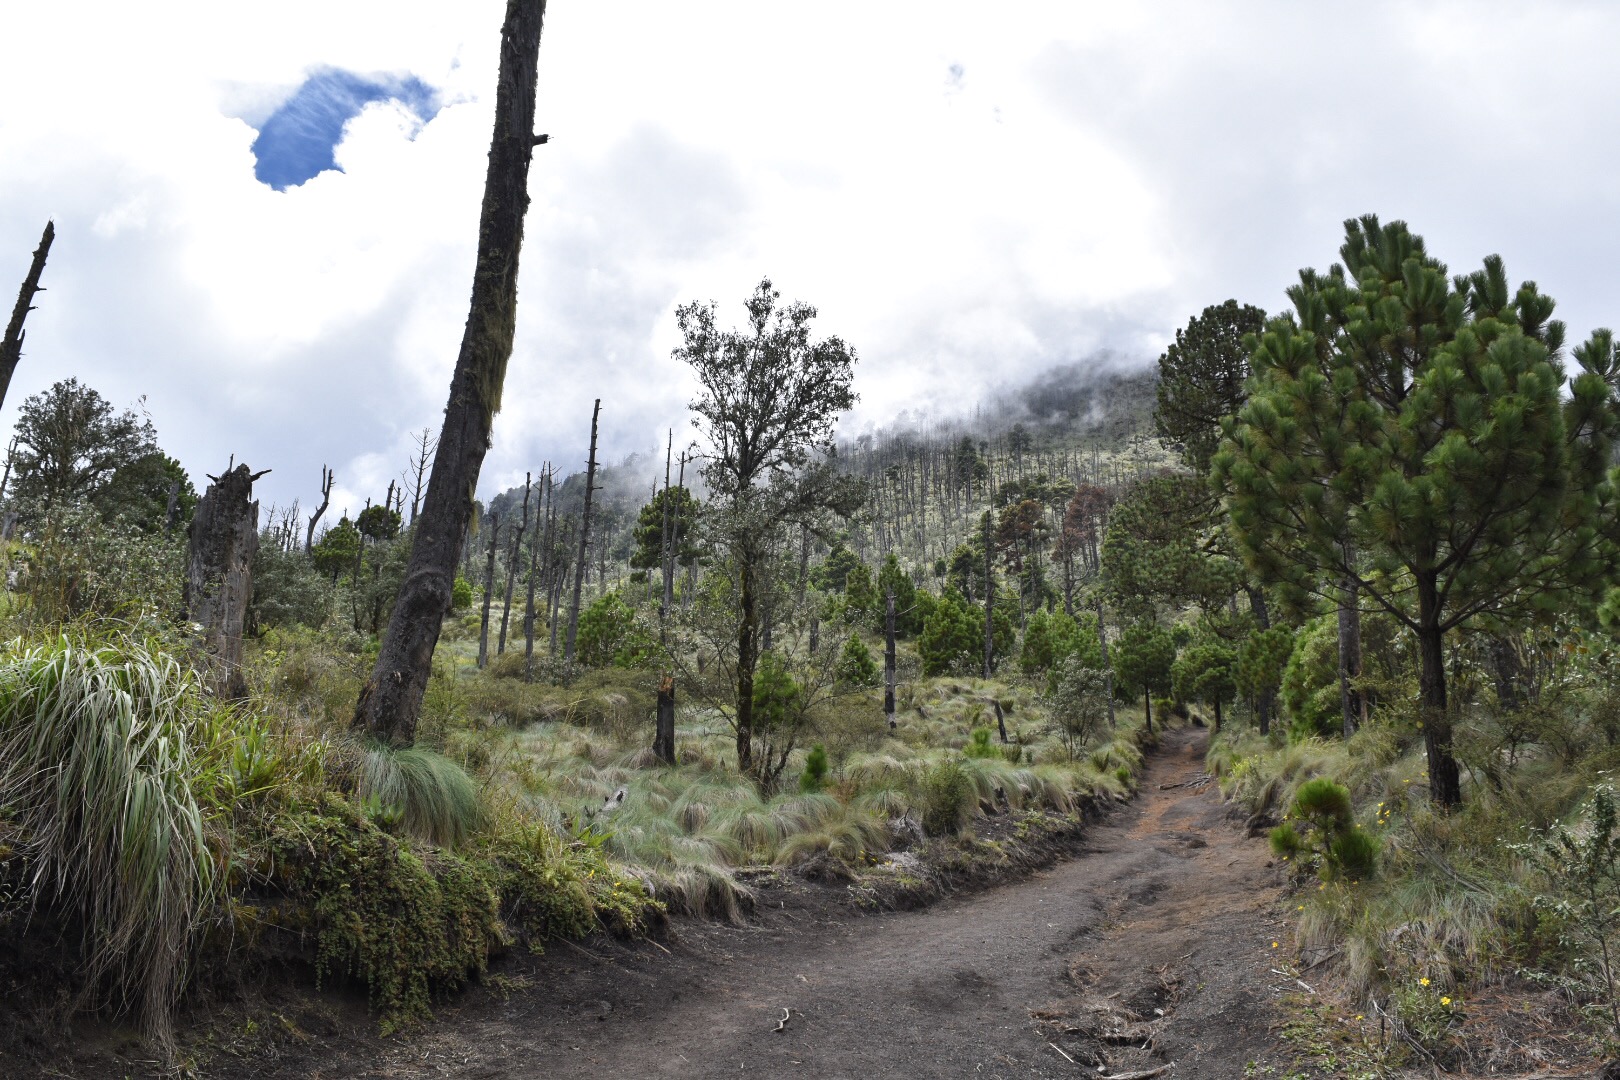
Volcanic Soil
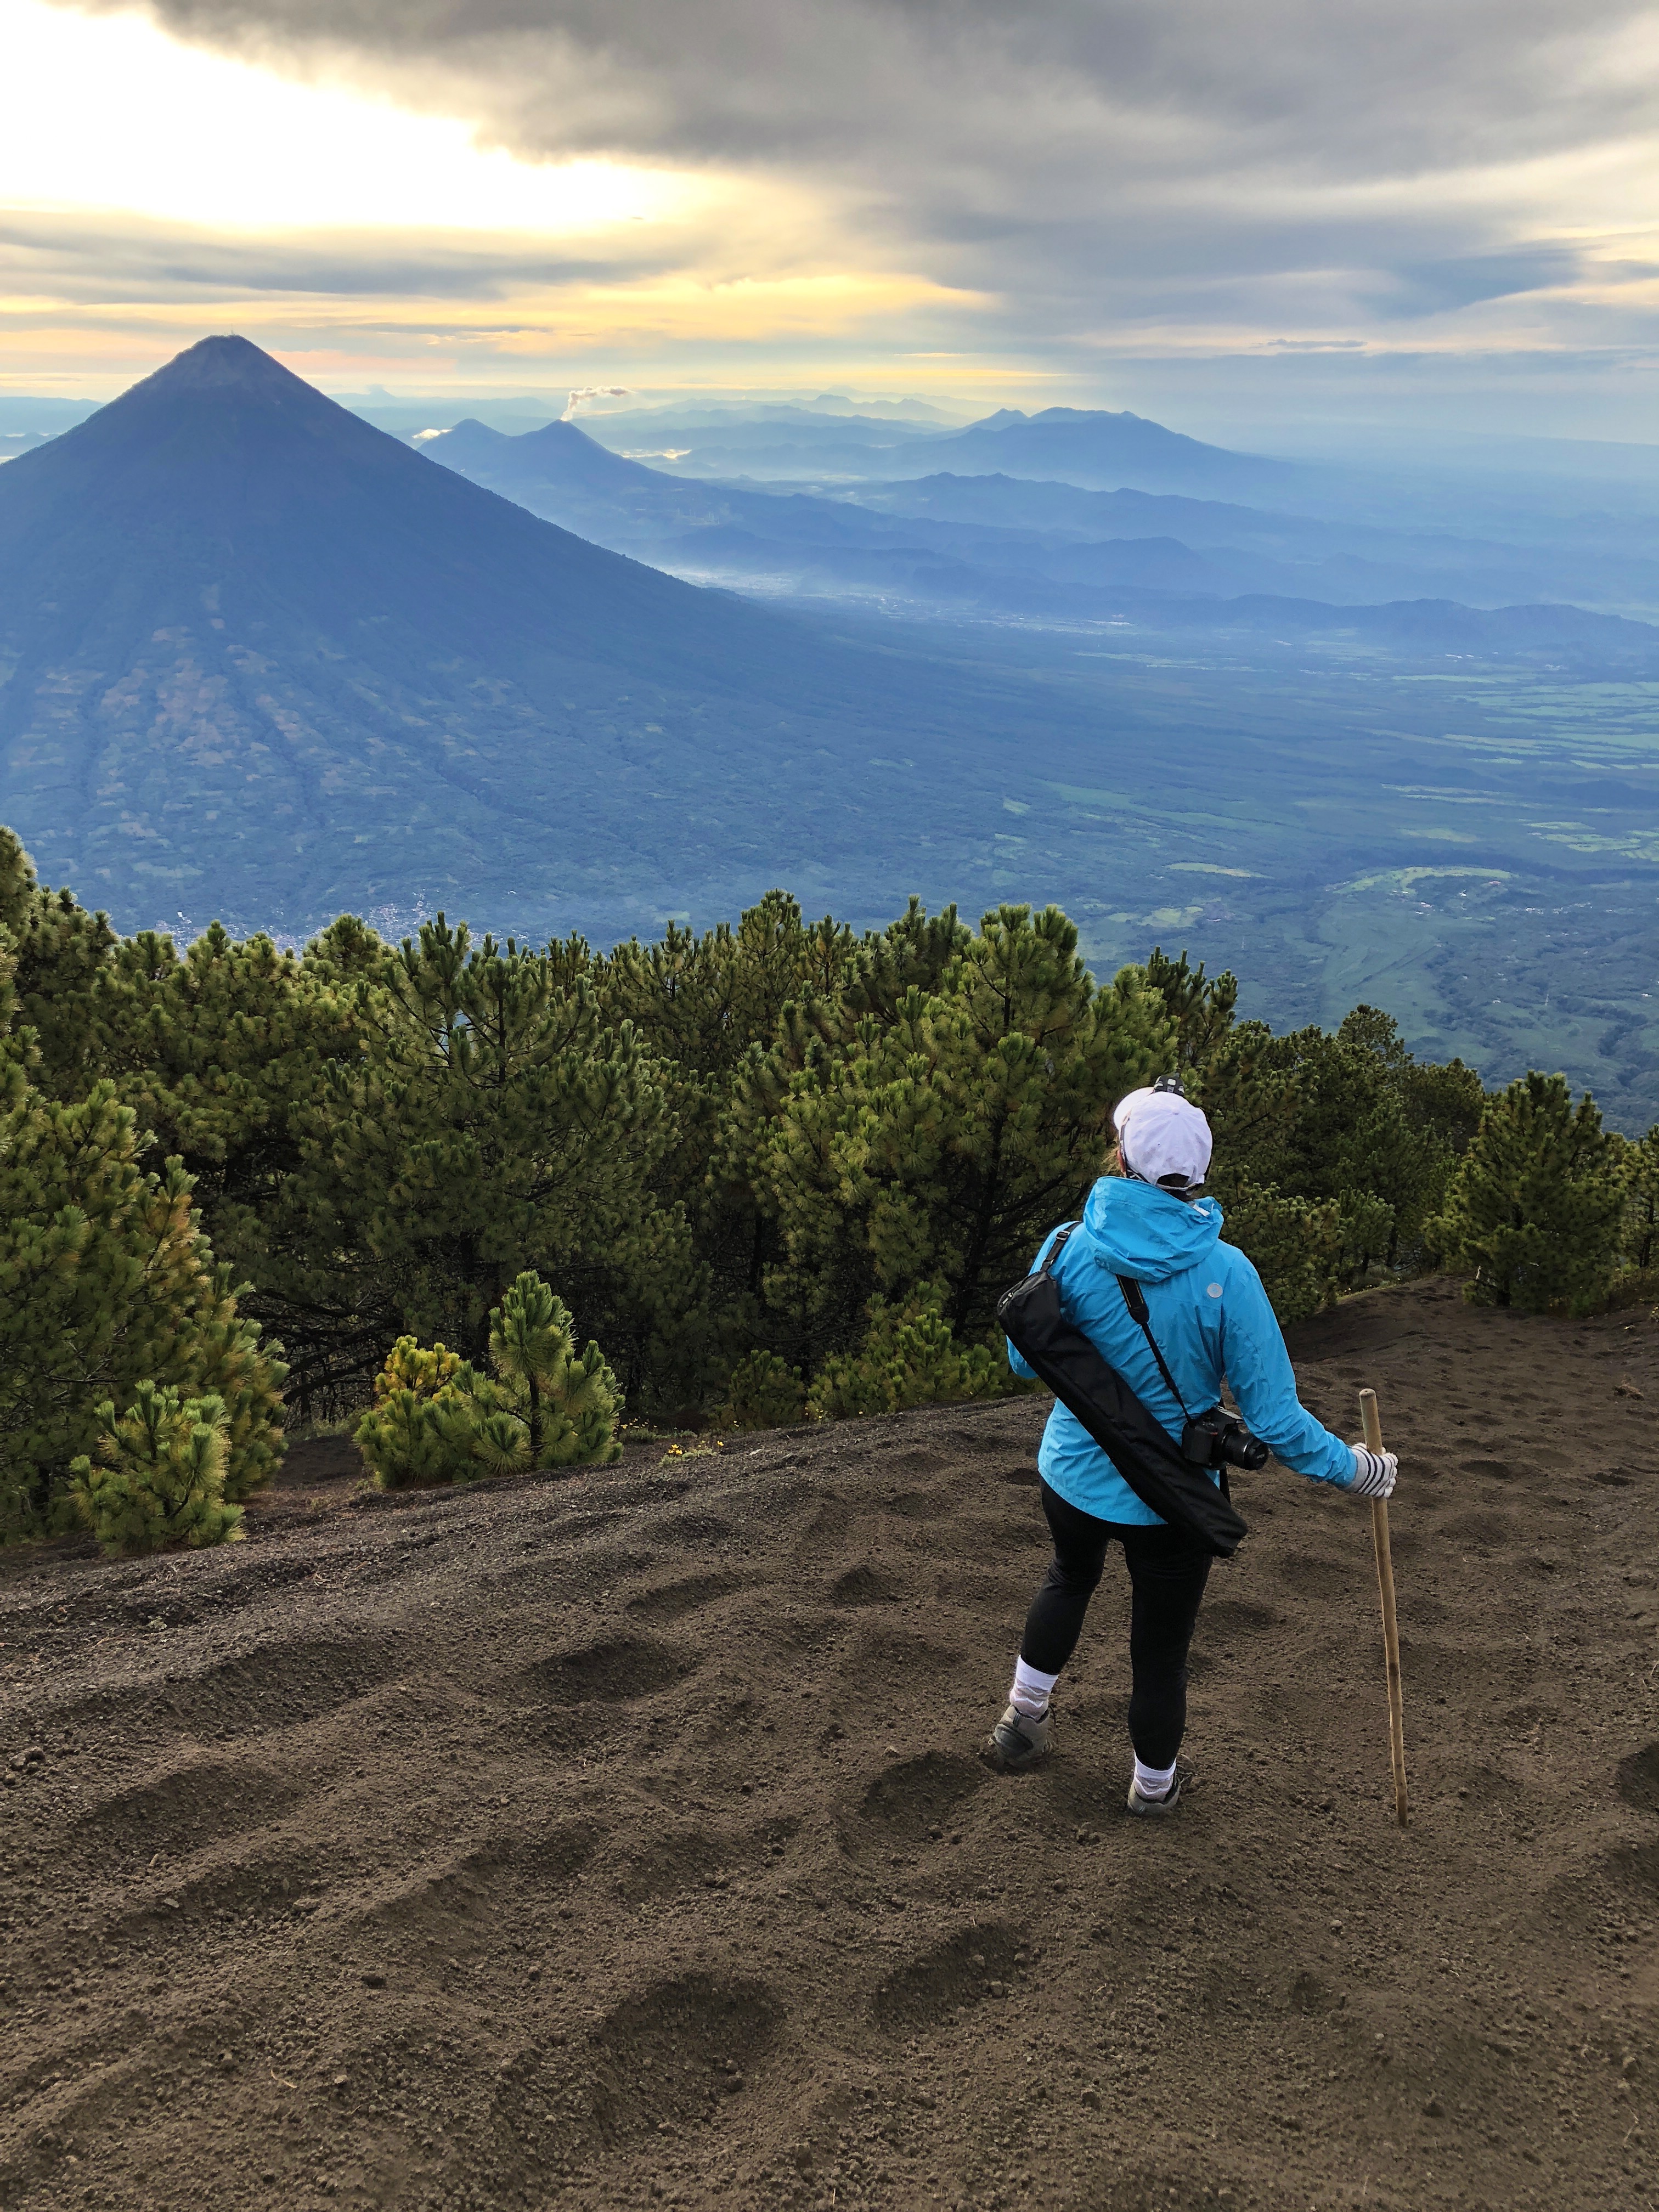
The maximum height you reach is over 13,000 feet at the summit but the hike itself is only about 5 miles one way and VERY steep. You can choose to try and attempt this hike without a designated tour, but I highly recommend going with a guide as they have the necessary knowledge and offer all of the supplies you will need to be safe during the hike. Going with a group also helps alleviate extra weight in your pack as you split the tent supplies, food, and water with the entire group.
We chose to go on our adventure with OX Adventures because they are an accredited company with a lot of experience. We paid a little more to go with them but in the end it was totally worth it. Some of the other tour groups had up to 30 people in them and had ramen noodles for dinner whereas we had only 13 people and had homemade pasta, gourmet sandwiches, and even boxes of wine to celebrate with at dinner. I have spoken with a few travelers who went with their hostels to do this hike and they all said if they did it again they would most definitely spend a little more to have the food and comfort that we did!
Overview:
Distance: 10 miles round trip and 5,000+ feet of elevation gain.
Time: around 10 active hours of hiking – allow 2 days and prepare to be sore afterwards! Try and schedule this near the end of your trip or before a few days of light activity.
Cost: you can book tours anywhere from around 55 USD to 120 USD depending on quality and length of the hike (there are one day options and options to hike the ridge line of Volcan de Fuego in addition). Our cost was 89 USD plus additional rental fees for gear (5 USD) and entrance fees (around 5 USD).
Day 1:
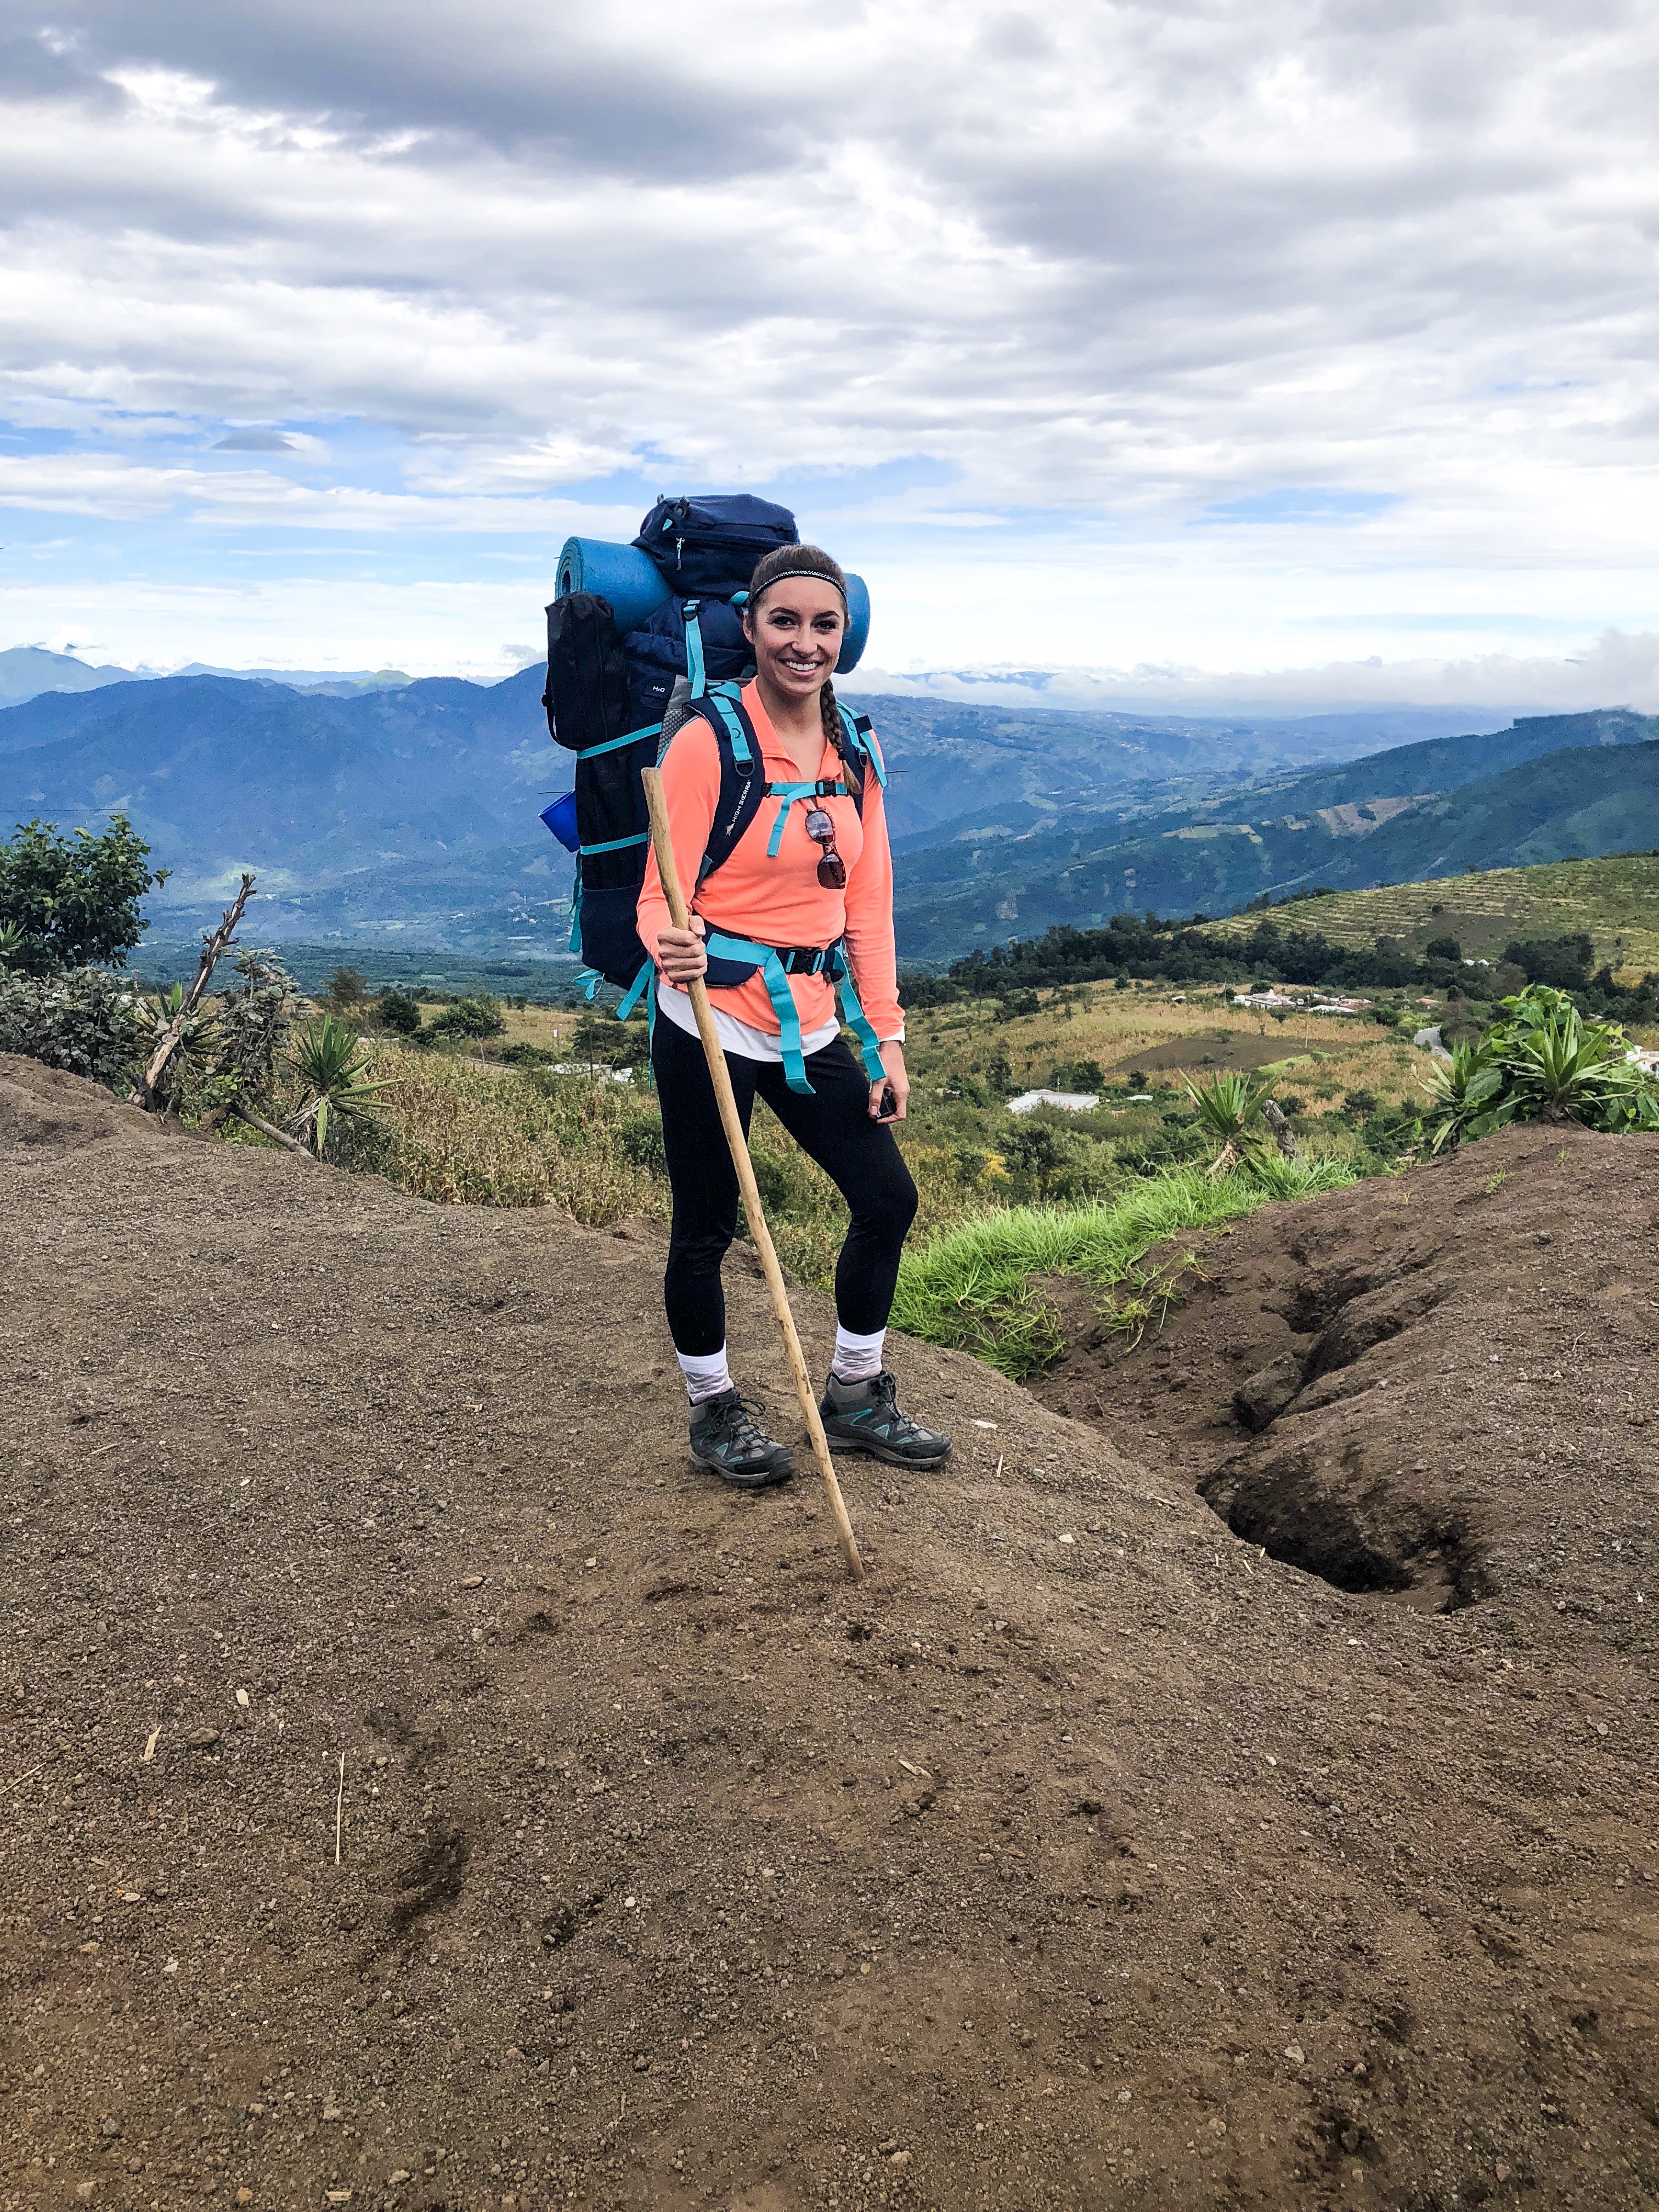
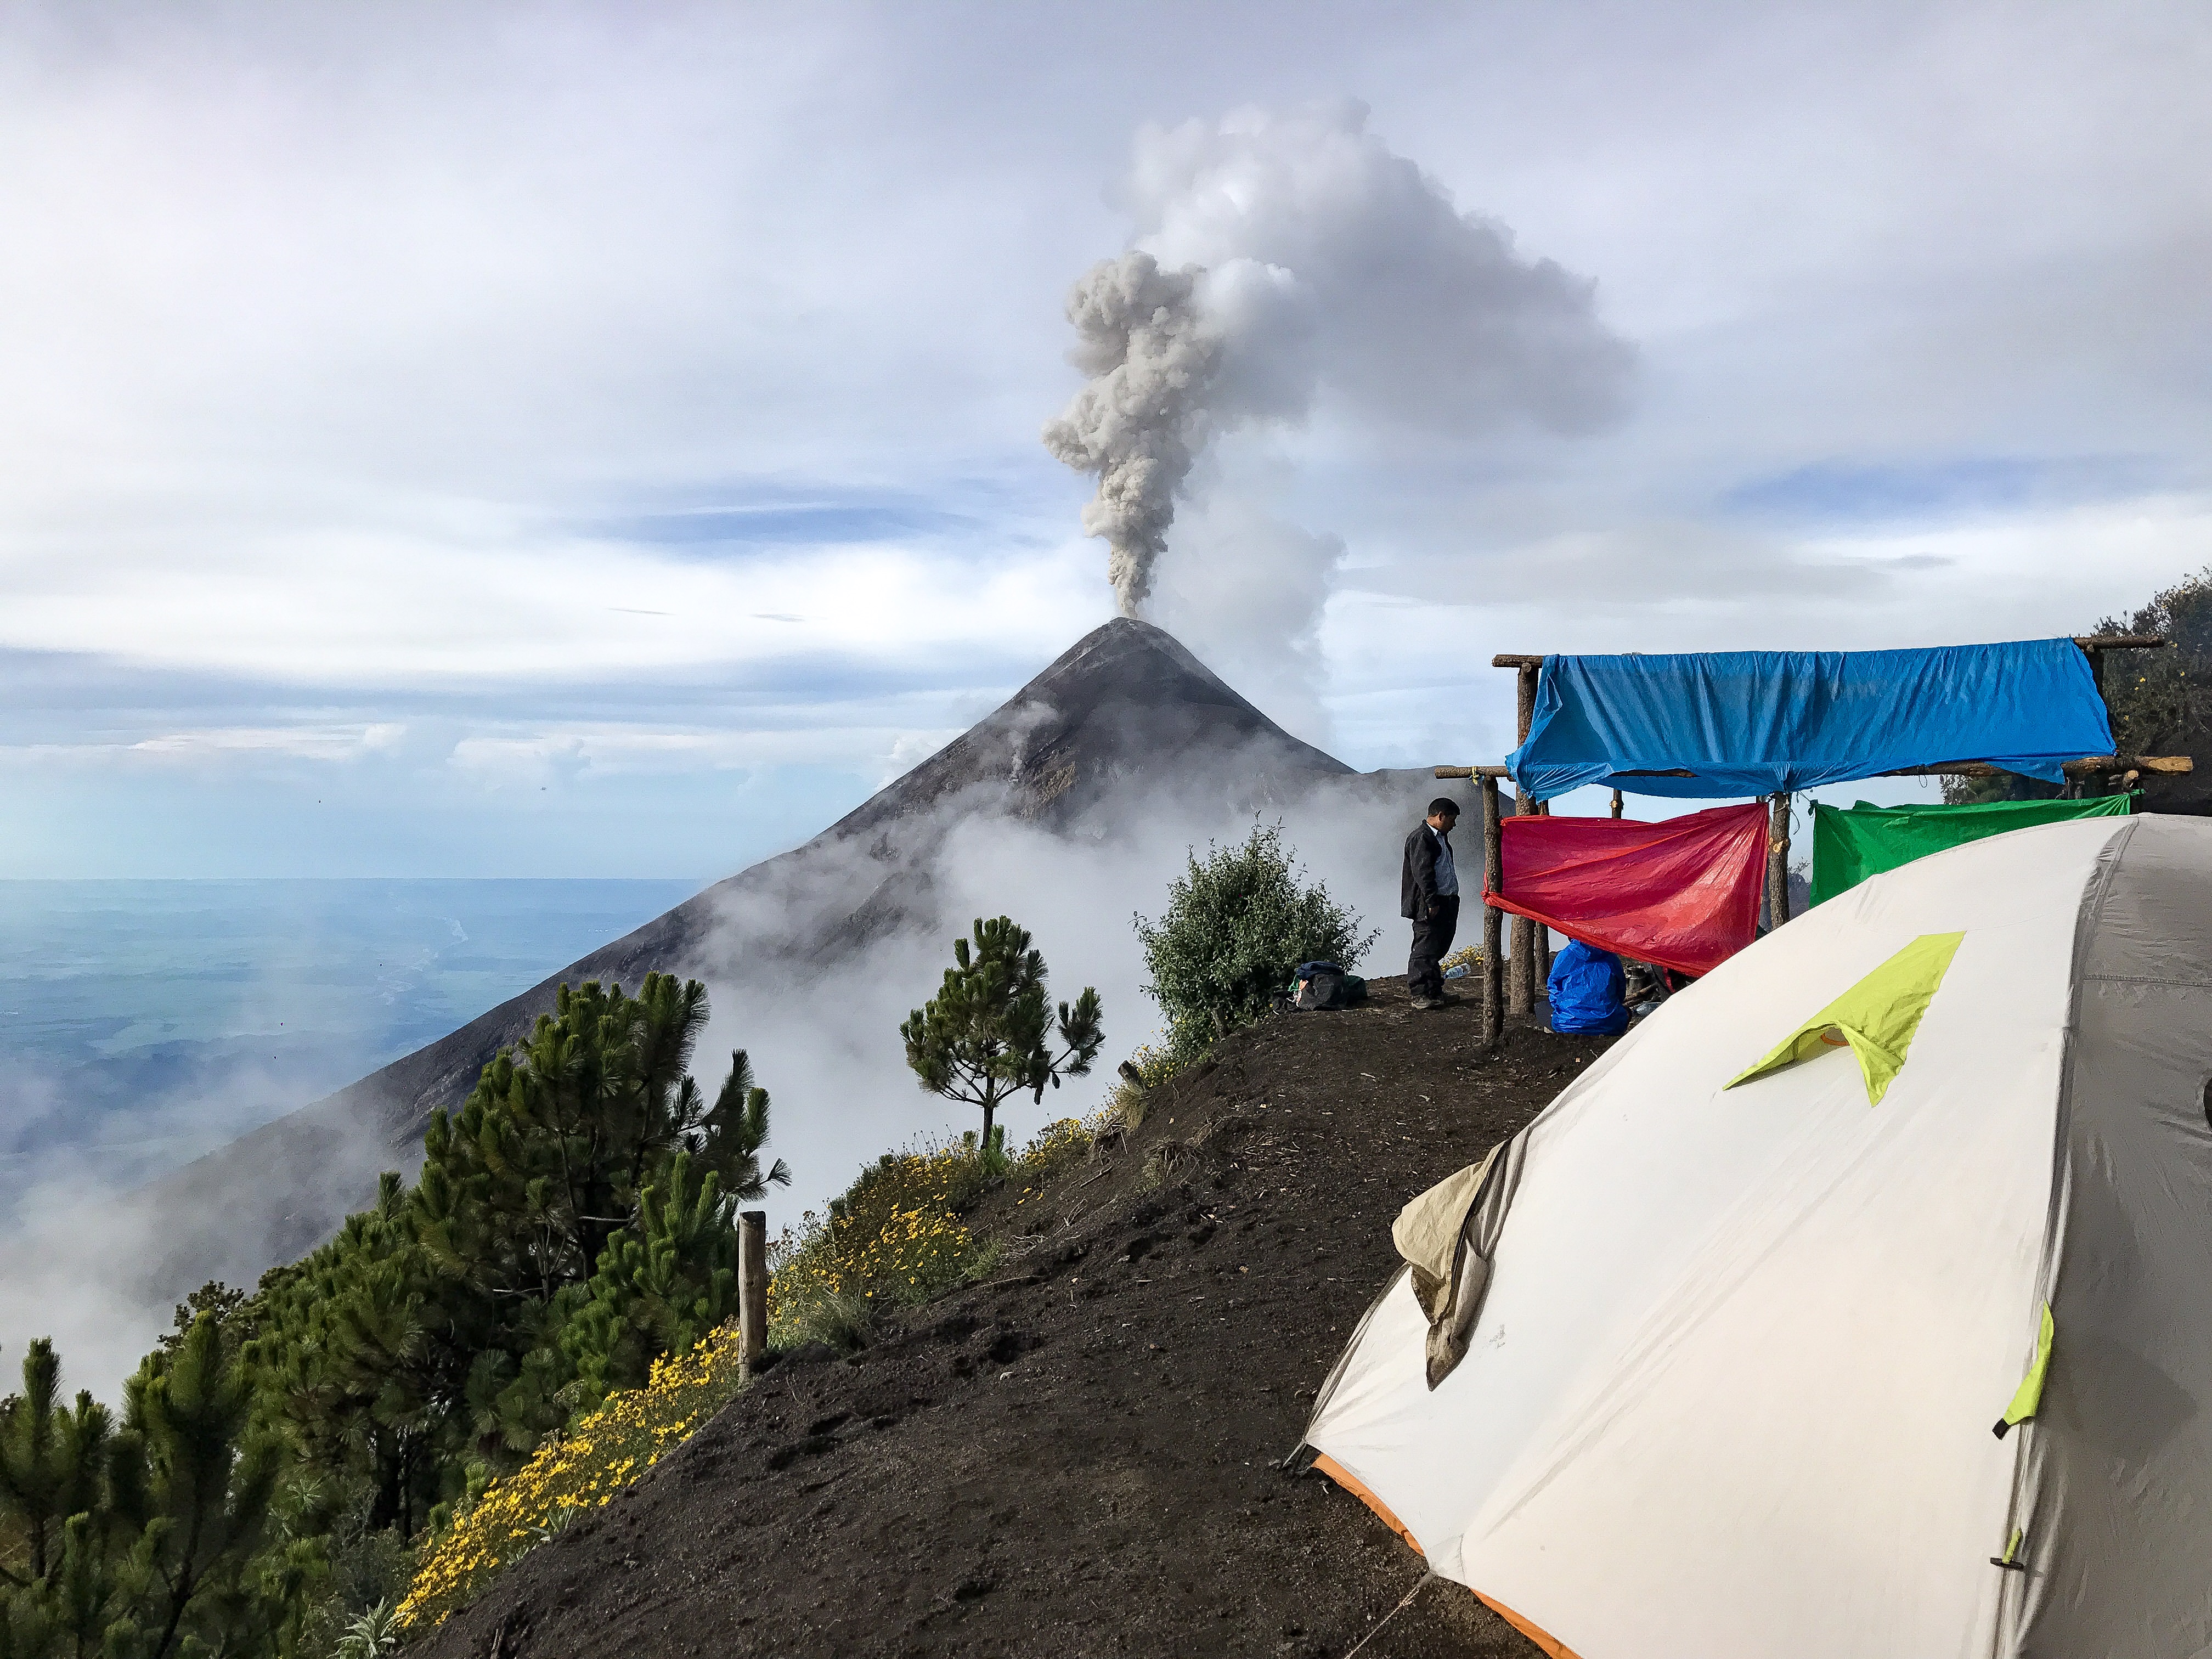
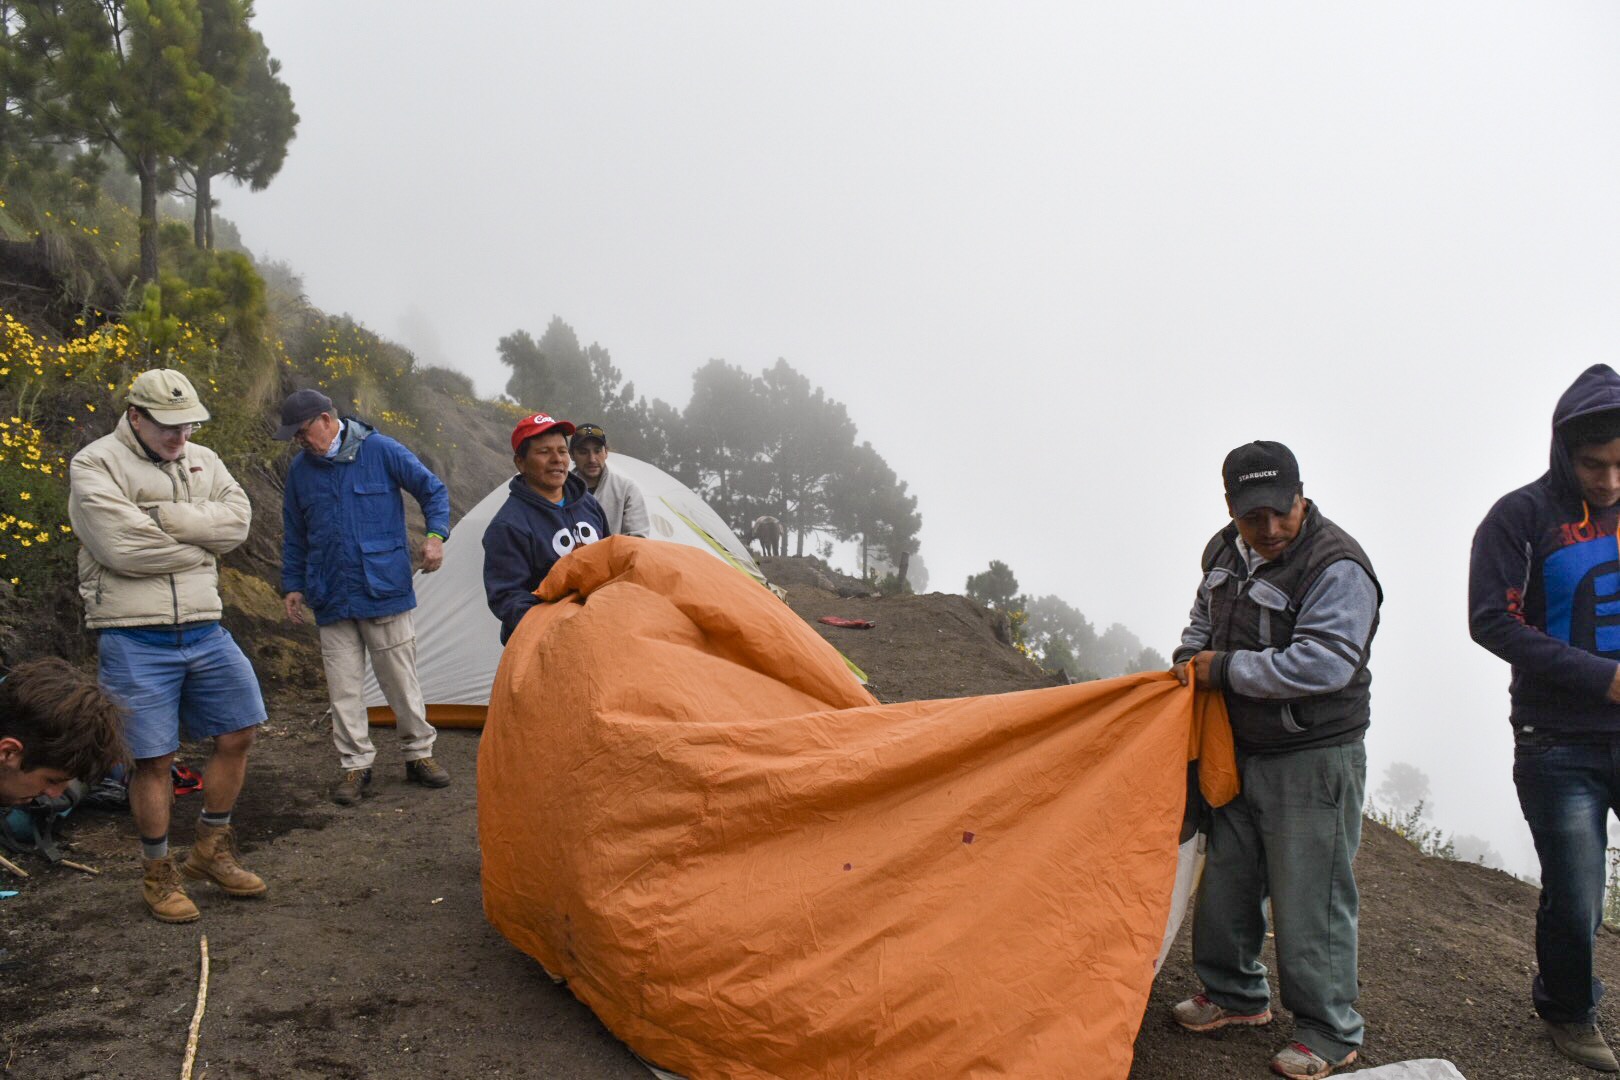
The first day tackles 6-7 hours of intense hiking with a 55L pack through the first three levels of terrain to a campsite at around 12,000 feet of elevation. If you don’t want to carry your pack, you can pay 120 Quetzales extra each way (around 16 USD) for a porter to carry your bag. We chose to work hard for our view and carried our packs ourselves. If you are not an experienced hiker I do not recommend carrying your own because you can seriously injure yourself and strain your muscles! Once you arrive and set up base camp, you have time to relax, get to know your tour group, and have dinner while gawking at the site of Volcan Fuego erupting just across the ridge line.
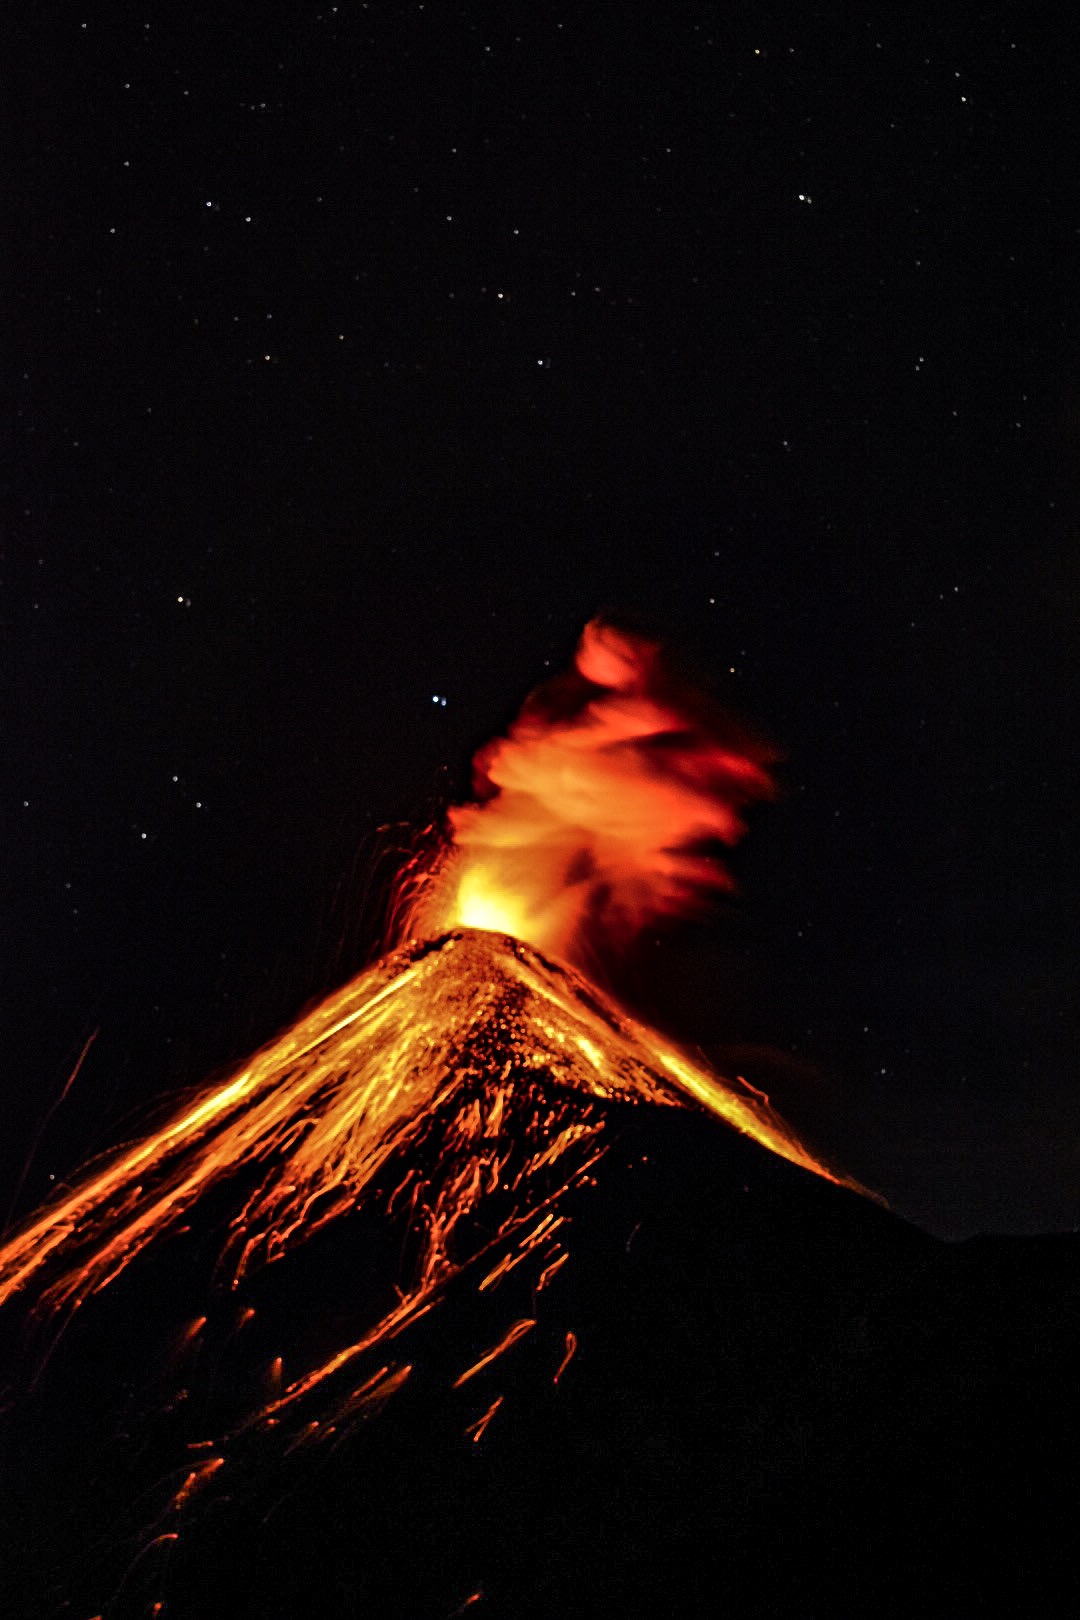
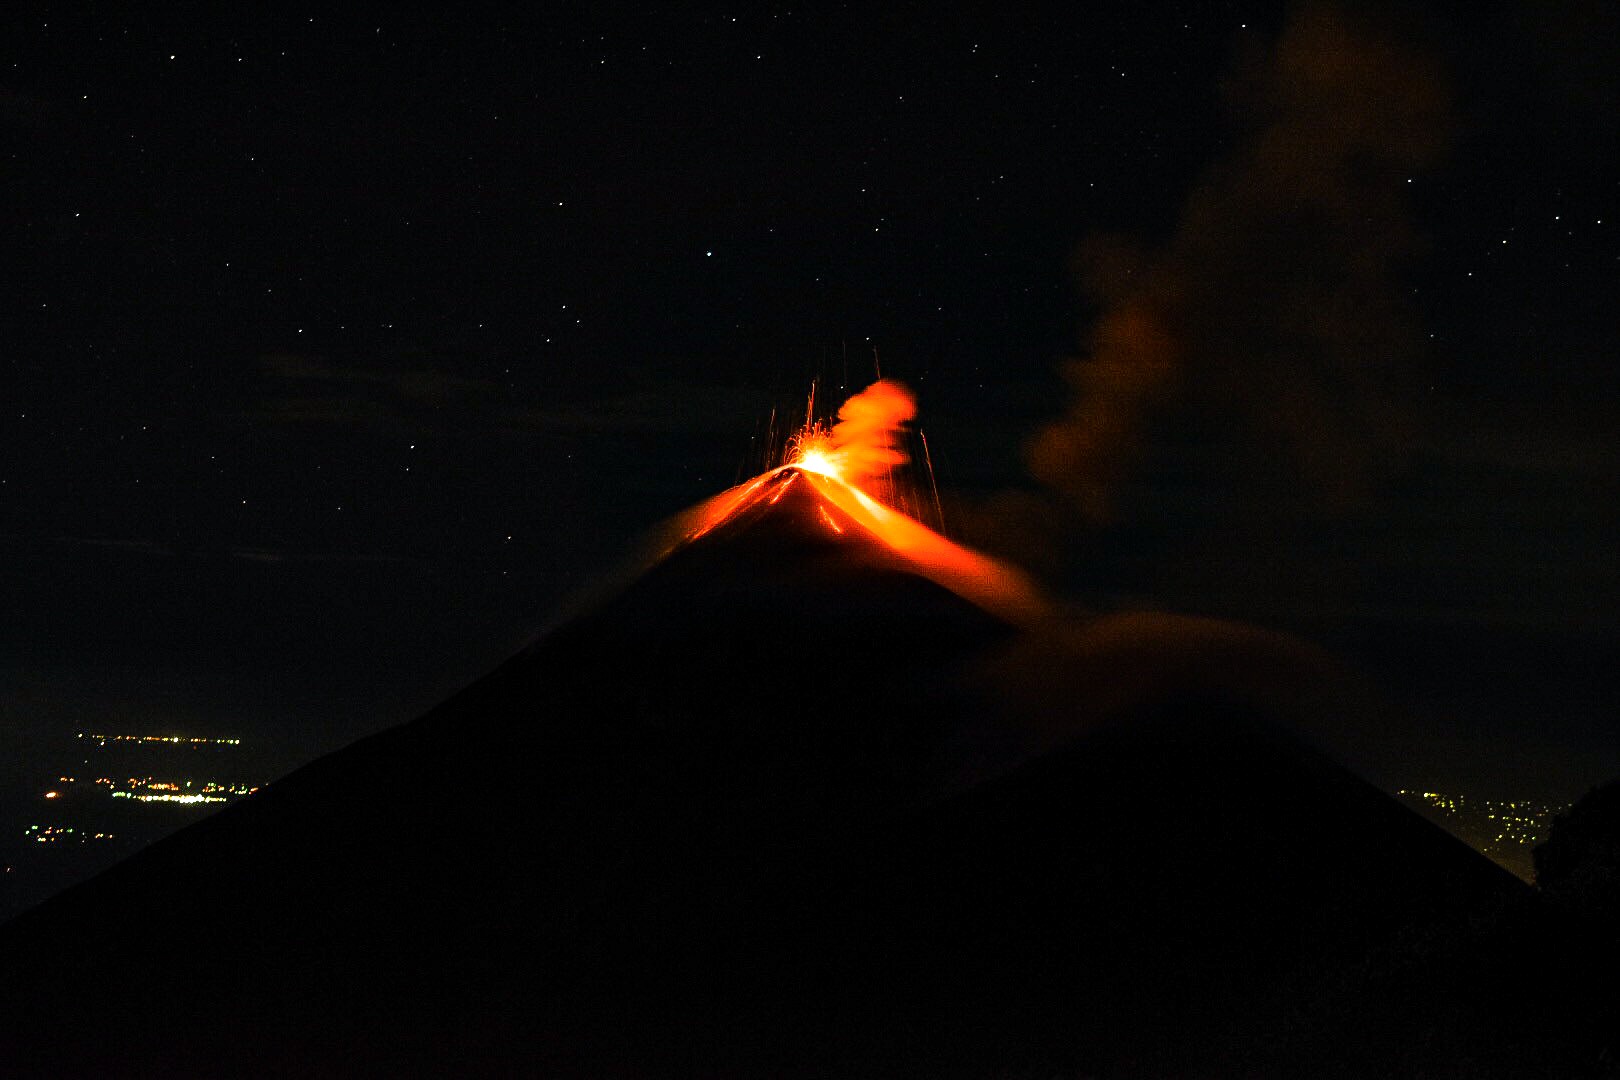
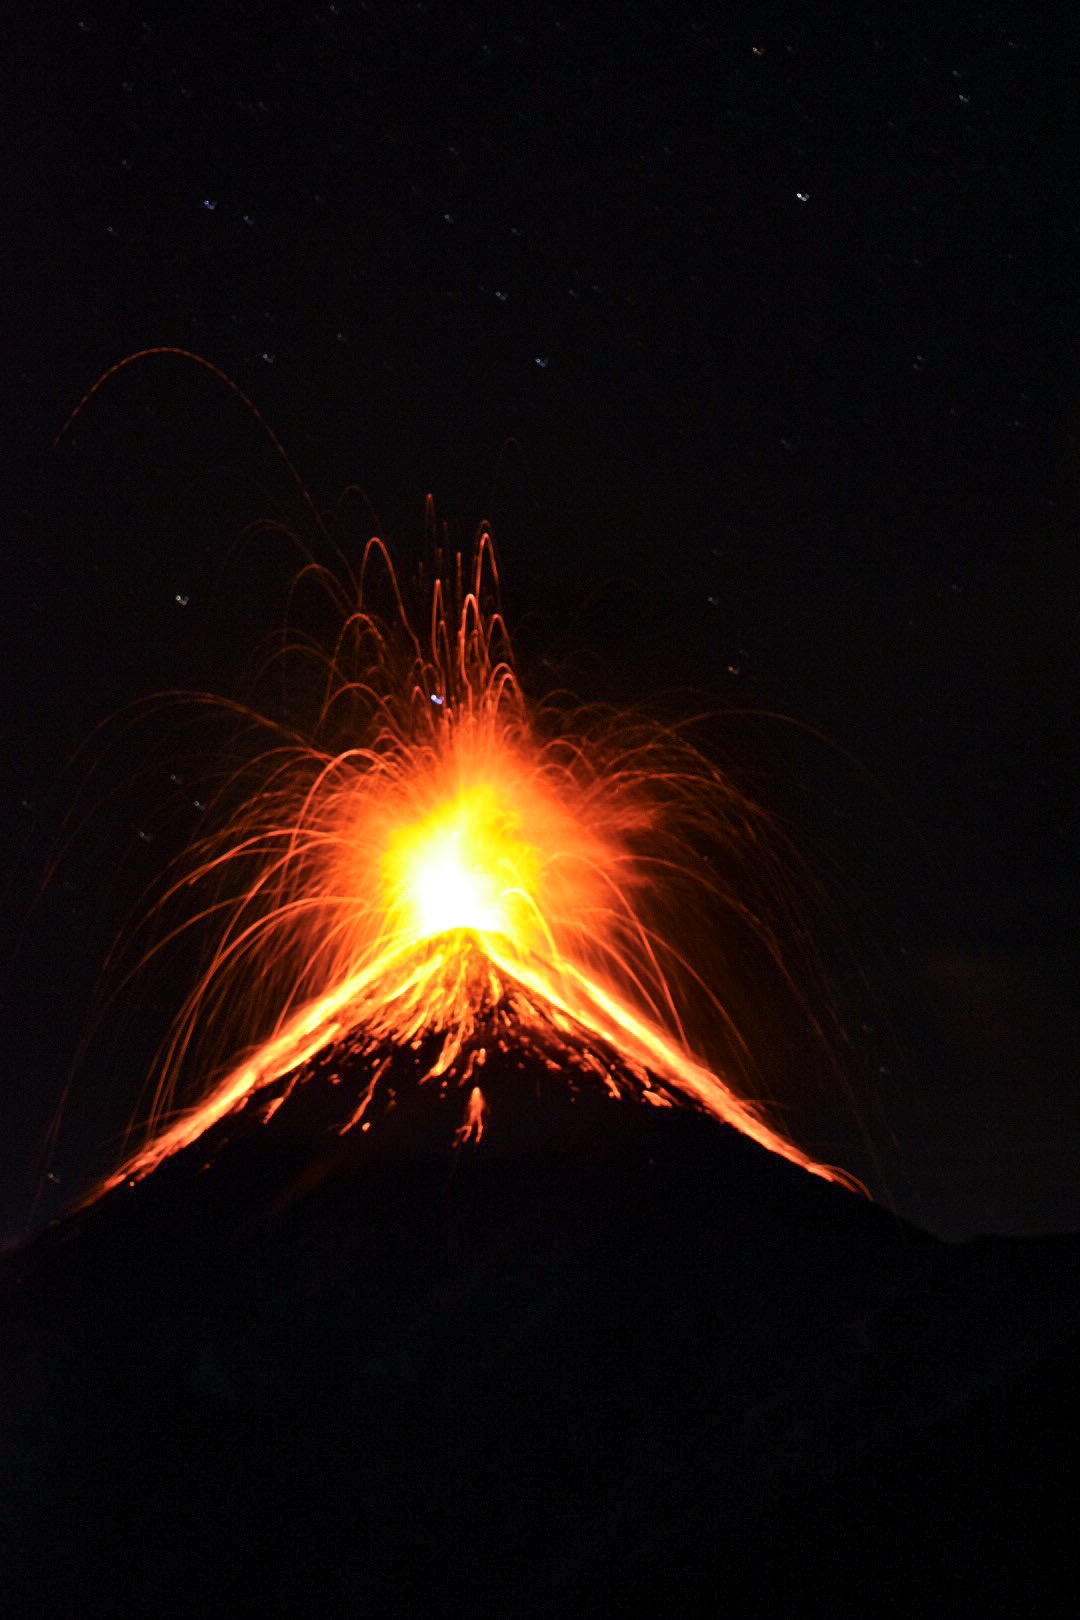
At night, the real fun starts. As the sun sets and stars come out to play, the smoke clouds from the eruptions turn into fiery streams of molten lava spewing hundreds of feet into the air. This is one of the most incredible acts of mother nature I have ever seen with my own eyes. I HIGHLY recommend choosing the overnight hike because you will only get a chance to witness this phenomenon during the night time when it is pitch black out. I managed to capture some really cool pictures despite my novice attempts at night photography thanks to the light weight tripod I brought with me. Only a camera with slow shutter speed capabilities will be able to capture the lava from the eruptions so make sure you come prepared!
Day 2:
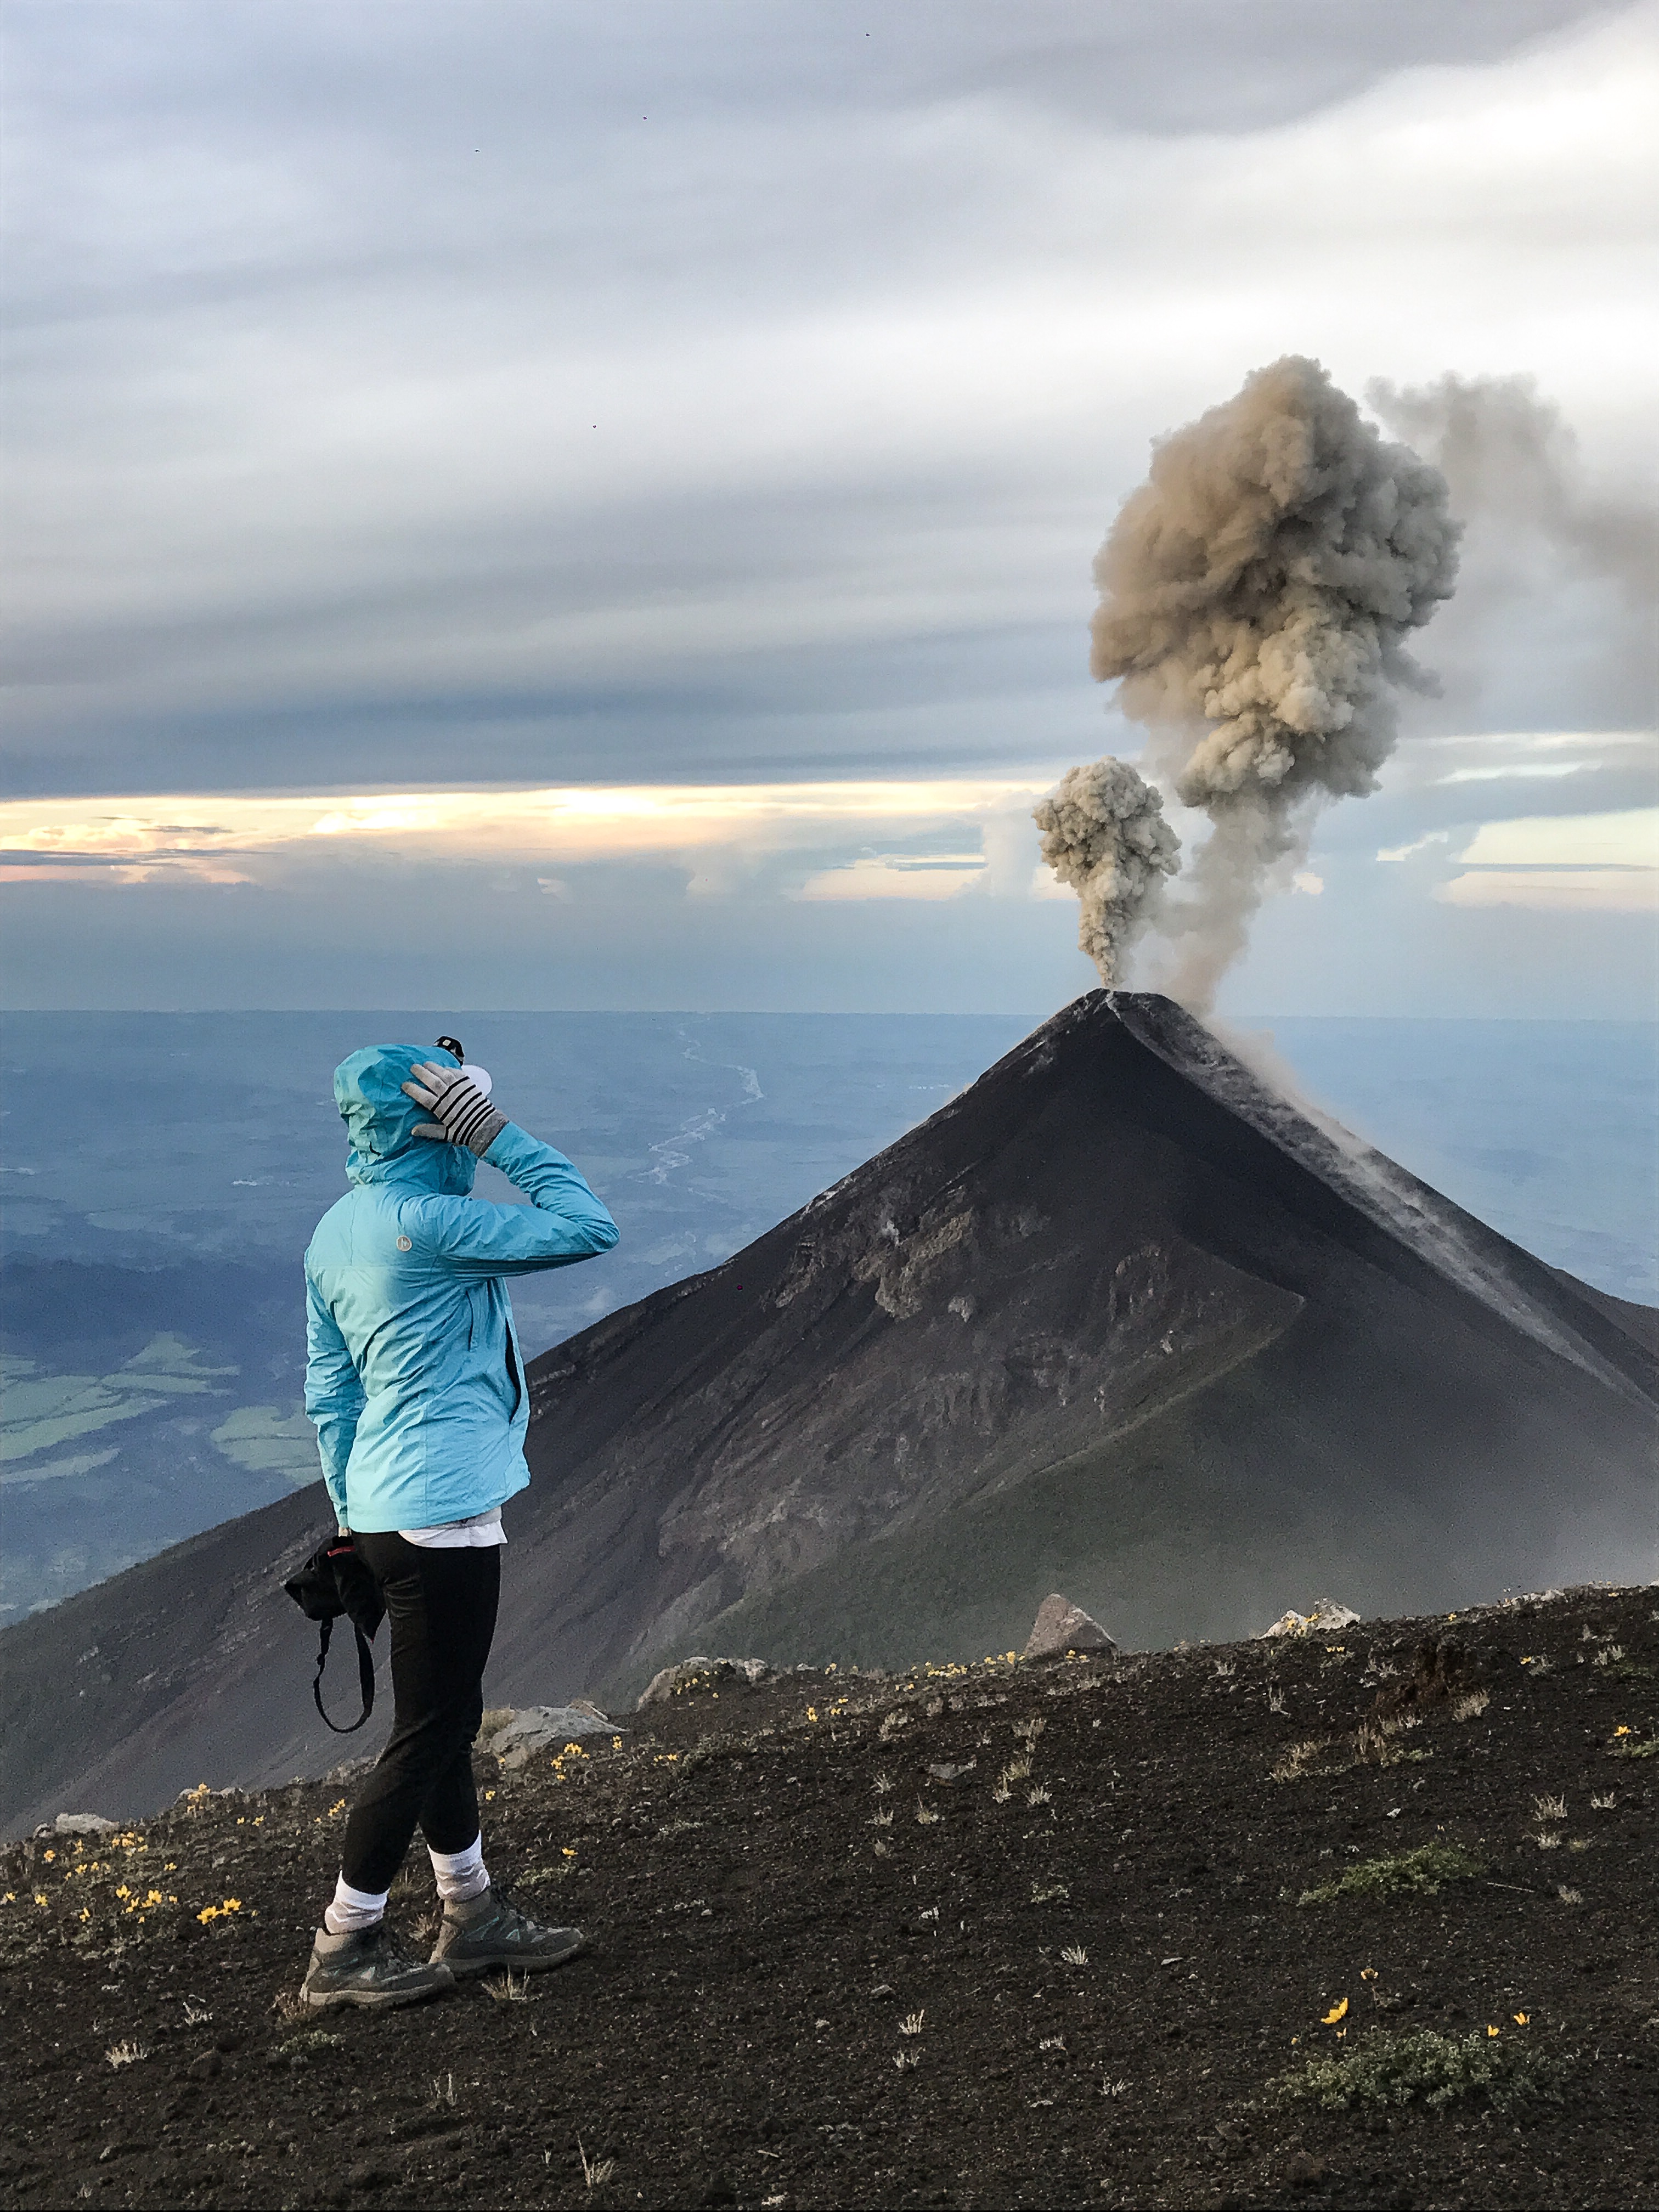
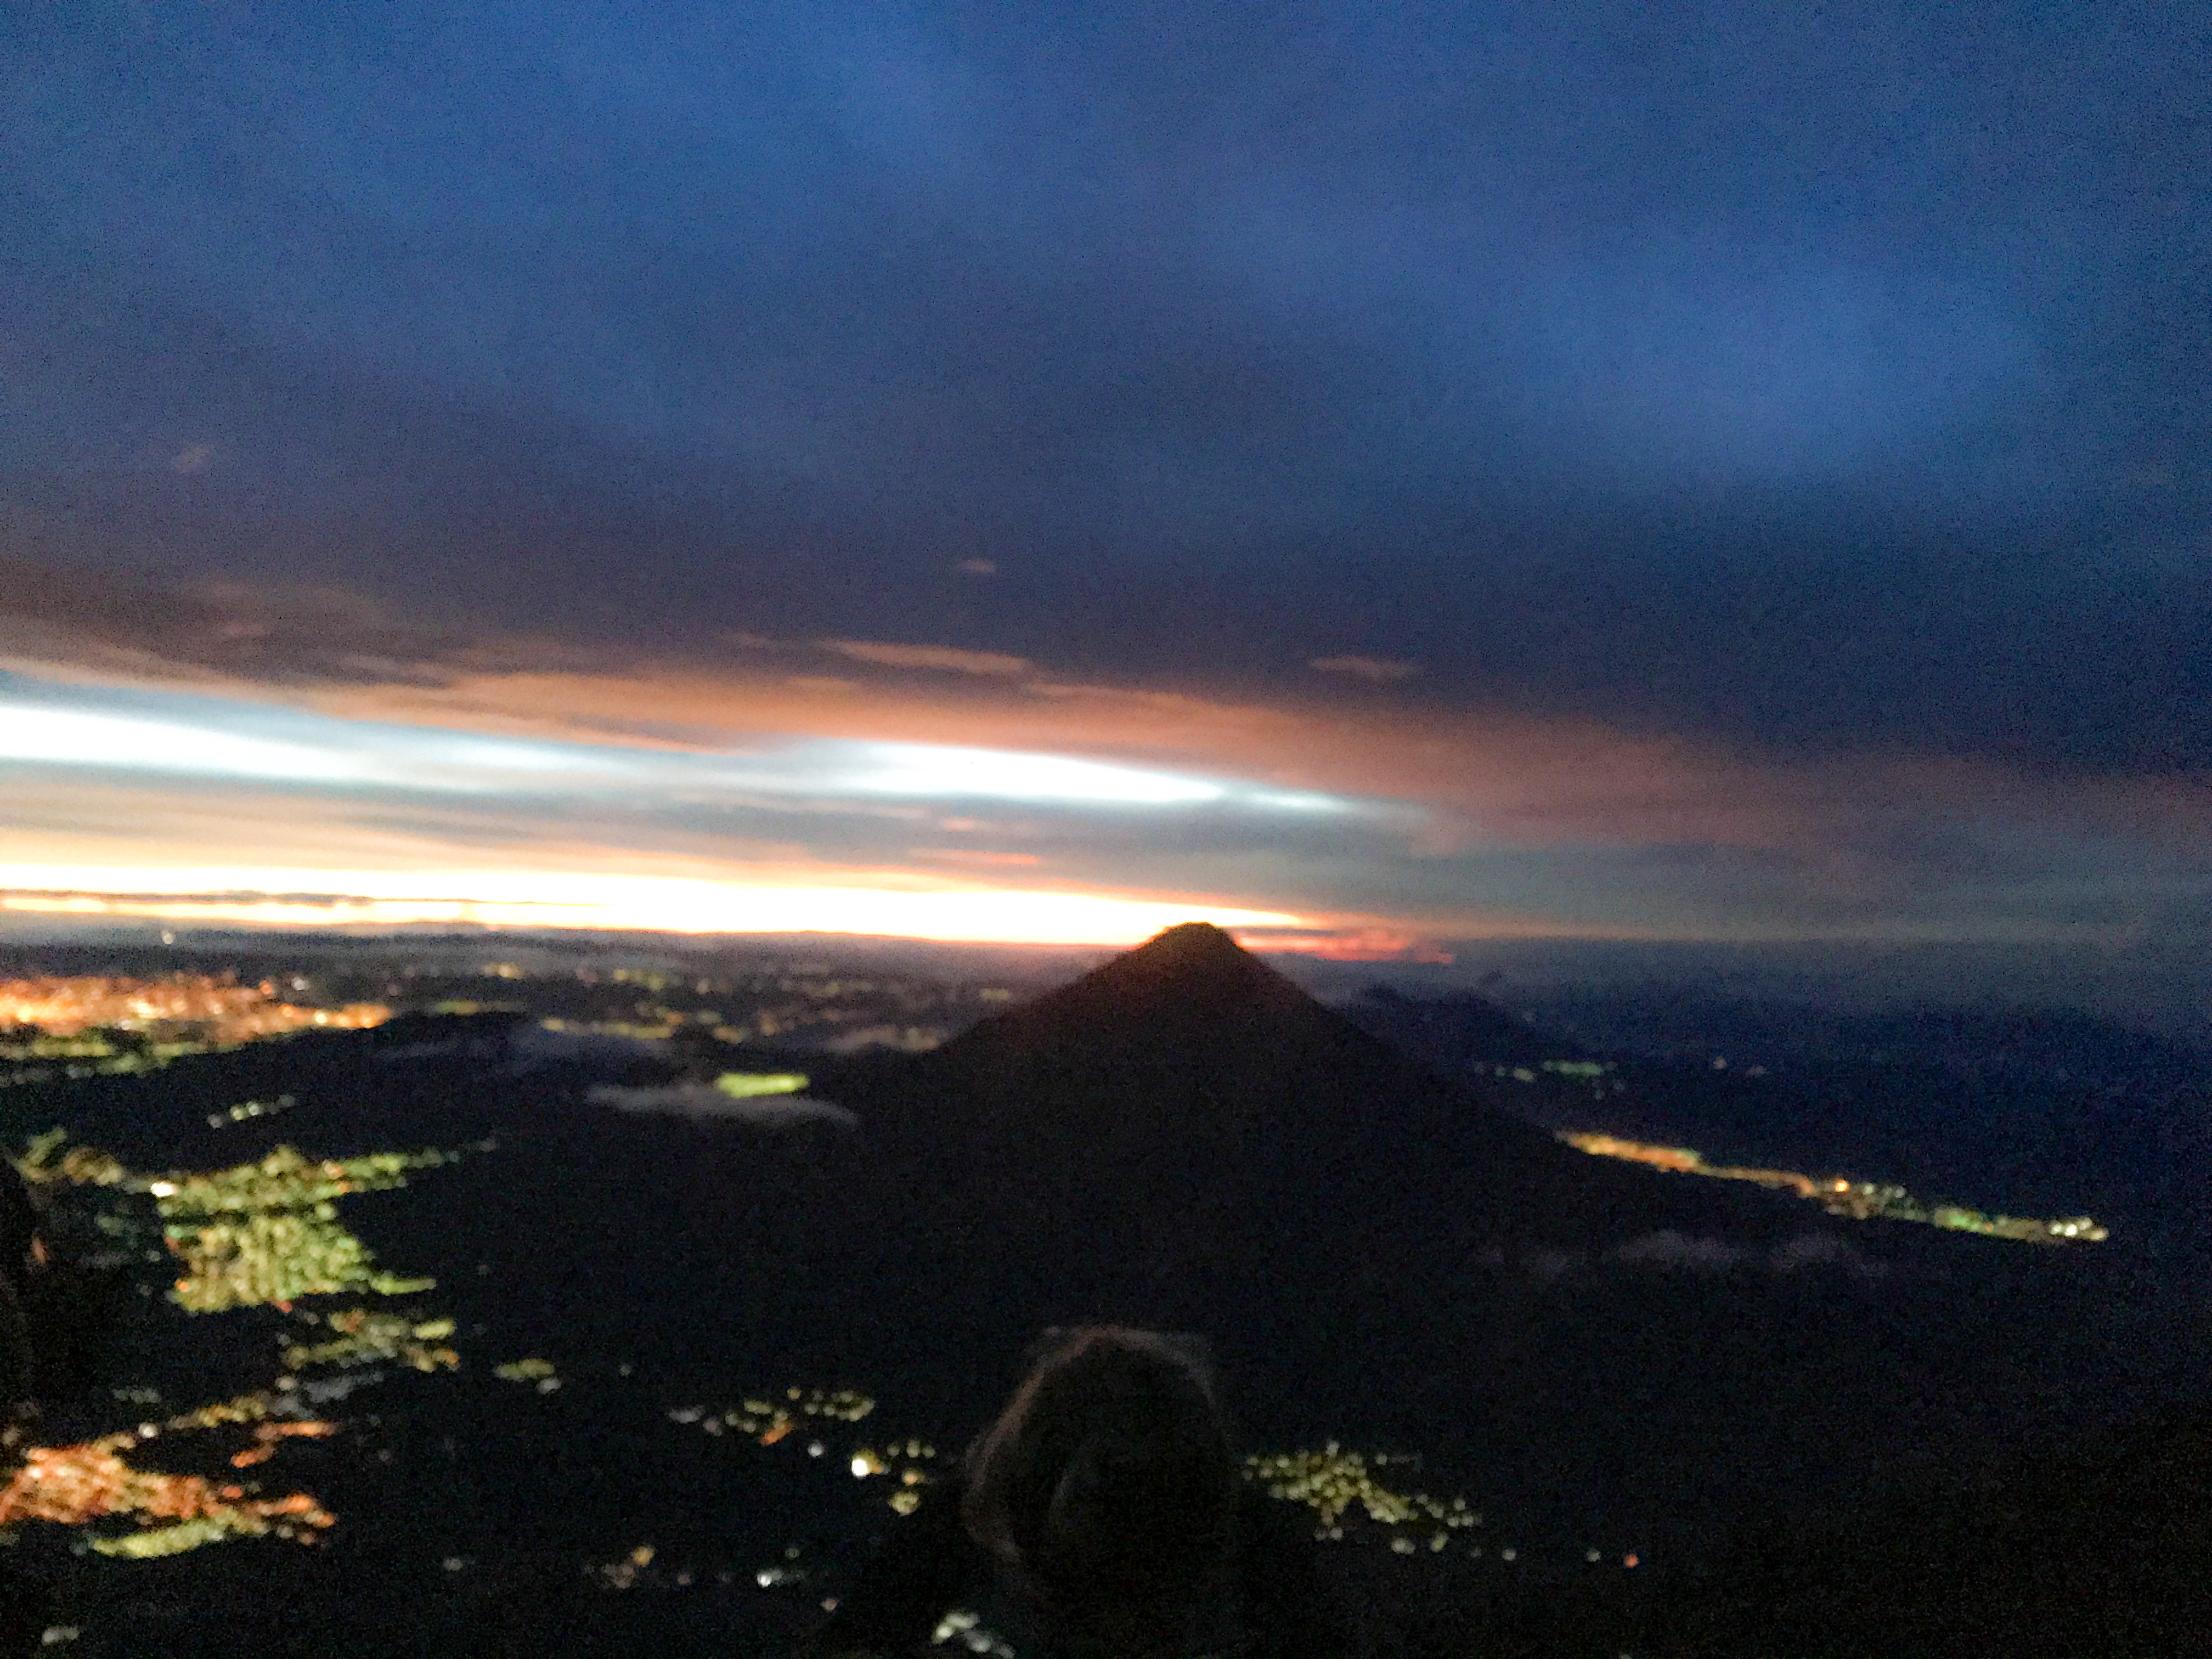
In the morning, brace yourself for a 3:30am wake-up call to hike the last 1.5 hours up the steep 1,100 foot incline of loose volcanic soil to the summit. Here you will only need to carry minimal gear and will leave the rest of your belongings at base camp. The loose soil makes it very grueling, as every step forward translates to a half a step backward. The hike up will be done in complete darkness so make sure you bring a headlamp! Once at the top, you can enjoy an incredible sunrise as you watch Fuego’s fiery nighttime eruptions turn to large smoke cannons spewing from the crater. The peak offers insurmountable 360 degree views of Guatemala, and on a clear day you can see all the way to the ocean.
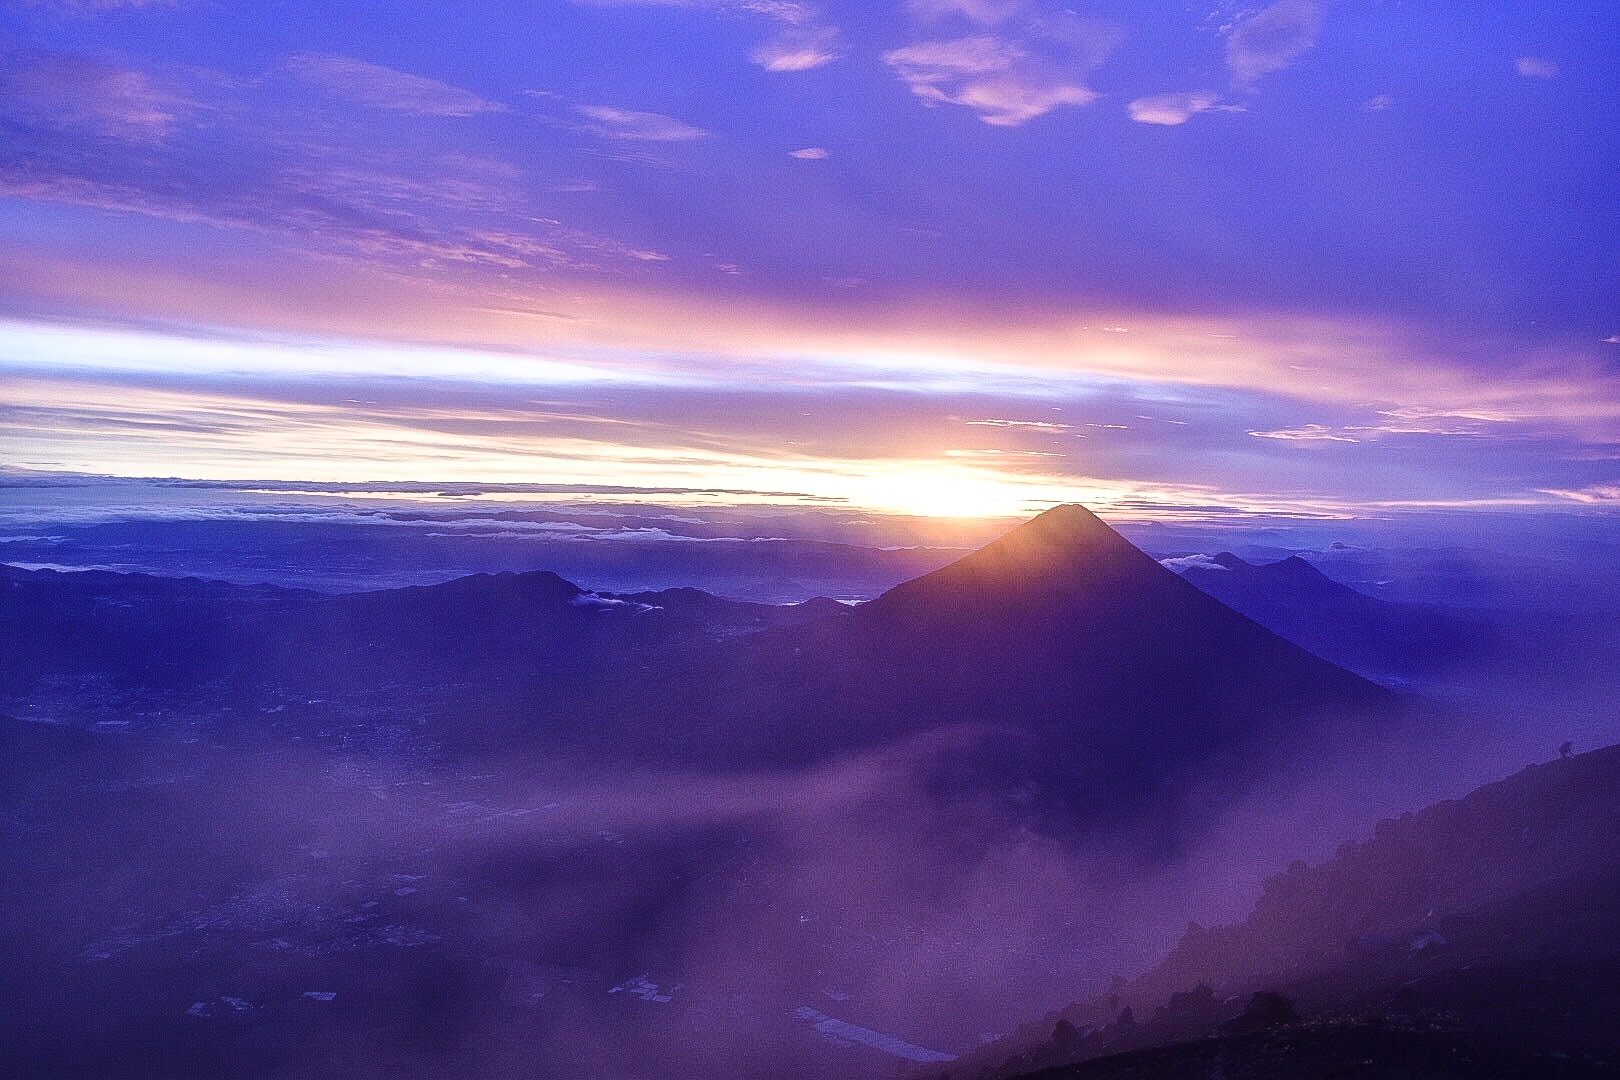
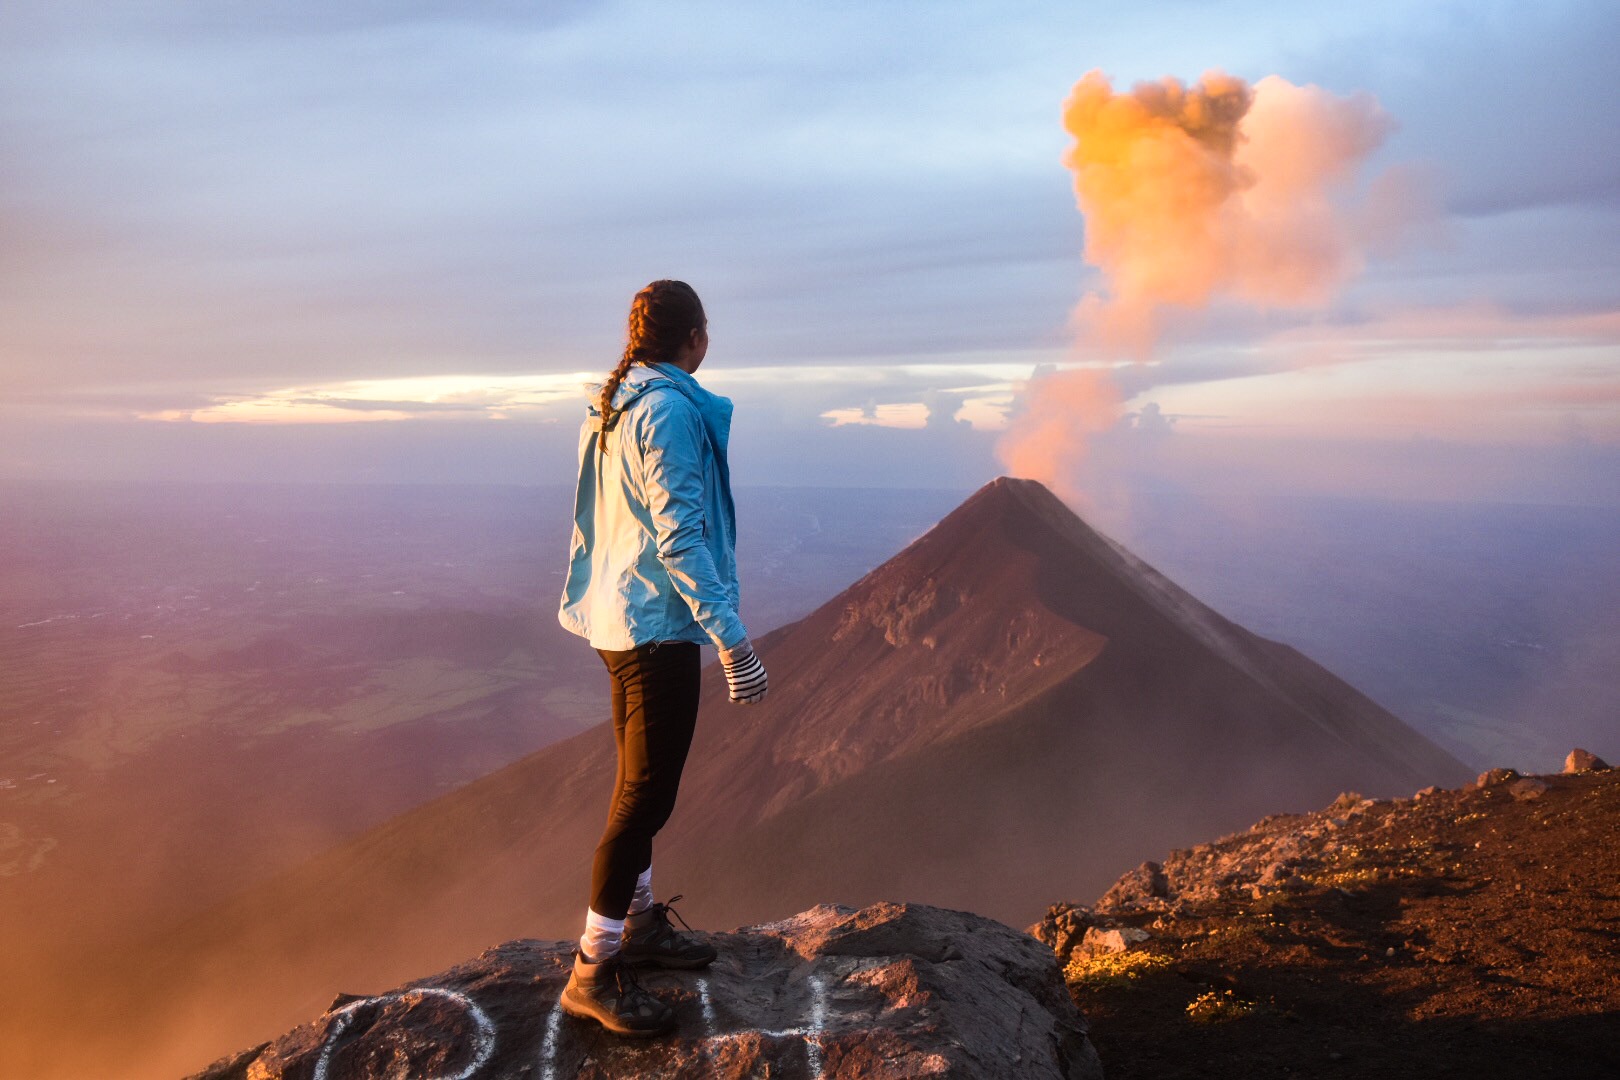
After soaking up the views at the summit, the guide will instruct the group to start the descent down to base camp. This is where the fun begins. Since the soil here is very loose, maintaining footing is relatively impossible. Every step you take will slide you down an extra foot or so. More daring hikers started running down the hillside and most fell several times making for quite the comical route down. One hiker tripped and actually somersaulted multiple times down the hillside till he reached more level ground. Luckily the loose soil cushioned the blow and prevented any serious injuries or damage!
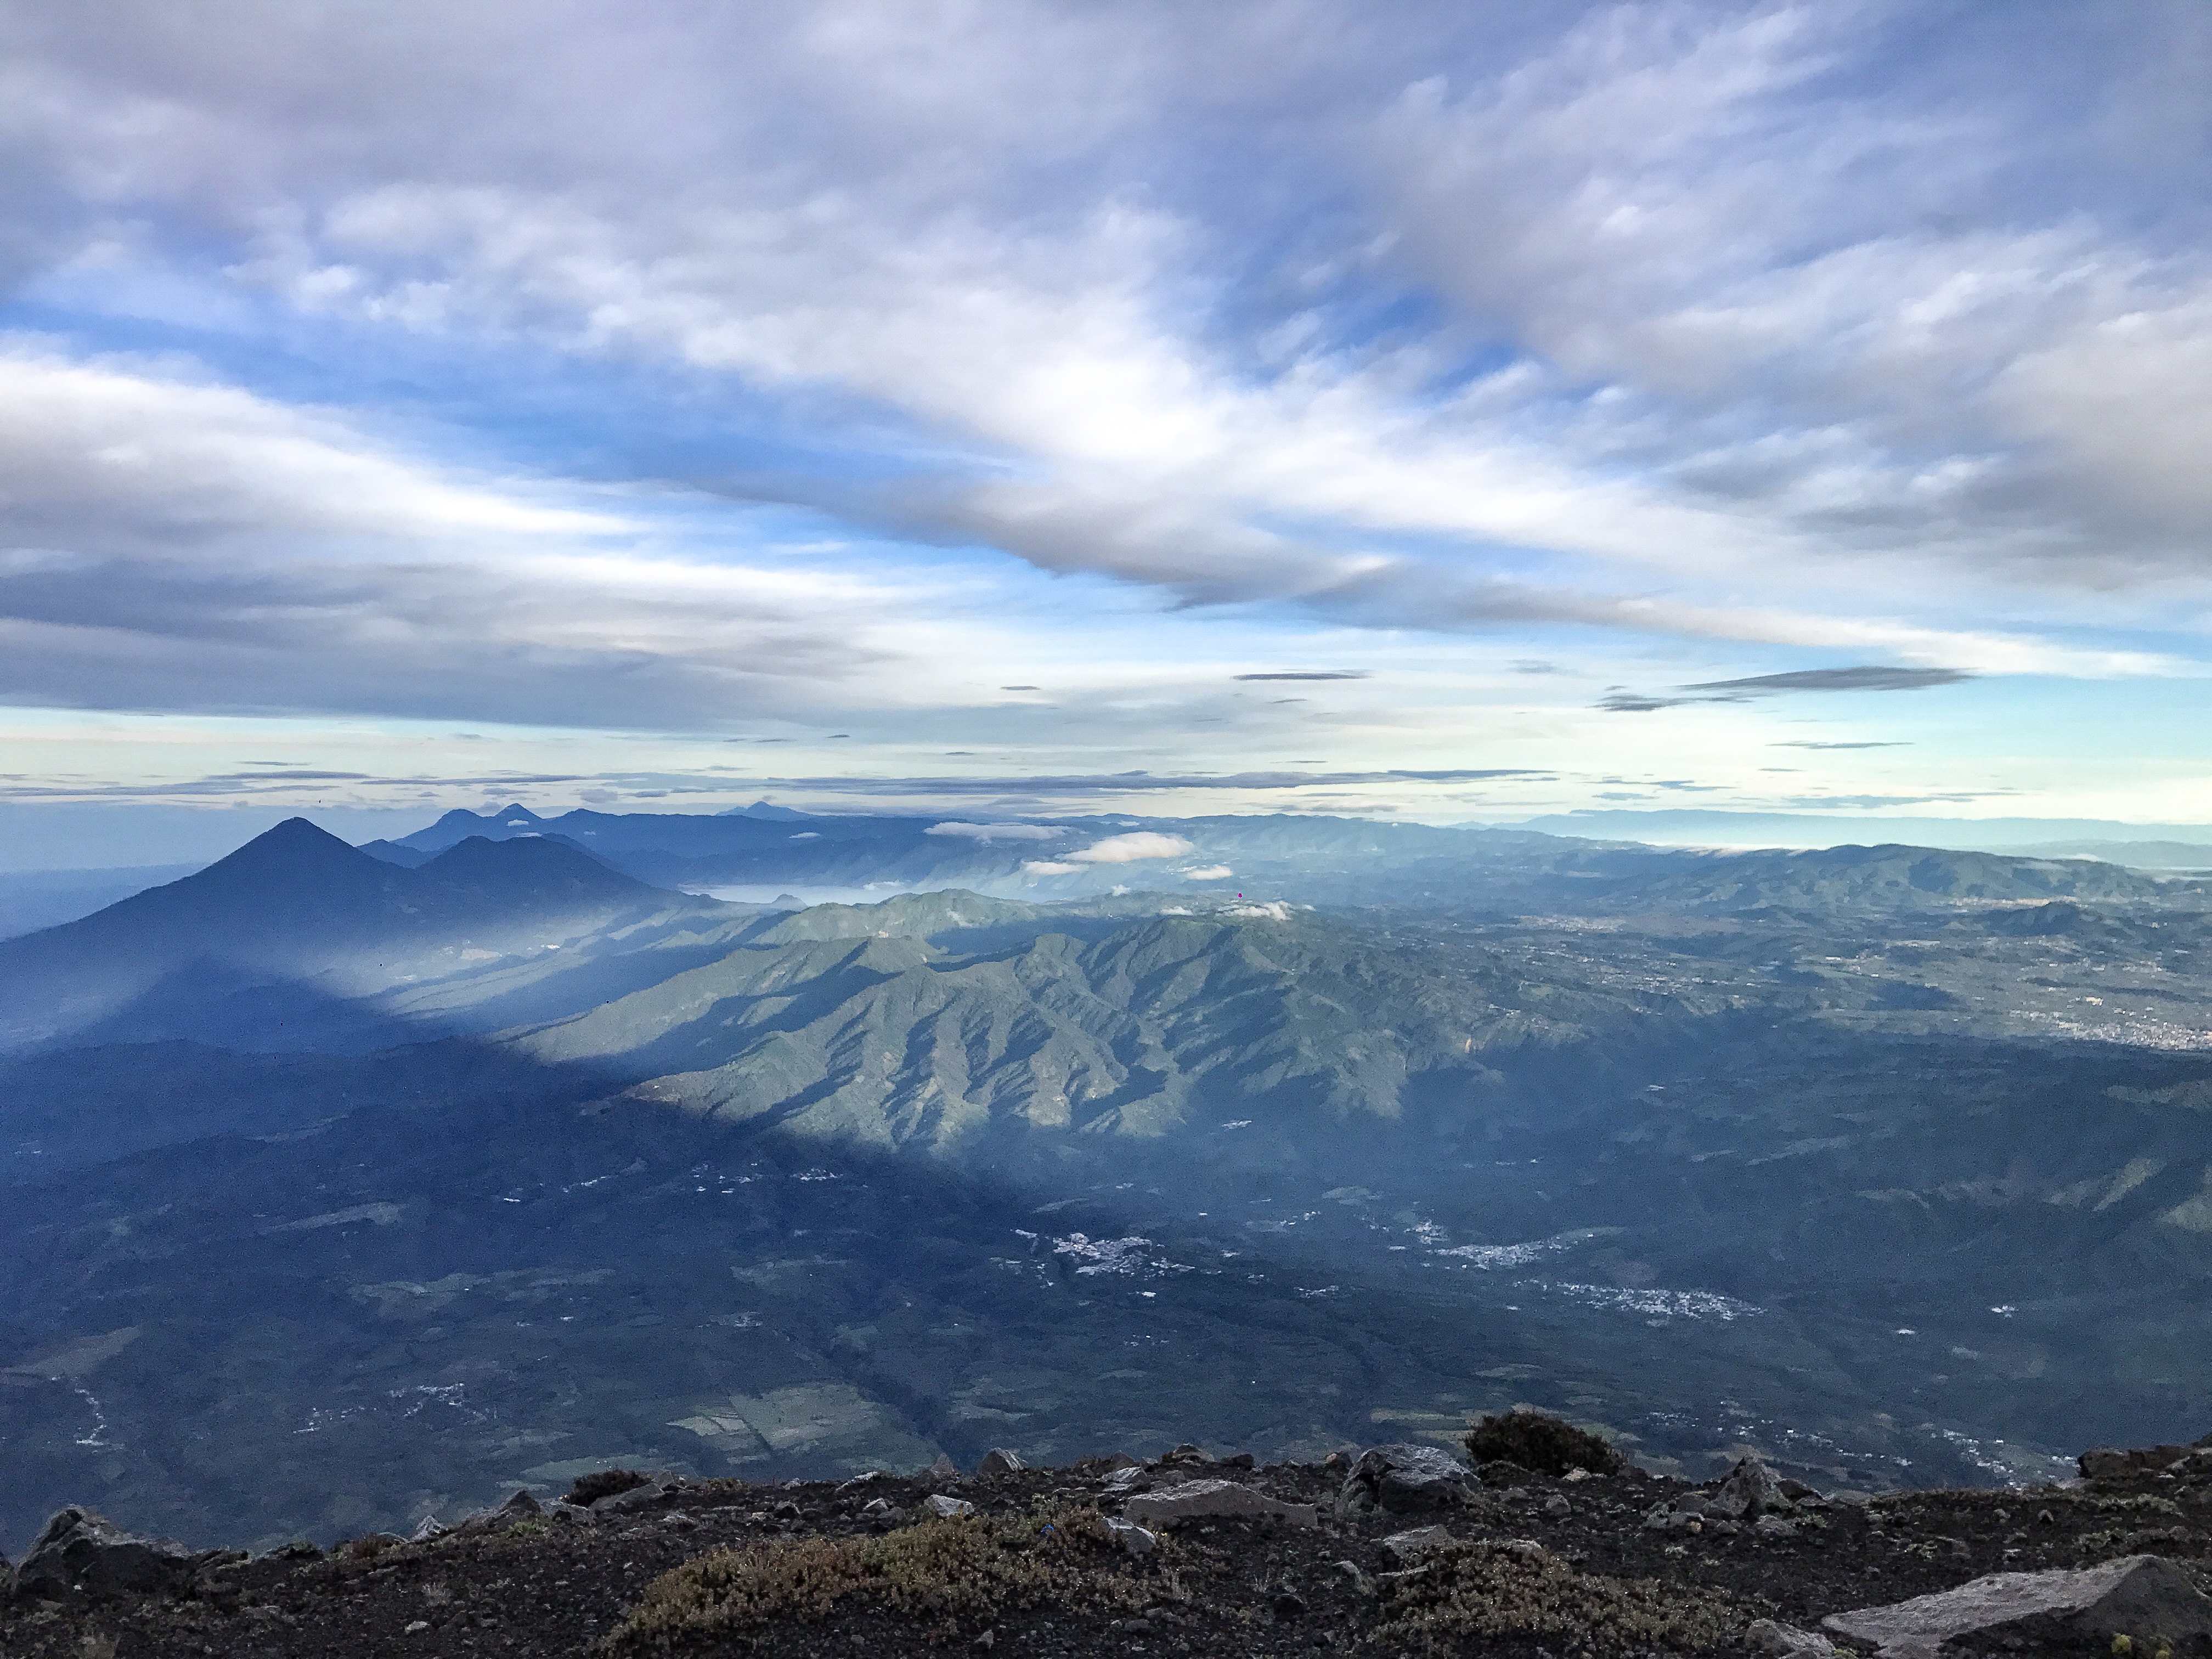
Once you reach base camp, you have one final meal (breakfast) with the group before packing up. If you are extra adventurous, you can elect to continue on and hike the ridgeline up towards the peak of Fuego – the double whammy. The views are spectacular from base camp and the warmth from the sun after a very chilly night is extremely welcoming.
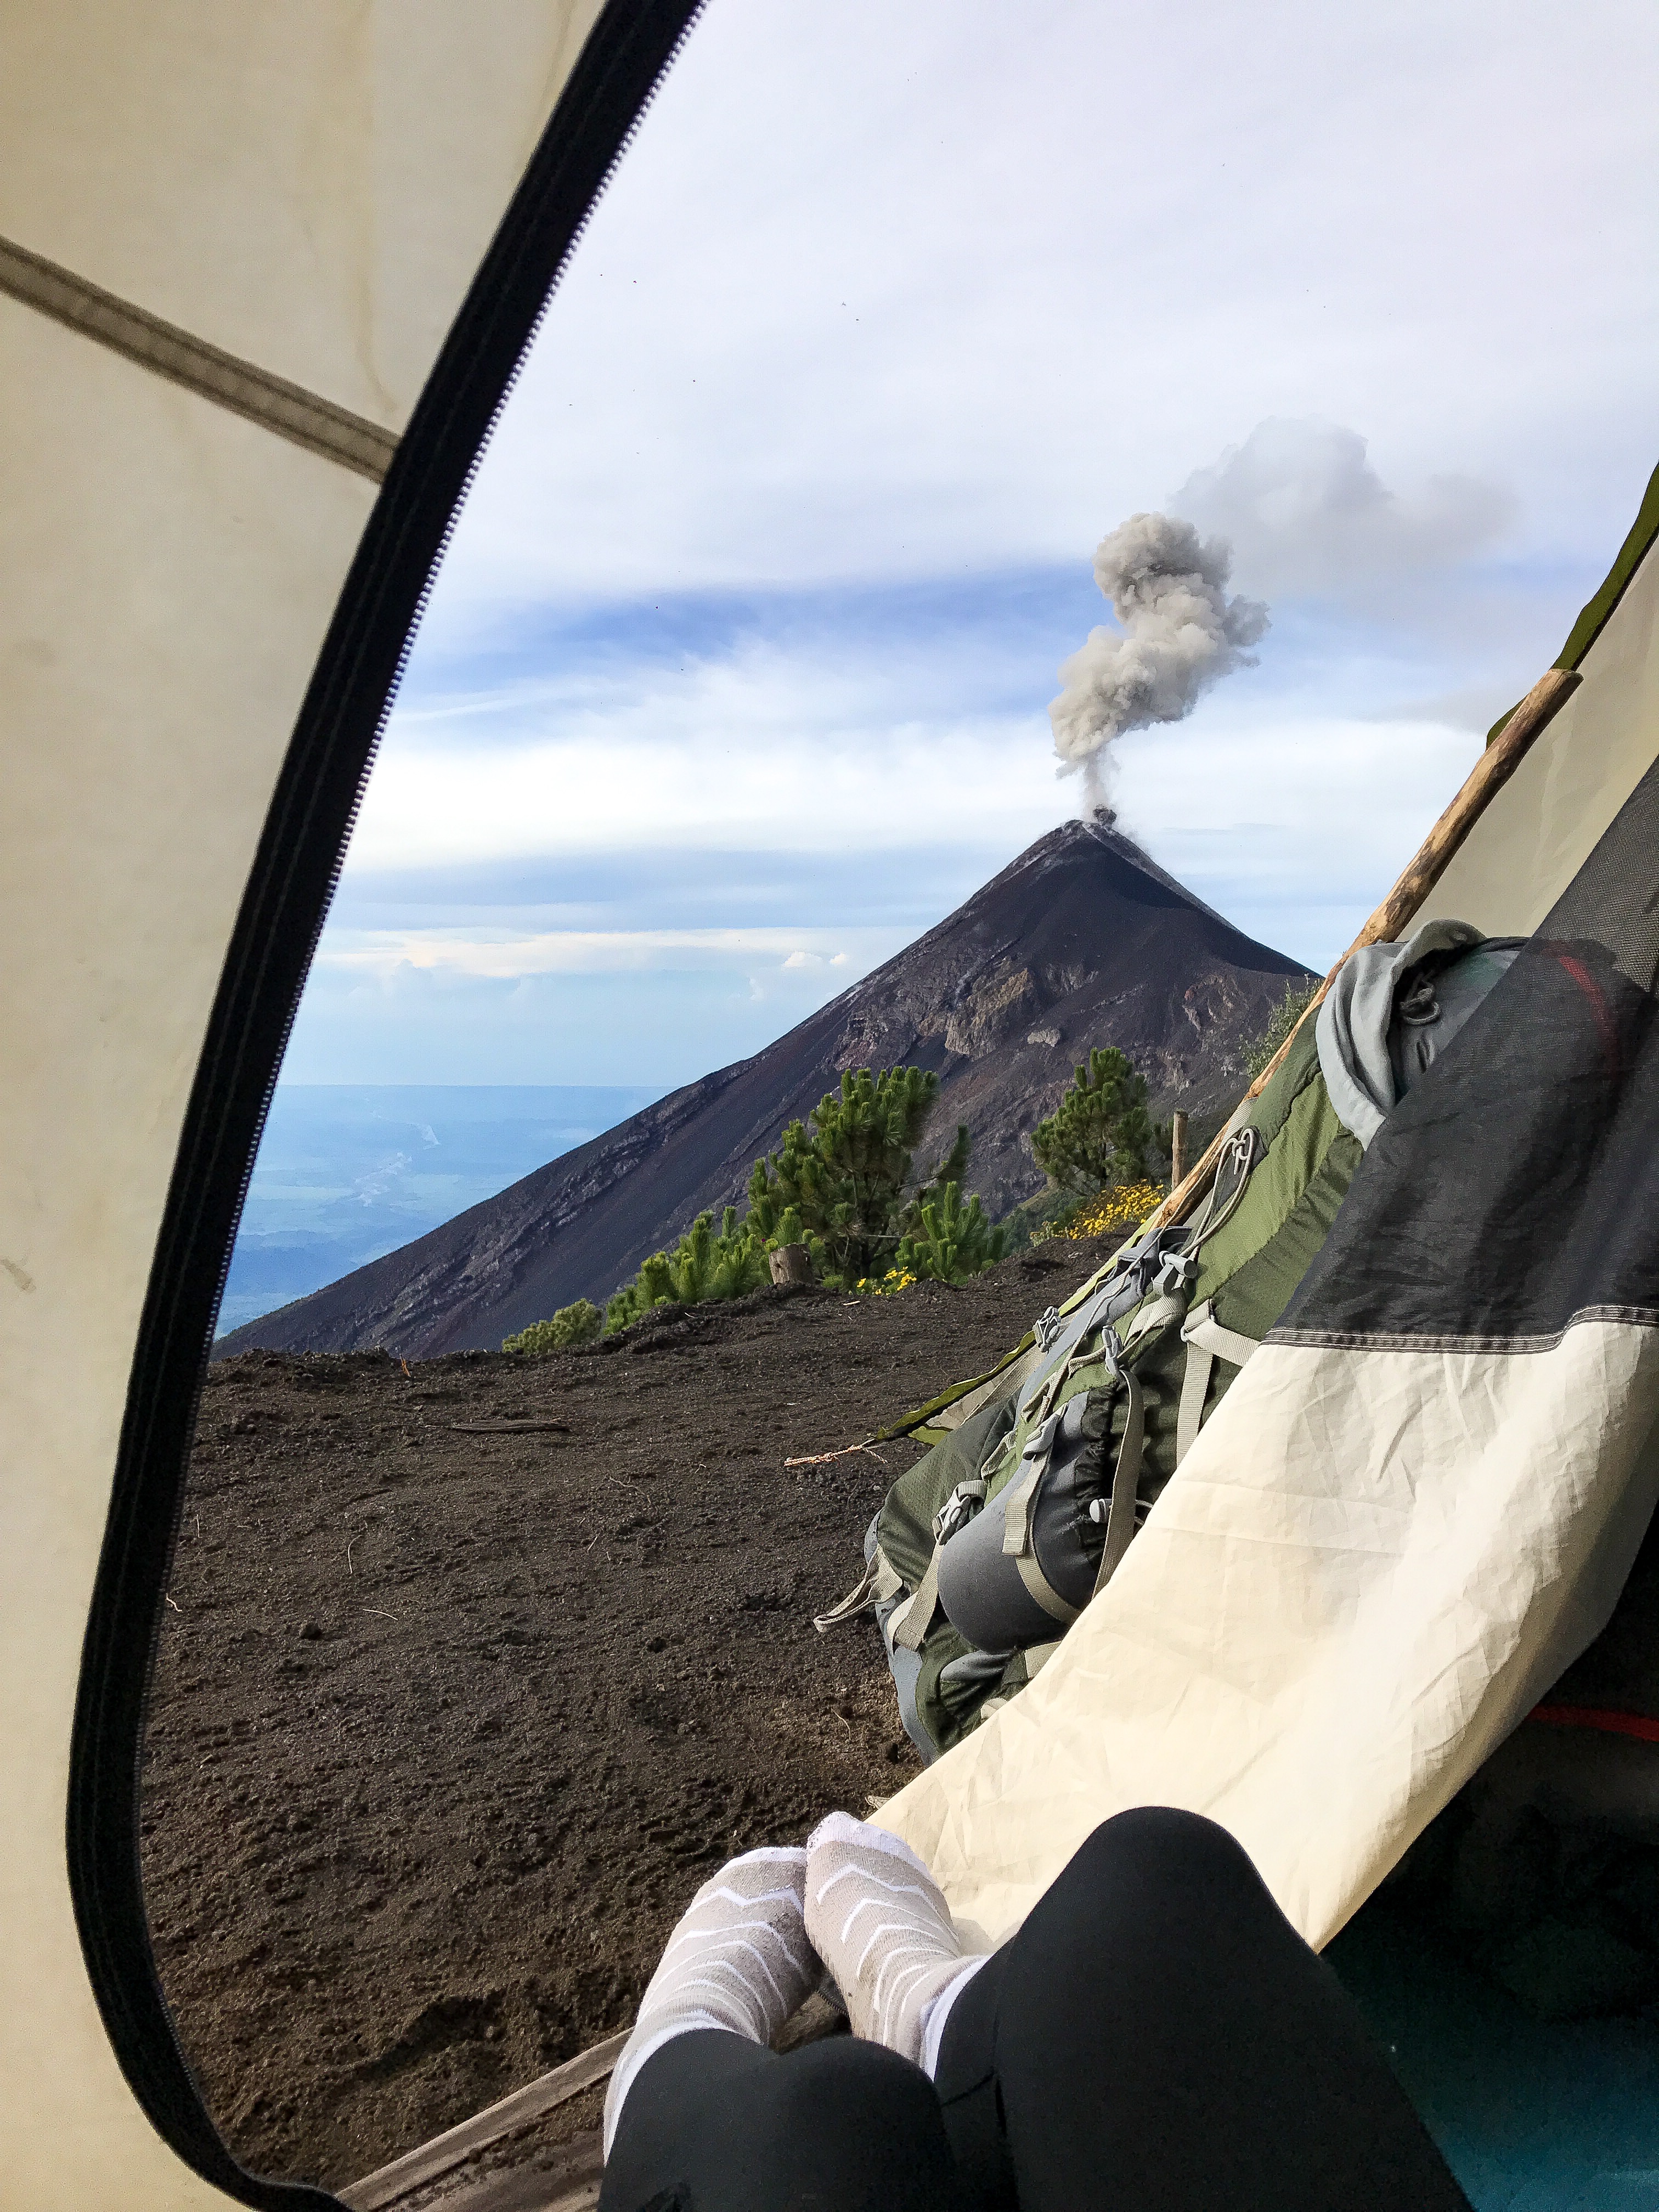
After breakfast, you pack up your camp and belongings and gear up to head back down. If you hire a porter they will have already made their morning trek up to base camp to retrieve your bags for the hike down. It absolutely amazed me that they are able to make this round trip hike every day with heavy packs! We chose to carry our own for the hike but beware…it’s extremely rough going! If you do hire a porter, make sure to tip them well!
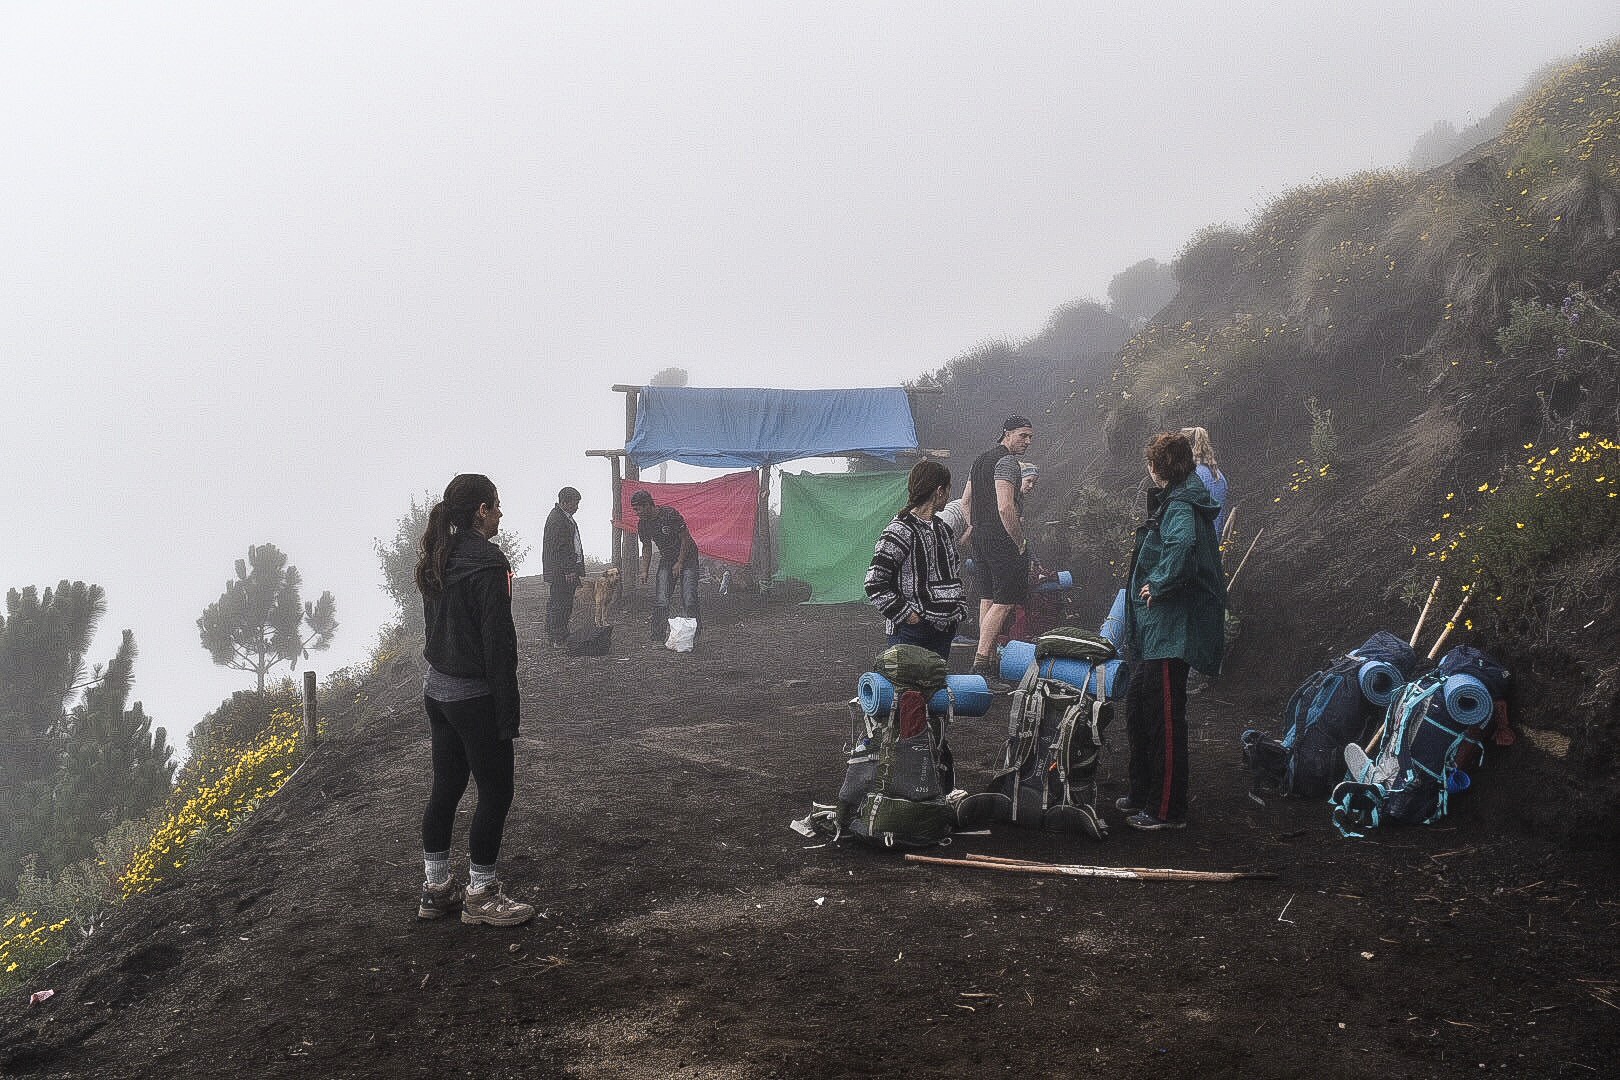
If you carry your bag, be careful when hiking down as the descent covers about 4,000 feet of decline in about 2-3 hours time. You will stop for a few breaks along the way, but more experienced hikers can hike ahead with one of the guides for a faster trek. At the bottom, your van will be waiting for you where you can load your bags up and head back to Antigua, Guatemala to debrief.
What to Bring:
If you book with a tour group, they will be able to answer any questions you may have on what to bring etc., but I compiled a short packing list below of all the things I recommend bringing for the hike itself! Keep in mind this list does not include gear such as a tent, sleeping pad, etc because a tour group will supply all of this for you! If you choose to do this alone make sure you do advanced research and know exactly what you need to bring!
- Comfortable, sturdy, hiking boots – I cannot stress the importance of this enough! One of our group members wore cheap tennis shoes and accidentally burnt the top of one of them off standing too close to the bonfire. Let’s just say he was less than comfortable for the rest of the hike. Do not try breaking in new shoes for this hike either. Make sure to break in shoes prior, as this is really intense on your joints and feet!
- Plenty of Layers – Temperatures can drop to -5 degrees Celsius at night at base camp elevation. I brought a tank, a long sleeve thermal shirt, a sweater, a windbreaker, two pairs of legging pants, extra socks, a winter hat, gloves, and a thermal winter jacket, and was still cold when hiking up to the summit in the morning.
- Winter Gear – if you don’t want to pack scarves, hats, and gloves for your trip, you can purchase these from the locals at the bottom of the hike (they are usually standing around with boxes of things to buy). Some of the people in our group did this and gave everything away to them after which I thought was really nice.
- Ear Plugs/Eye Mask – all night the volcano sounded off with loud booms that sound like lightning and even with earplugs these would wake me up. I highly recommend bringing a good pair if you are a light sleeper!
- Snacks – the tour groups will provide you with your main meals but make sure to bring energy-boosting protein bars, snacks, and even chocolate to keep up your energy levels. This hike is very challenging and you will be thankful you have snacks for the multiple refuel stops!
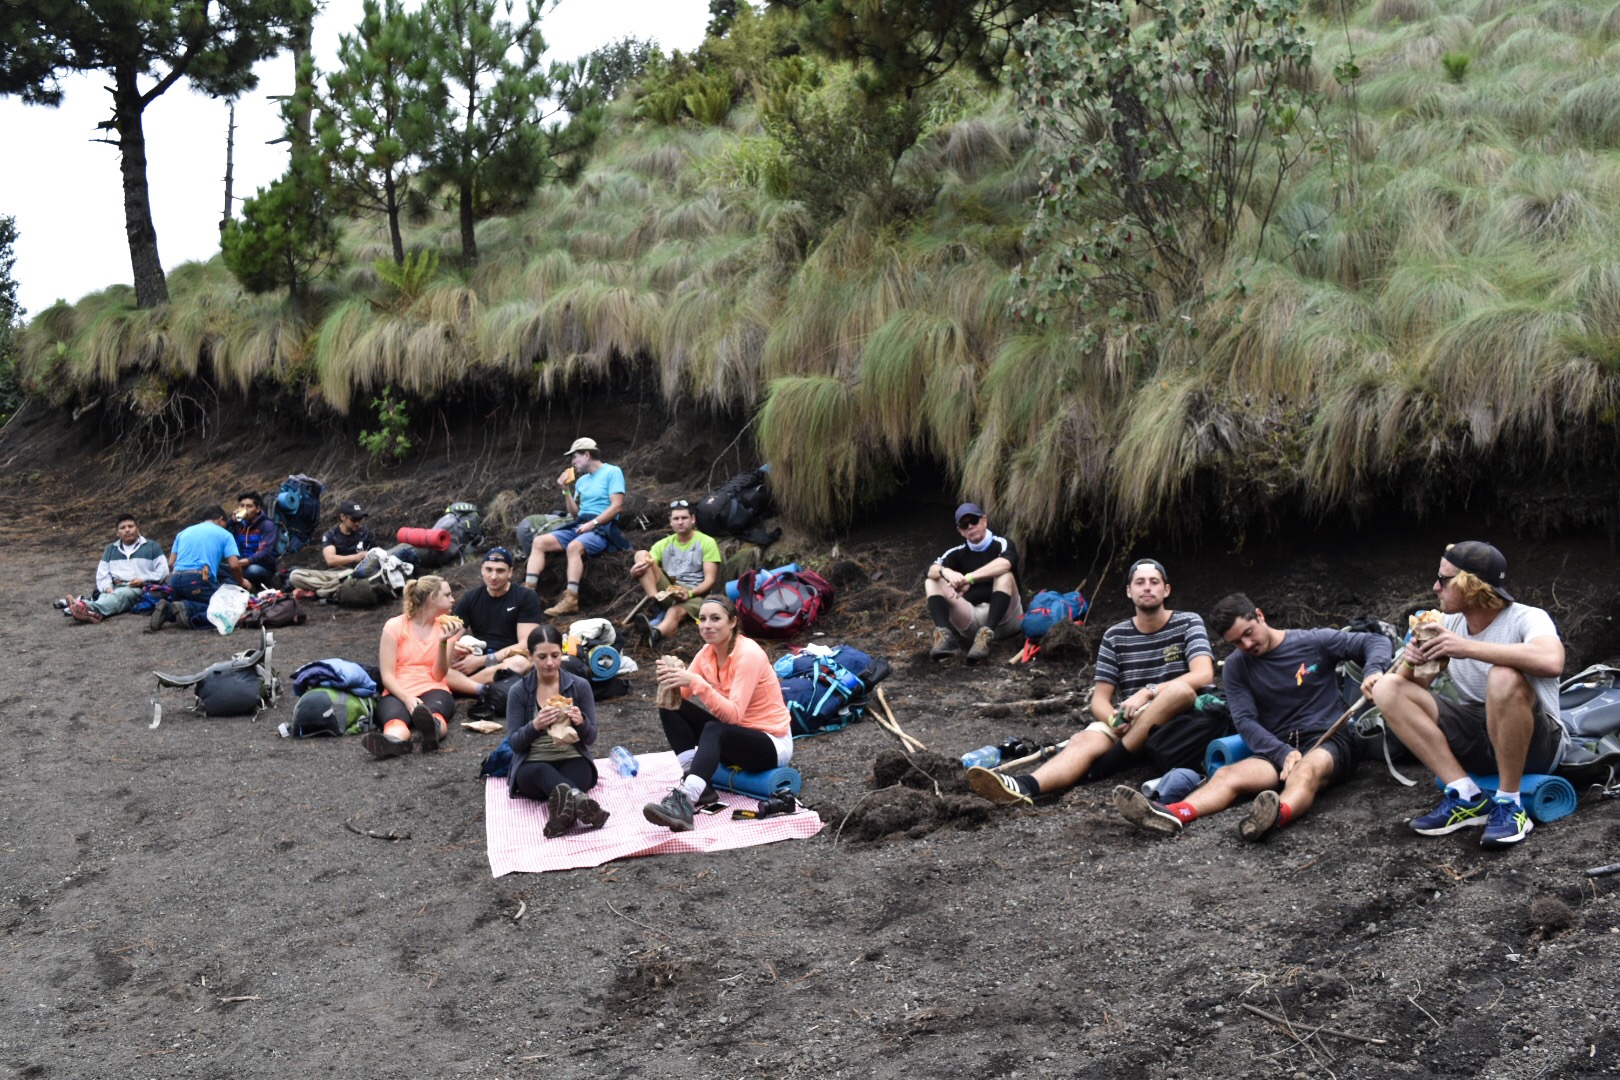
- Water – the group we went with required us to have 3.5 Liters of water minimum and a small bottle of water handy for rest breaks. I went through more than half of my supply and was extremely thankful for it. I was also thankful not to have to carry it all back down the second day.
- 50-55L backpacking bag & daypack – some companies will rent you bags for cheap (the one we booked through had this option for $5 USD), so do not feel like you have to buy one! I recommend bringing a small daypack for your hike up and down the summit at the end to carry water and snacks and any camera gear or extra clothing.
- Sun Protection – this is especially necessary during the hot months but since you are at such a high elevation I recommend using some form of UV protection and sunglasses to protect your skin and eyes. Do not forget chap stick either as it tends to get dry at the high elevation.
- Camera Gear/Tripod – If you are not into photography obviously do not worry about this, but if you enjoy taking pictures I highly recommend bringing a lightweight tripod with you. The pictures of the lava at night require a long delay shutter speed but are SO worth carrying the extra weight when you are able to capture it! There were some people in my group with much better cameras and lenses than myself but their pictures turned out blurry (until I eventually let them borrow my tripod).
- Wipes, lotion, dry shampoo, deodorant, toothbrush, and toilet paper – basically any necessities you may need to continue to feel more like a human being and less like a barbarian. There is no water, no bathroom, no nothing up there for two days and you will sweat big time so make sure to bring plenty of wipes and whatever else you need to feel refreshed!
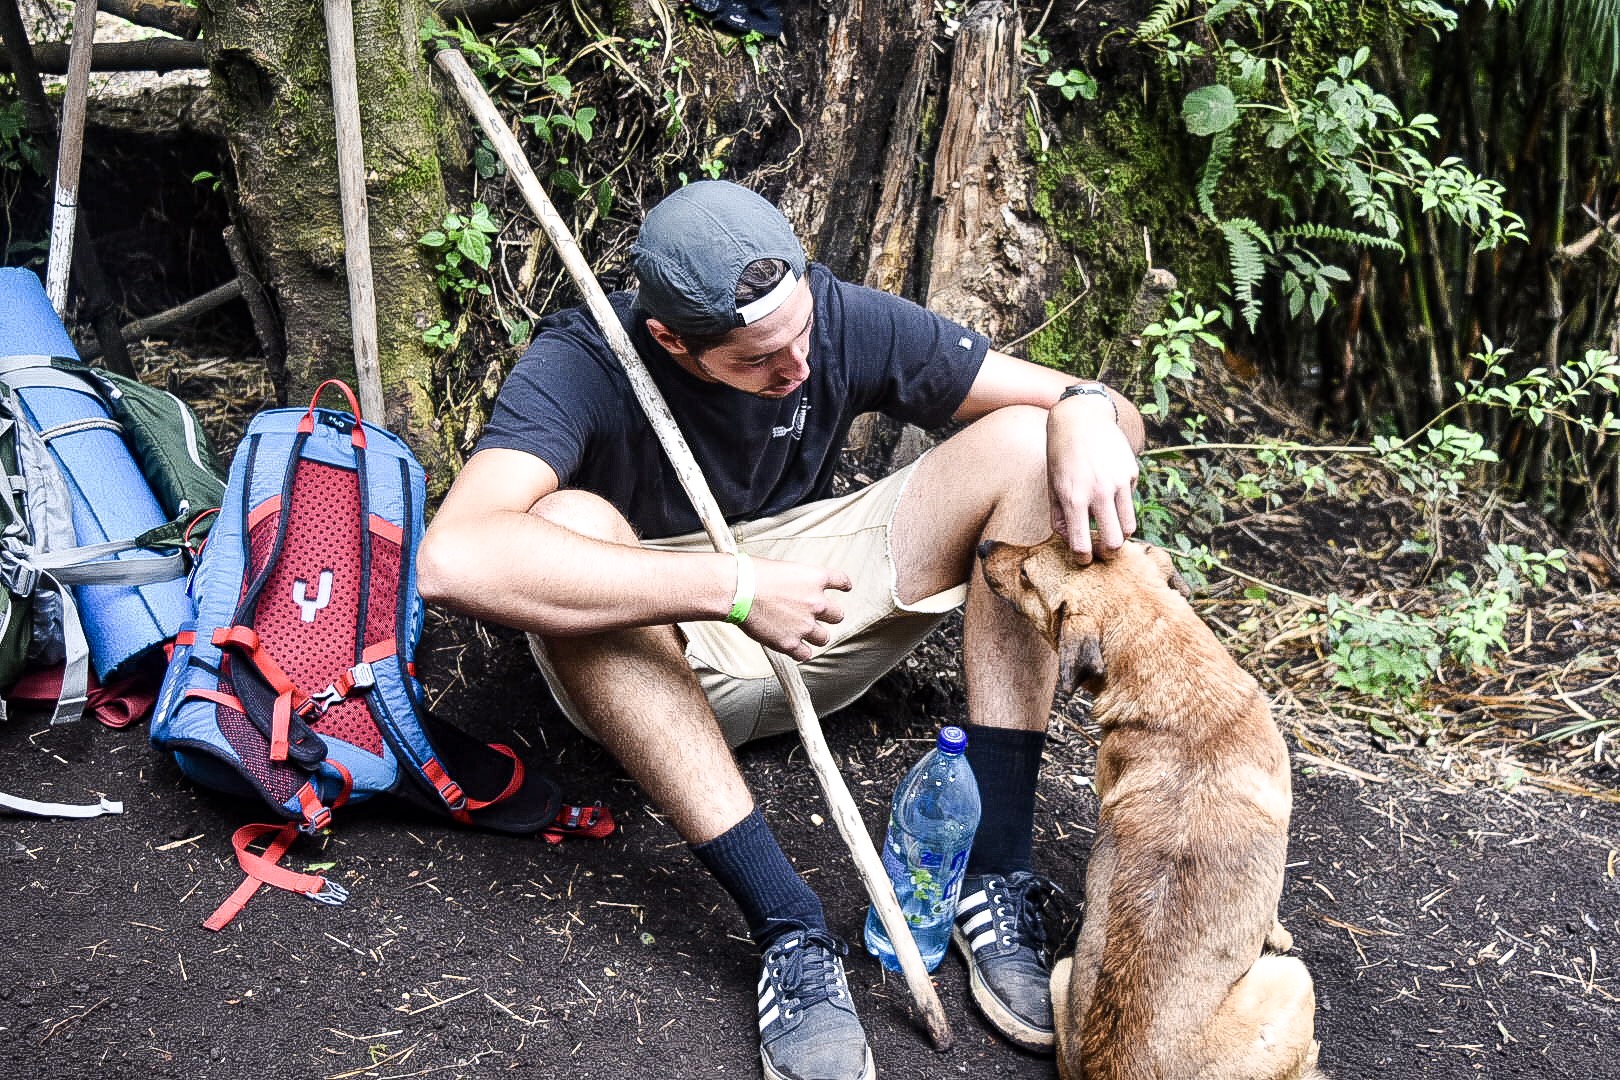
- Headlamp – this is really important because at night you will most likely need to use the restroom and trekking out to a spot away from the campsites can be rough! The second leg of the hike is also done early in the morning in the dark, so having a headlamp is imperative to being able to maintain safe footing!
- Rain Jacket or Poncho – if you don’t want to be cold, wet, and miserable, I HIGHLY recommend you do not forget this item. We were very lucky to set up base camp just before the afternoon storm rolled in for a few hours, but had we been caught in it, we would have been soaked! The volcanos like this one have a climate all their own so the weather is completely unpredictable and separate from the climate close to the ground.
This was one of the most aggressive hikes I have attempted thus far on my travels, but every bead of sweat was worth it. I would absolutely do this a hundred times over. Camping on top of the third highest peak in Central America while watching a volcano spew lava all night long is a serious bucket list worthy venture! If you plan to visit Guatemala DO NOT MISS THIS. If you think this might be a little advanced for you, consider hiking Volcan Pacaya – a smaller active volcano that can be done on a short half-day hike. Both of these hikes are easily accessible excursions from the town of Antigua.
Have you visited Guatemala? What are your favorite places to explore there? Share in the comments below!

